网站的建设公司简介wordpress添加一级菜单
windows使用redis 安装和配置
- 下载
- 安装
- 方式一-使用压缩包安装
- 解压到指定的文件
- Redis安装为Windows服务
- 安装成功
- 方式二-MSI安装包
- 安装完成
- Redis配置远程访问
- 1.修改配置文件redis.windows.conf
- 2.修改完redis配置文件,必须重启redis
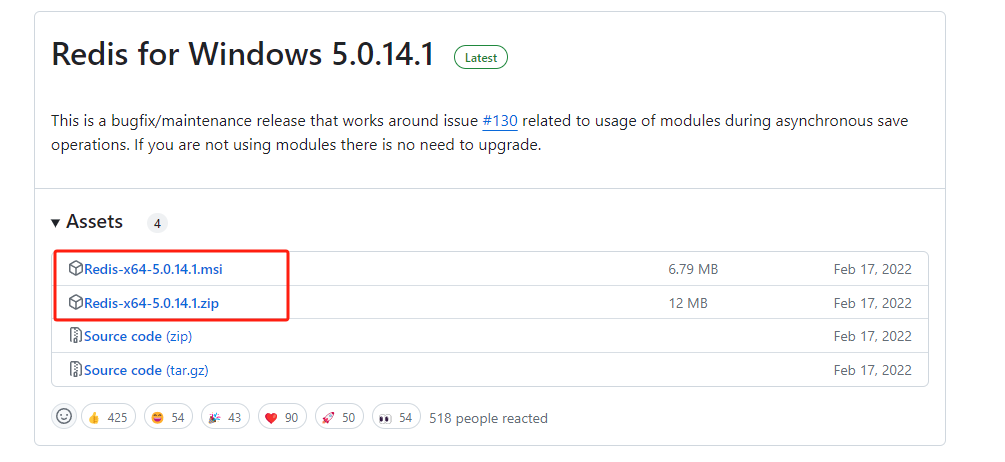
下载
先下载Redis for windows 的版本,可以选择下载压缩包或者MSI安装包
https://github.com/tporadowski/redis/releases
安装
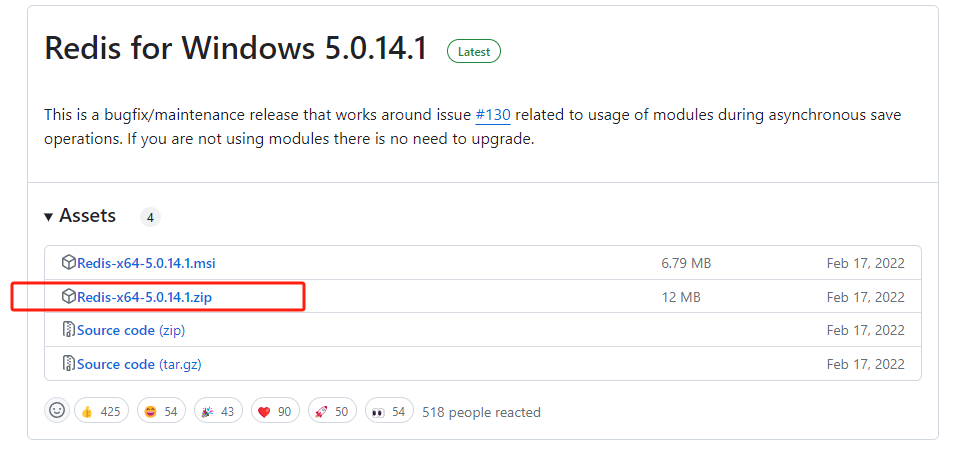
方式一-使用压缩包安装
下载zip包
解压到指定的文件
将压缩包解压到想安装的位置
Redis安装为Windows服务
管理员运行CMD ,使用命令切换到Redis文件夹目录下
输入命令
redis-server --service-install redis.windows.conf
启动服务
redis-server.exe --service-start --service-name redis
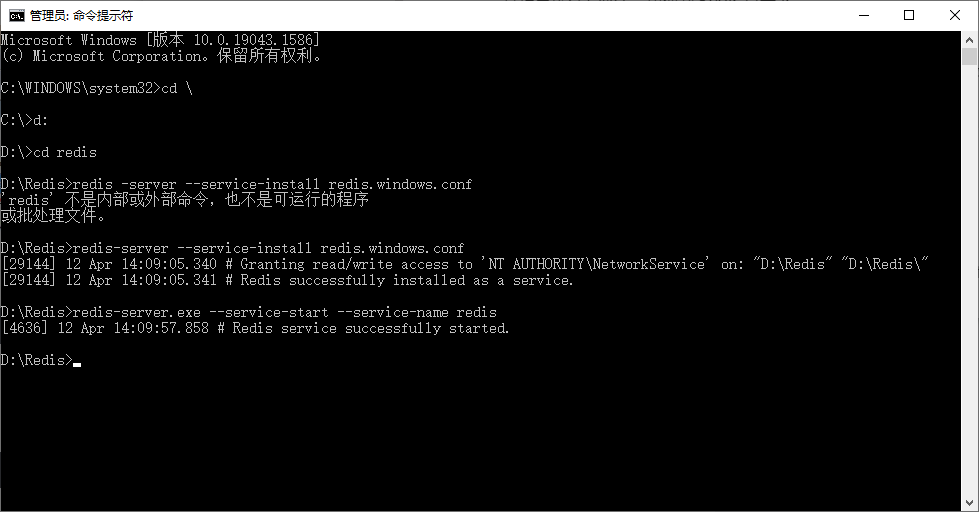
安装成功
显示successfully installed 说明安装成功,显示successfully started 说明启动成功,可以在服务看到redis服务
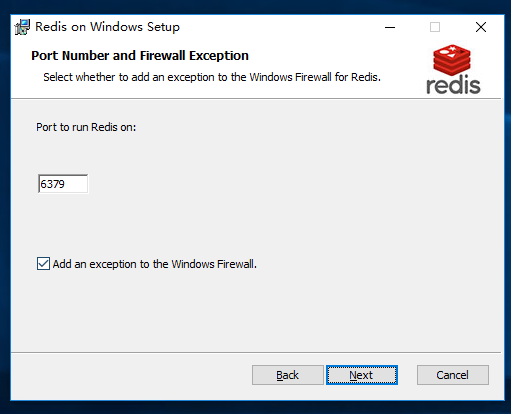
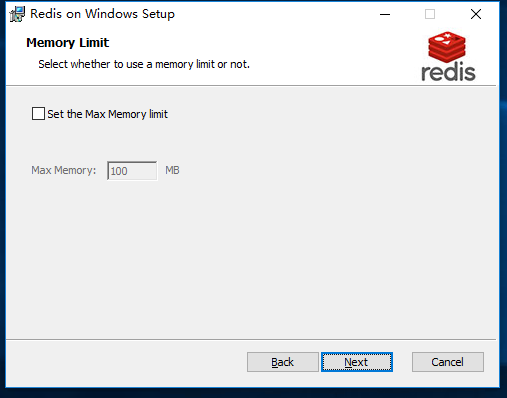
方式二-MSI安装包
(推荐,简单)
下载MSI安装包进行安装,正常就一路默认配置安装,需要改的自己修改一下。

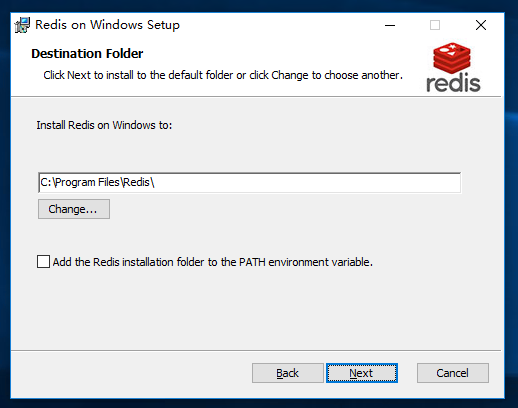
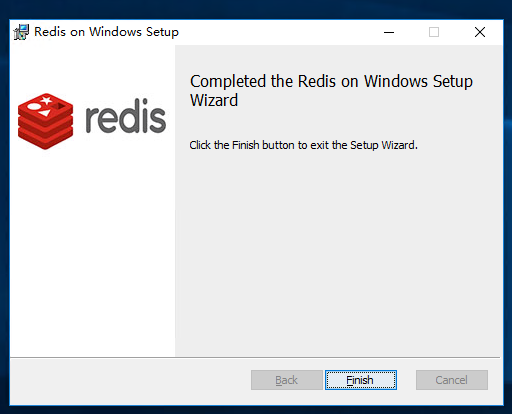
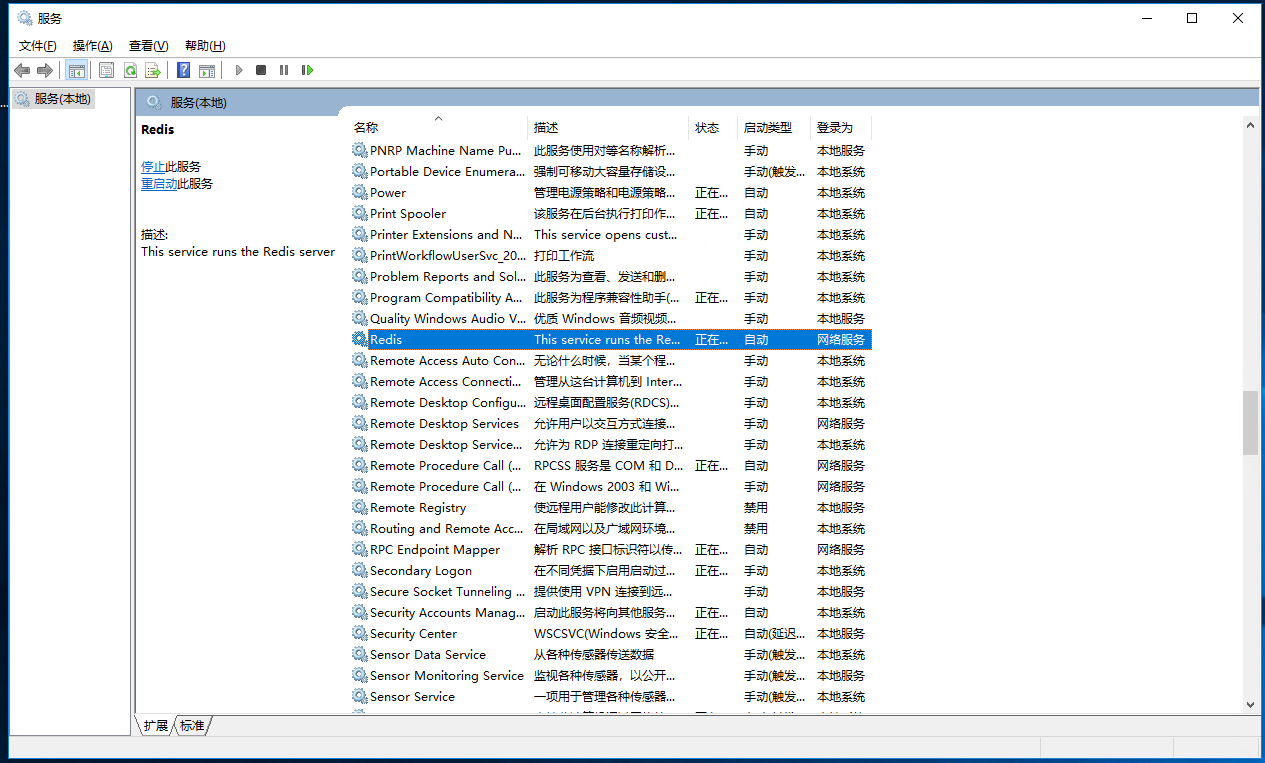
安装完成
安装完成后,直接在服务中查看,Redis服务已经安装完成,并且自动运行,则说明安装完成
Redis配置远程访问
部署了redis,局域网,其他电脑上的程序不能访问,需要配置远程访问
1.修改配置文件redis.windows.conf
-
注释掉绑定ip
# bind 127.0.0.1 表示只能允许本机访问 -
Redis默认不是以守护进程的方式运行,可以通过该配置项修改,使用yes启用守护进程,设置为no
daemonize no -
保护模式,关闭保护模式,否则外部ip无法连接
protected-mode no
2.修改完redis配置文件,必须重启redis
重启之后就能正常访问