网站建设課程泰安网络公司协会
👉文末查看项目功能视频演示+获取源码+sql脚本+视频导入教程视频
1、项目介绍
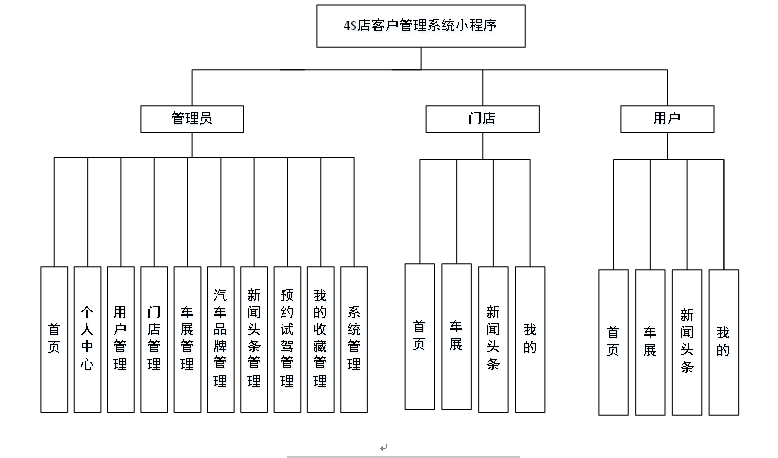
4S店客户管理系统主要包括管理员、用户、门店三个权限角色
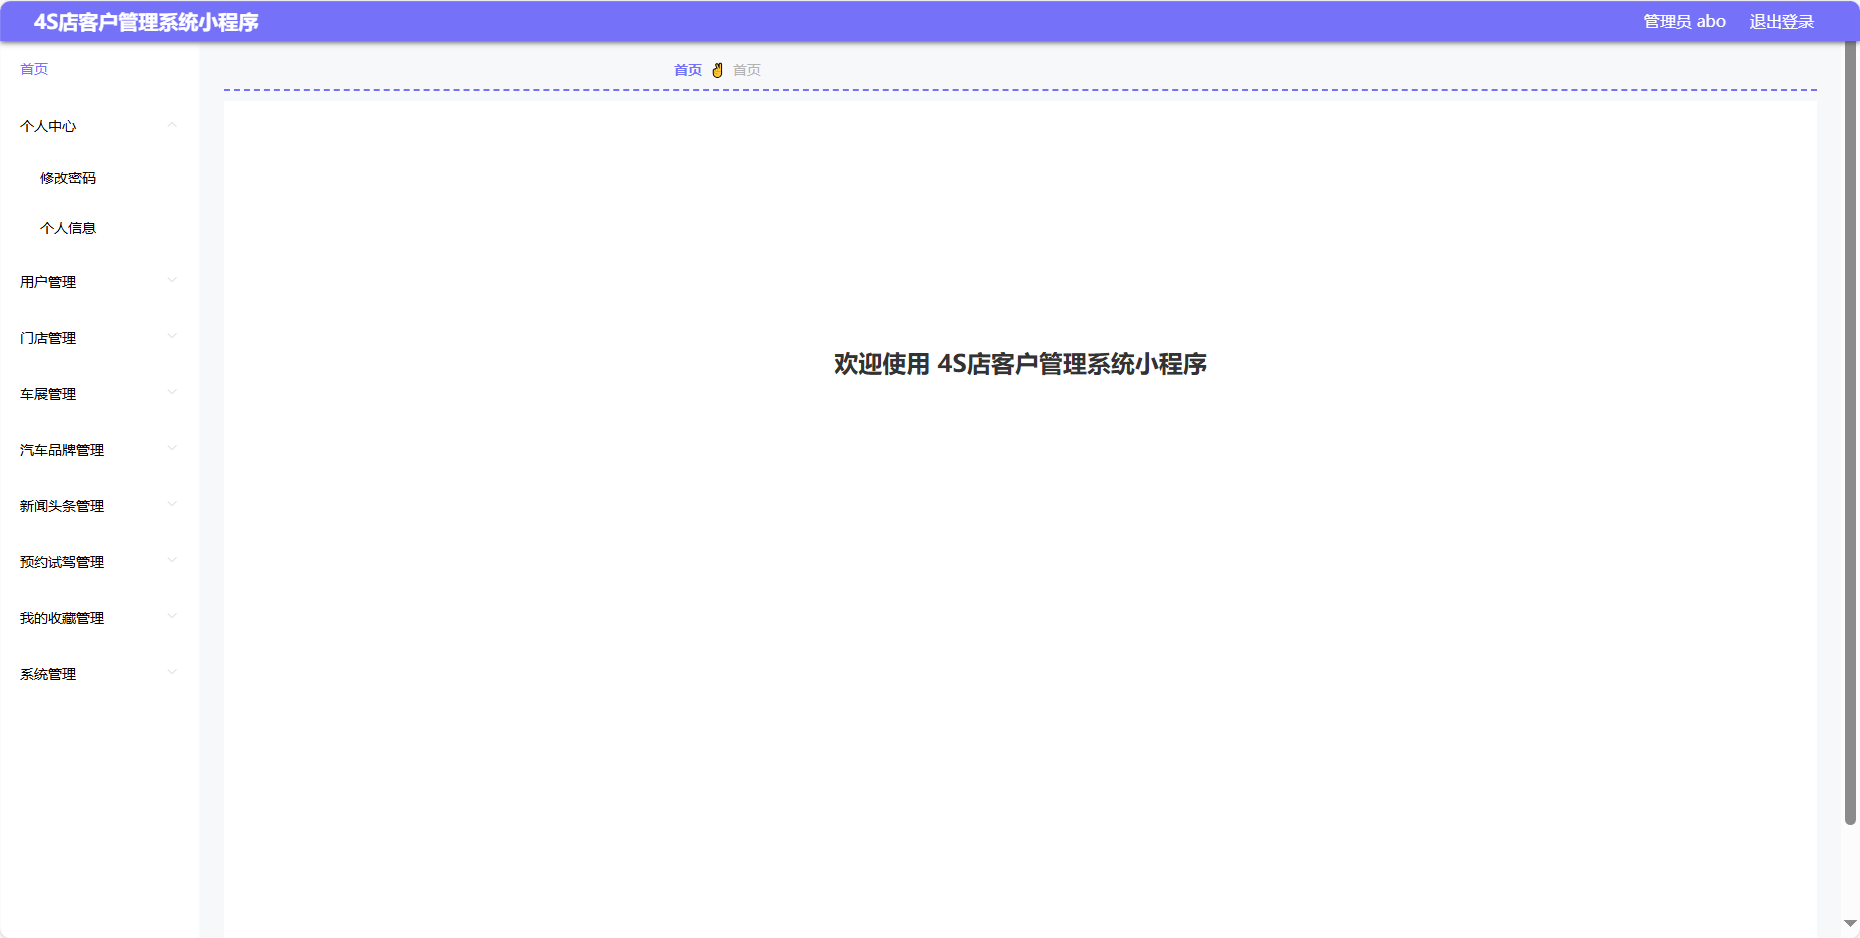
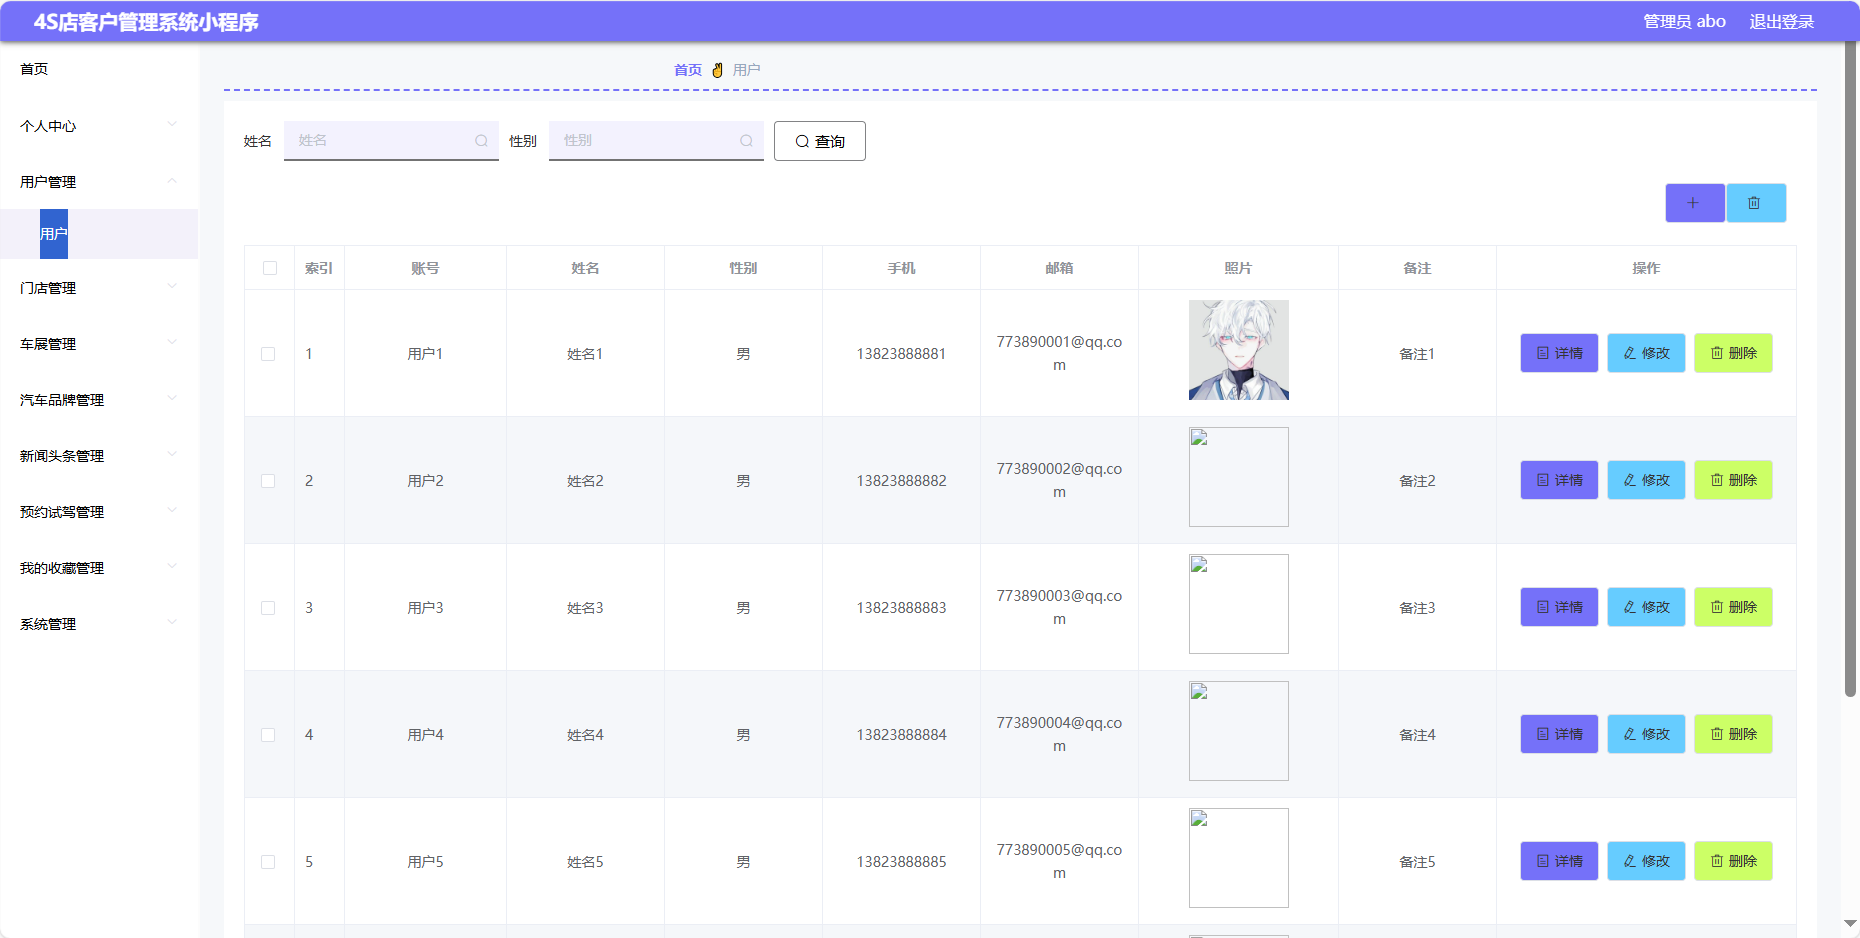
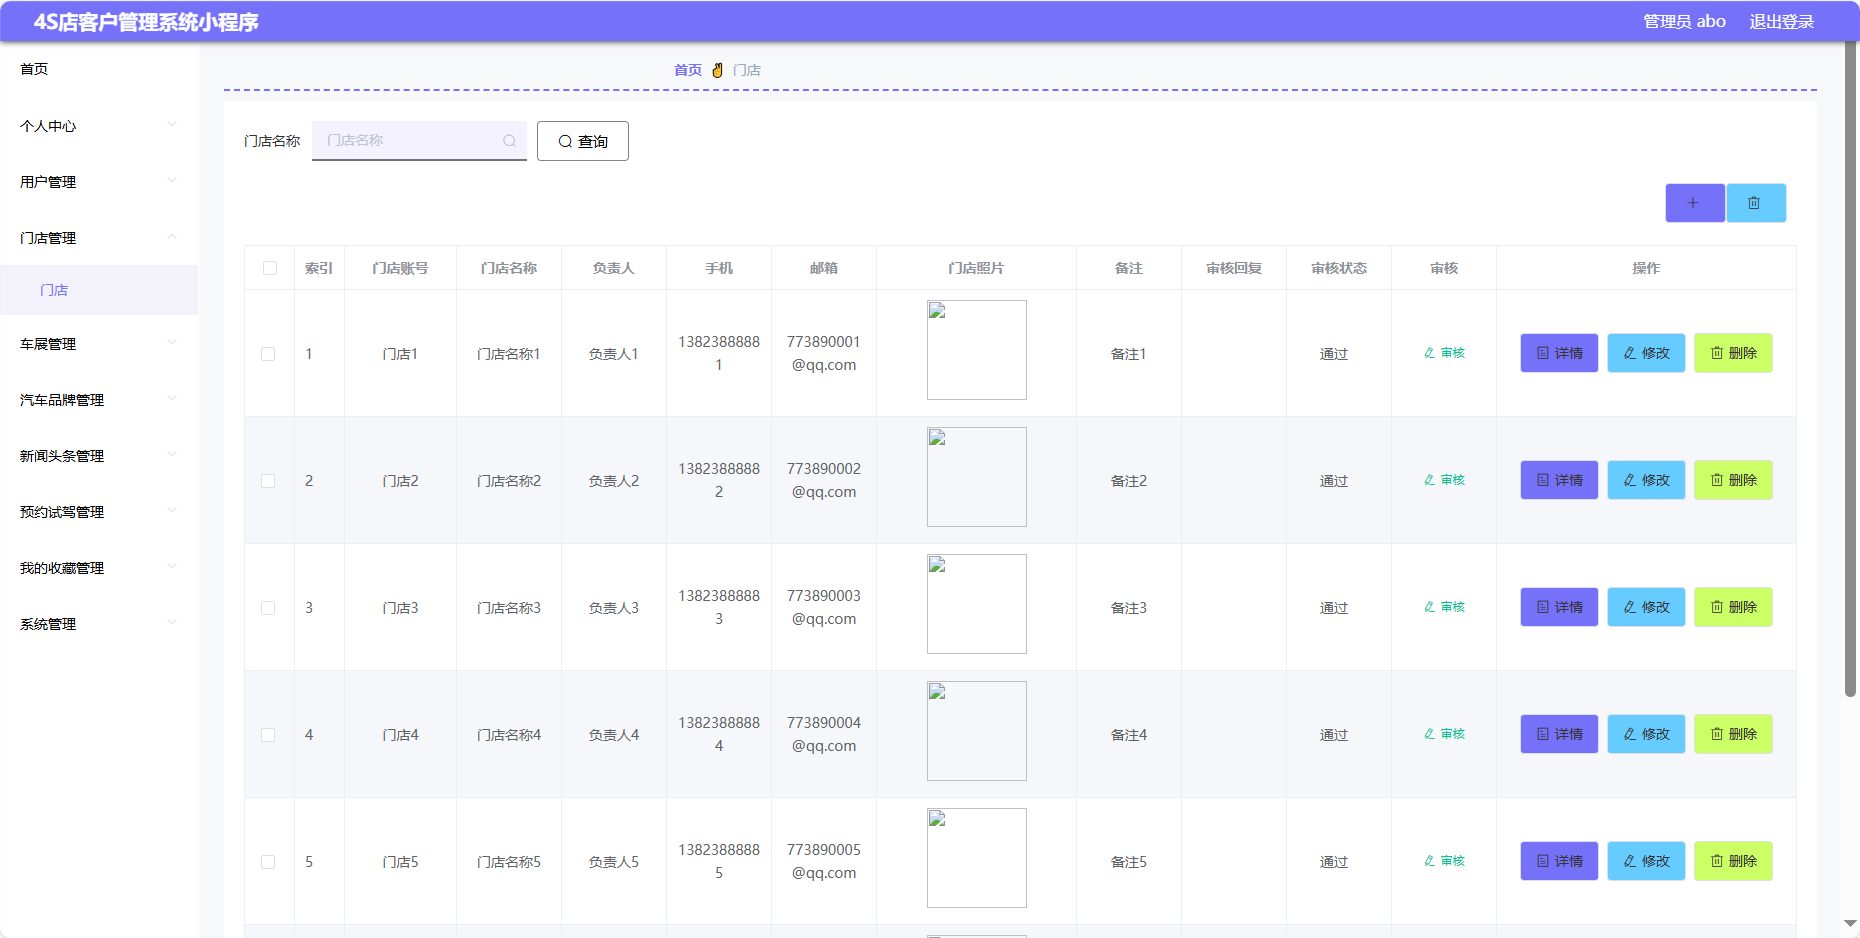
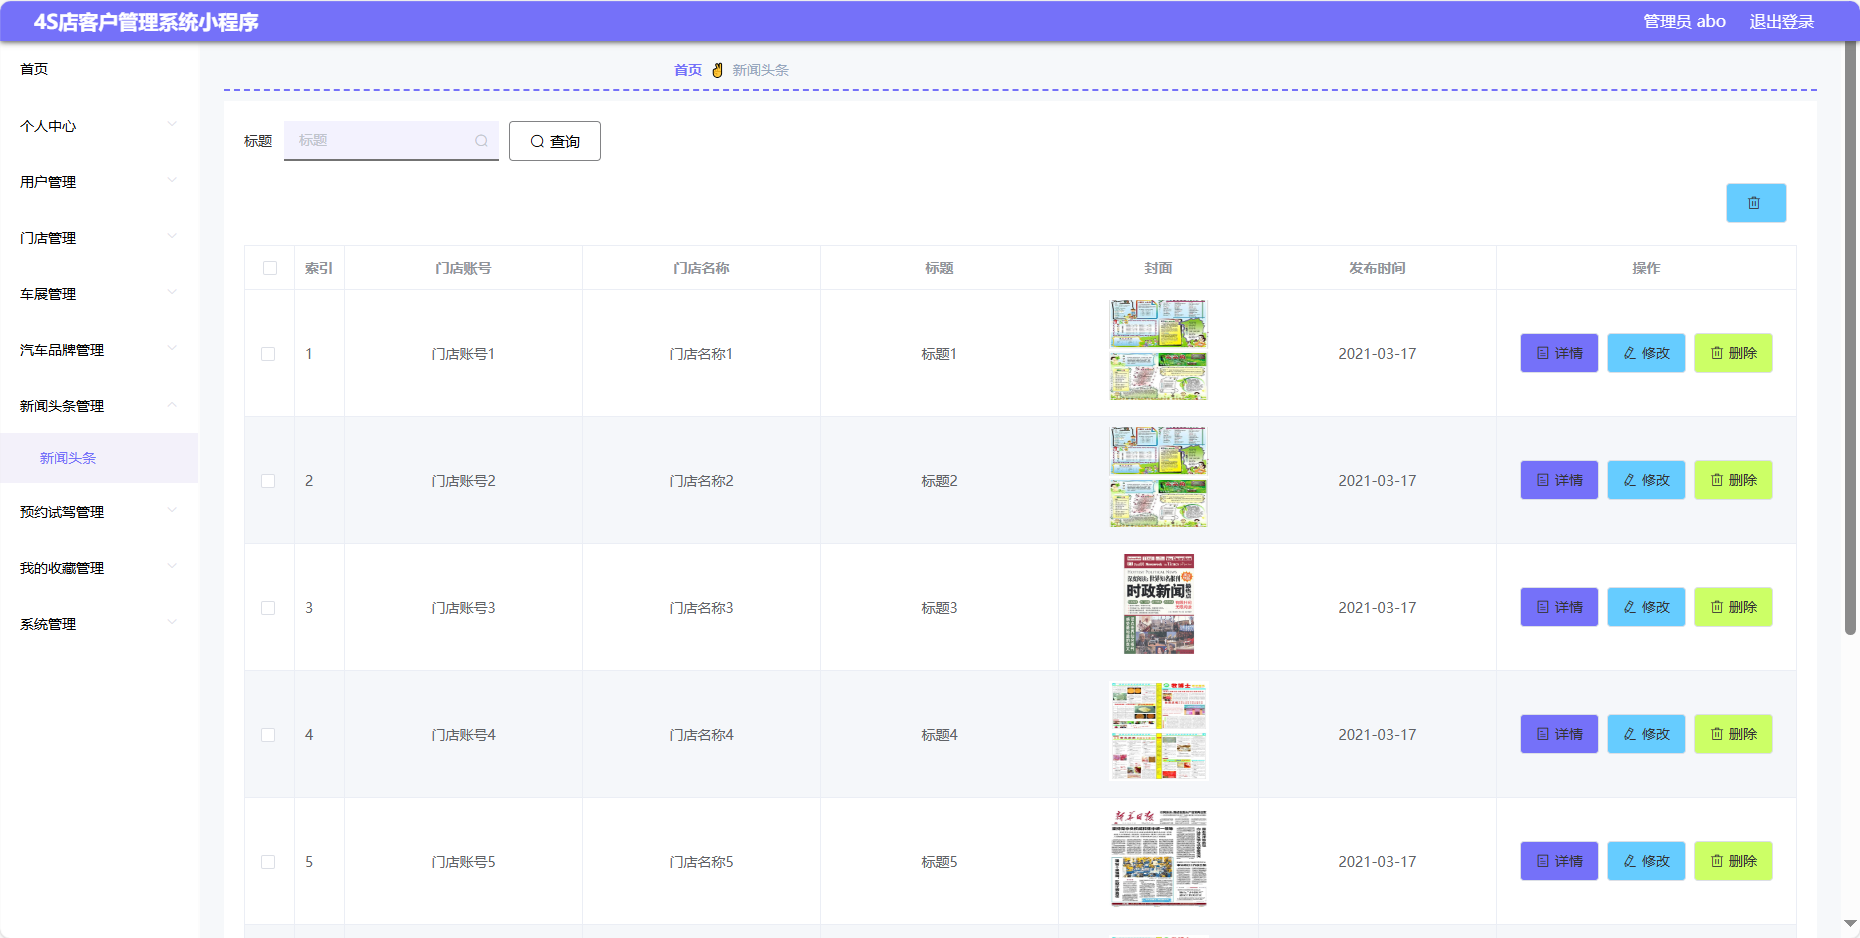
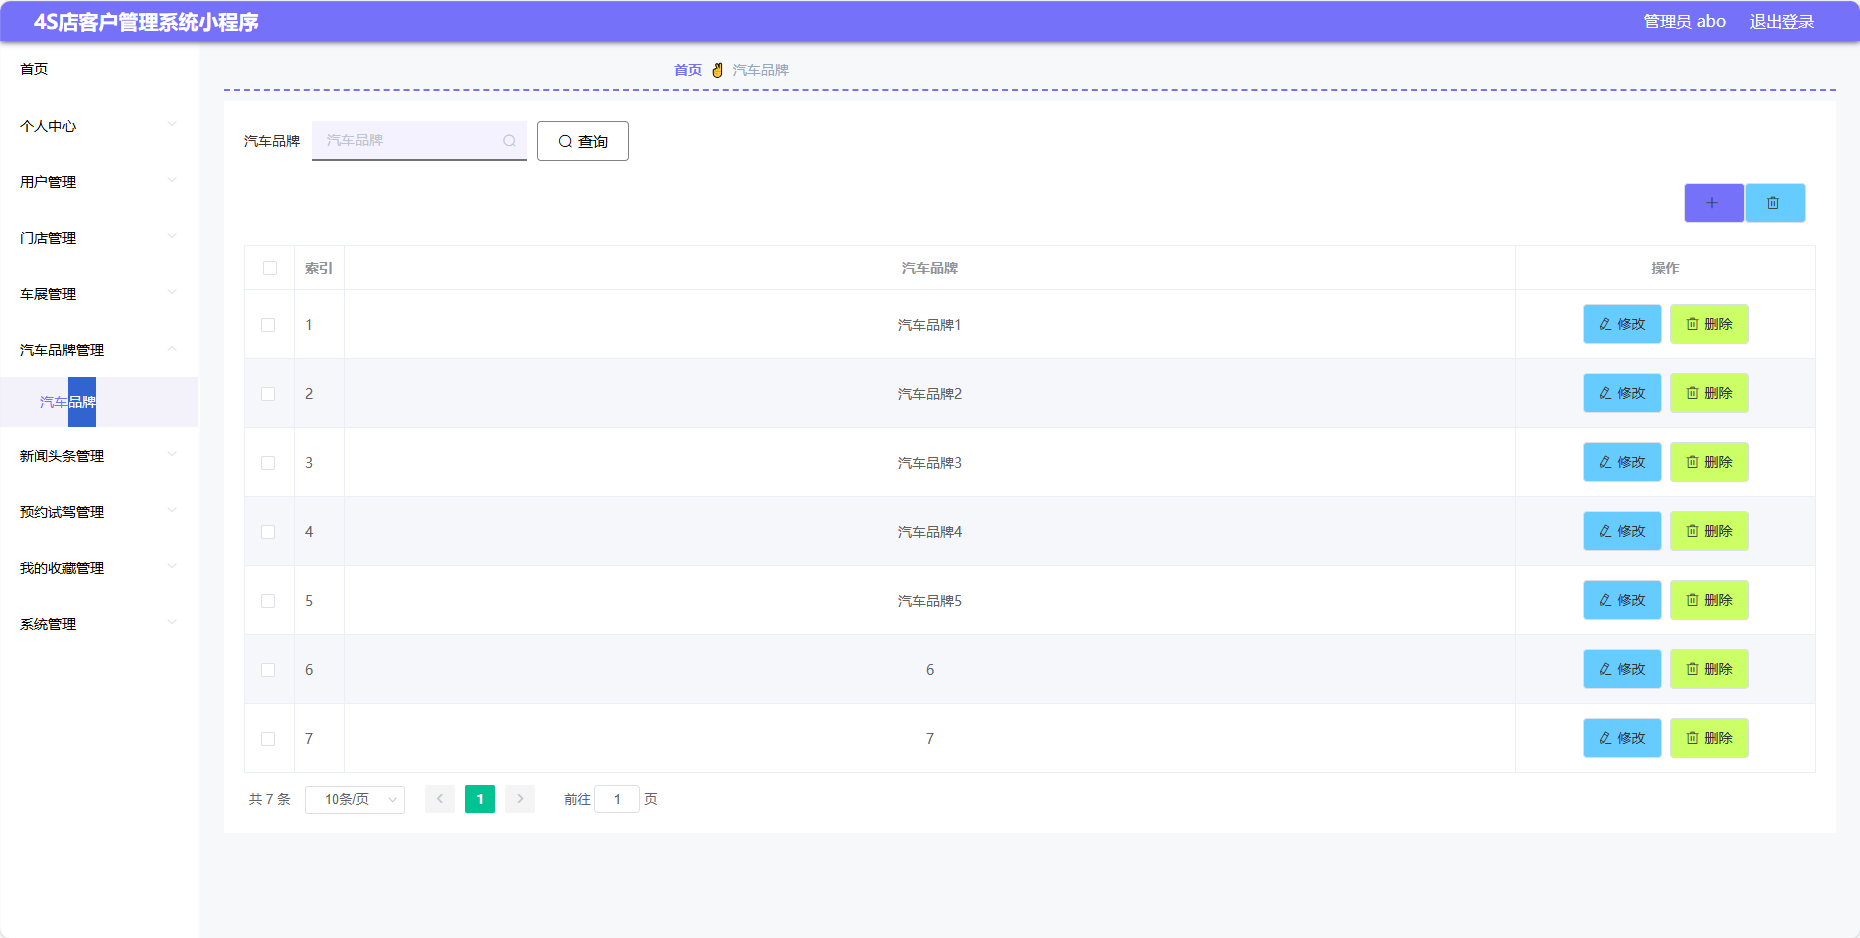
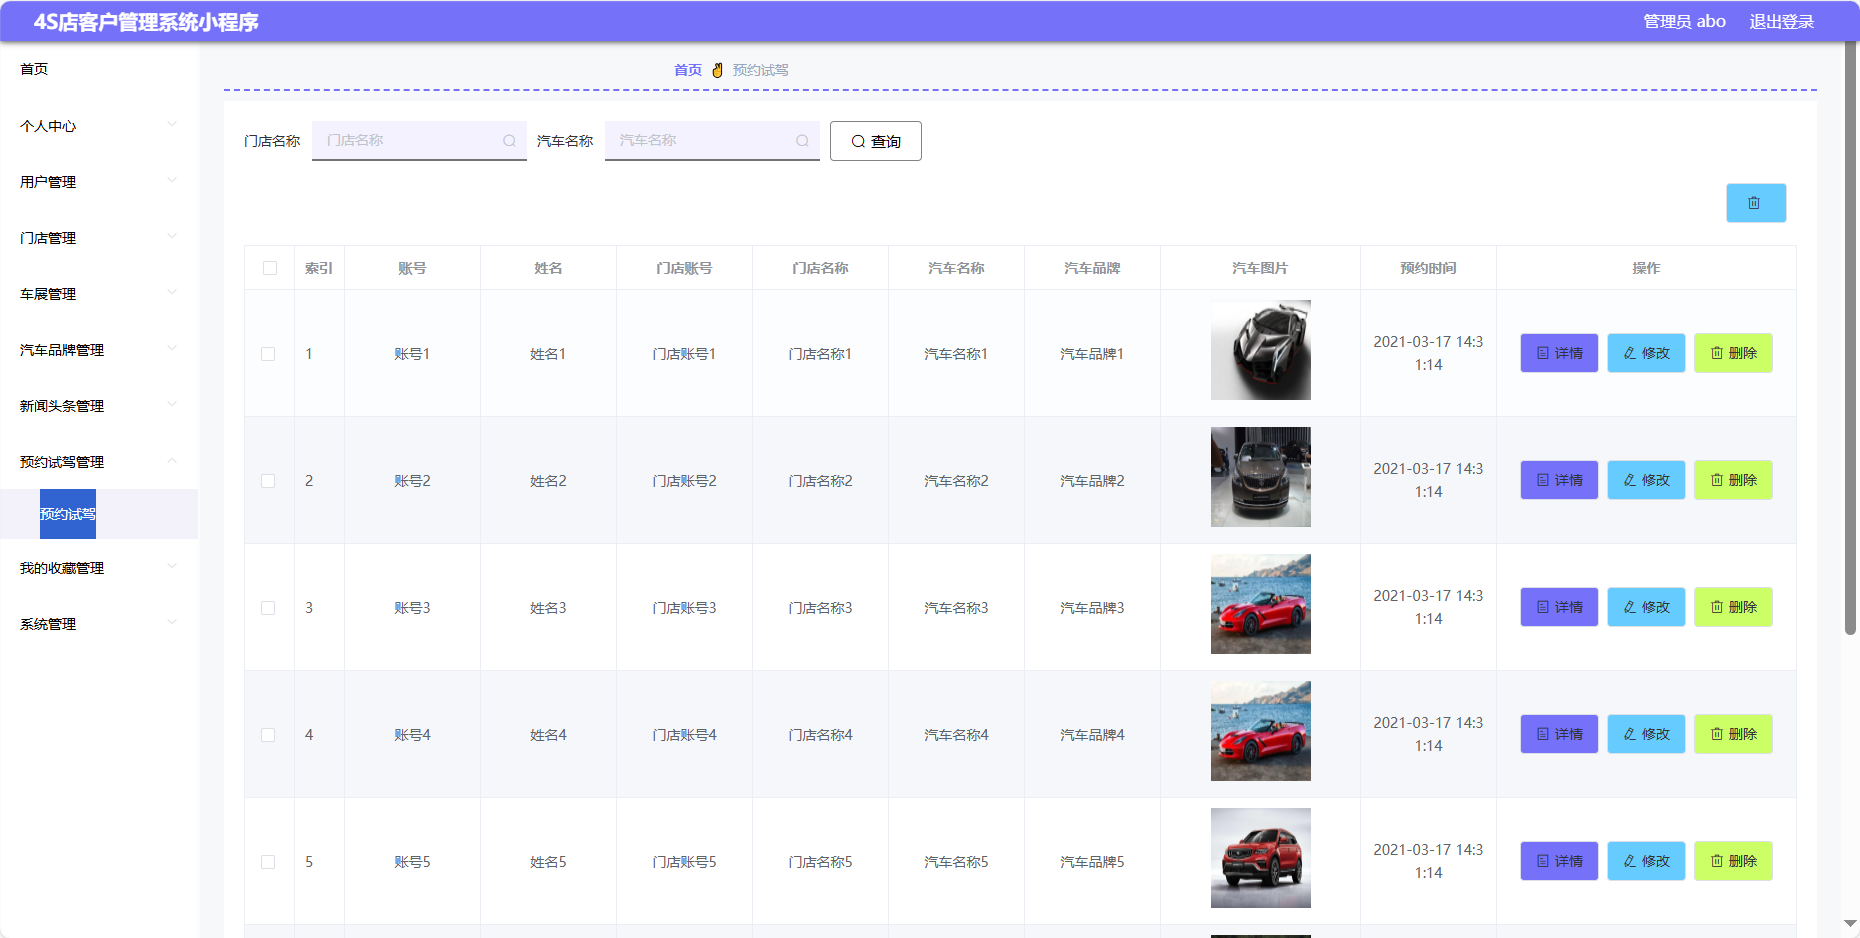
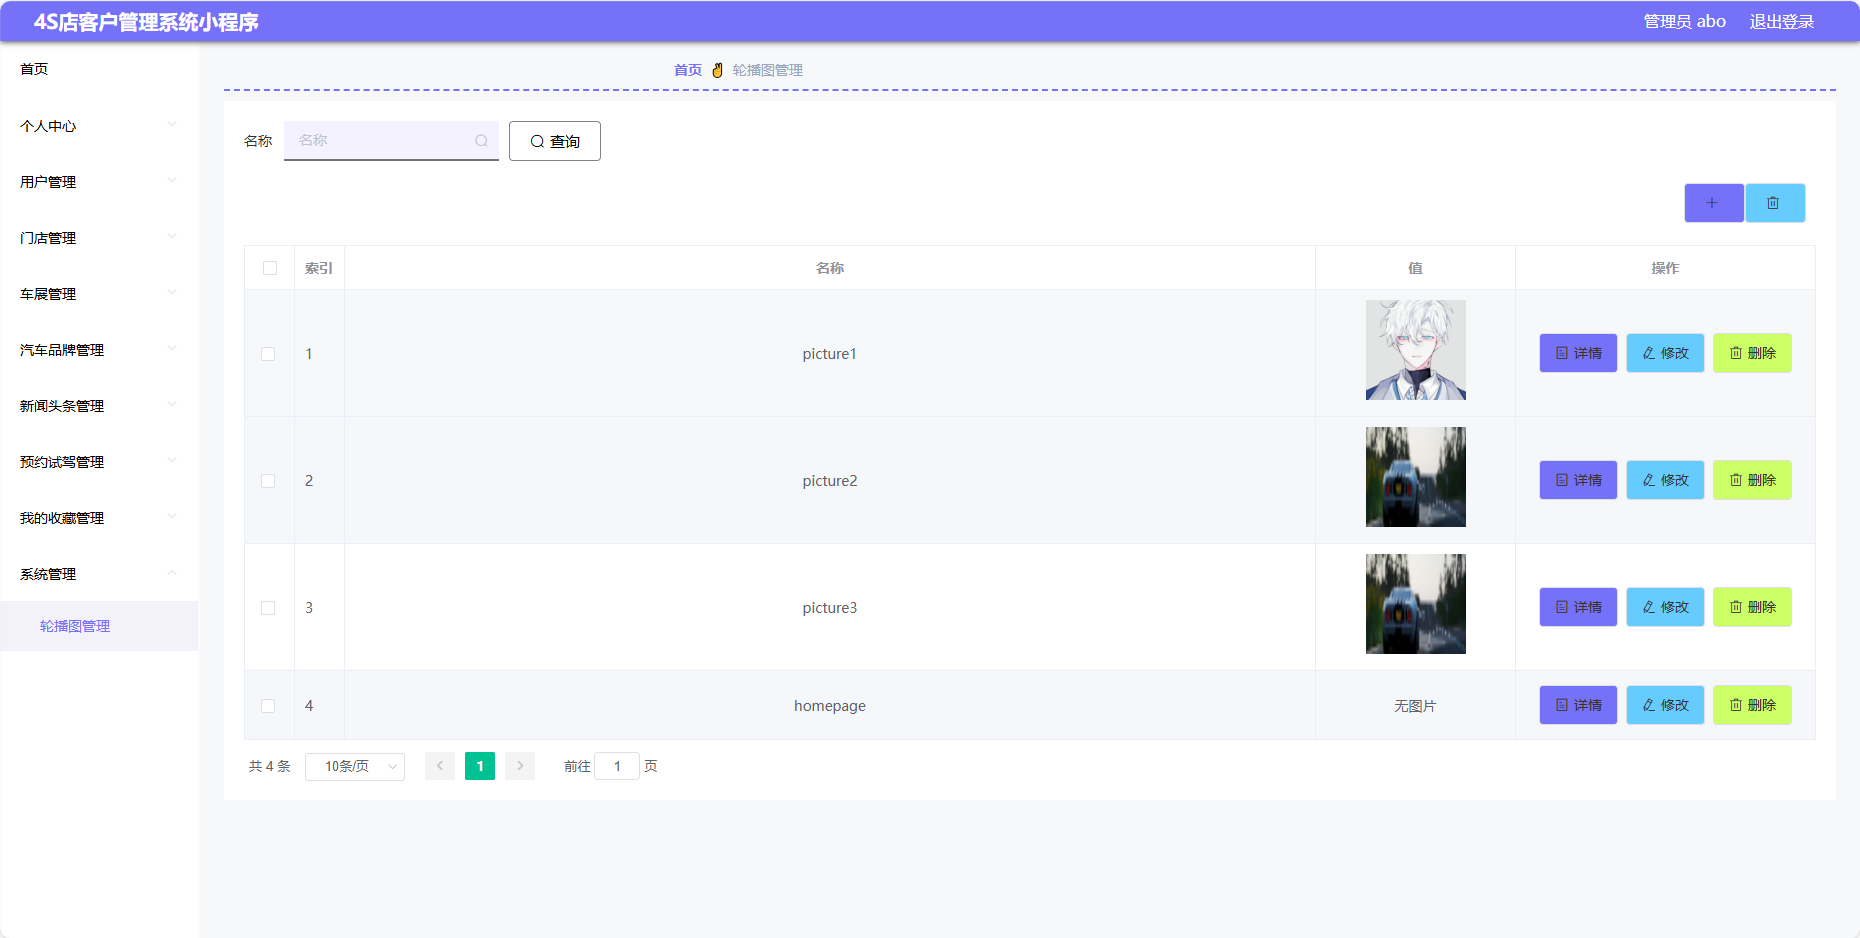
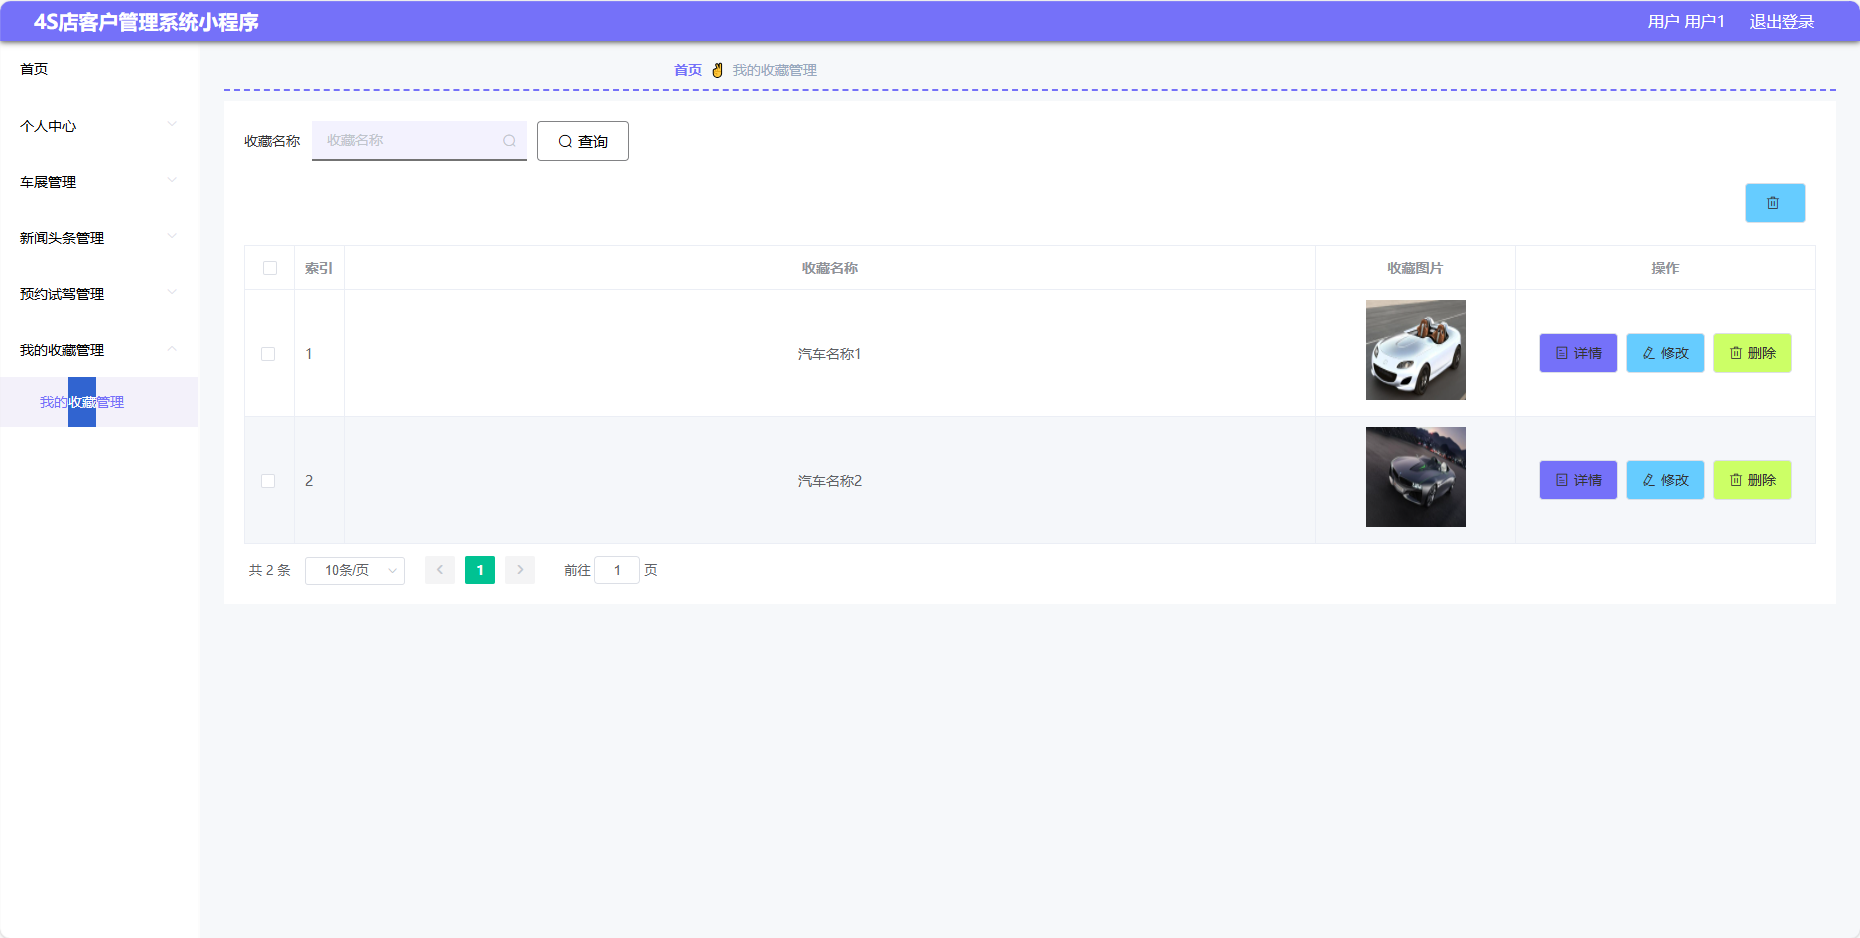
1、管理员实现了首页、个人中心、用户管理、门店管理、车展管理、汽车品牌管理、新闻头条管理、预约试驾管理、我的收藏管理、系统管理。
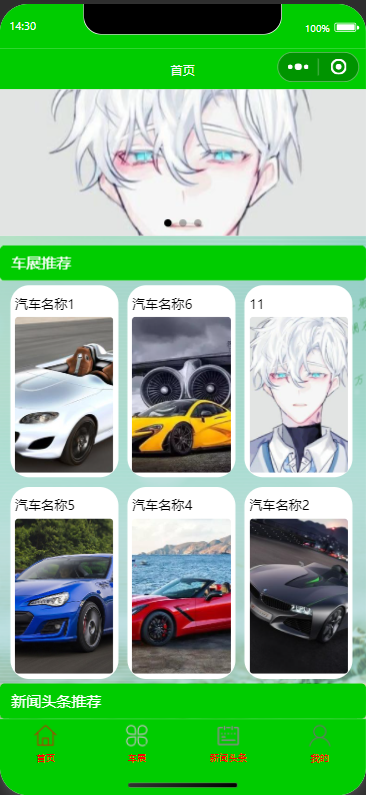
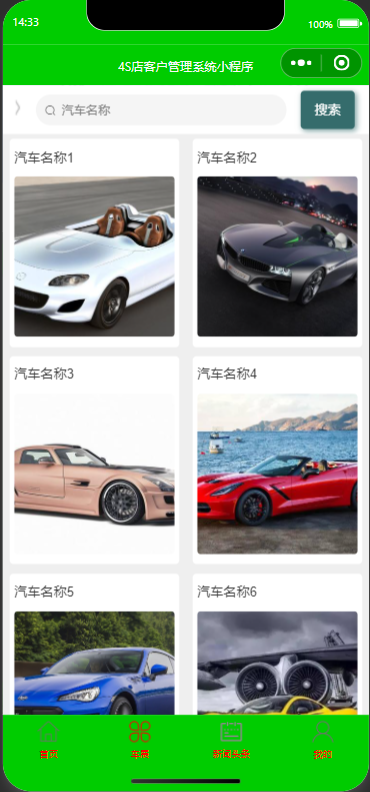
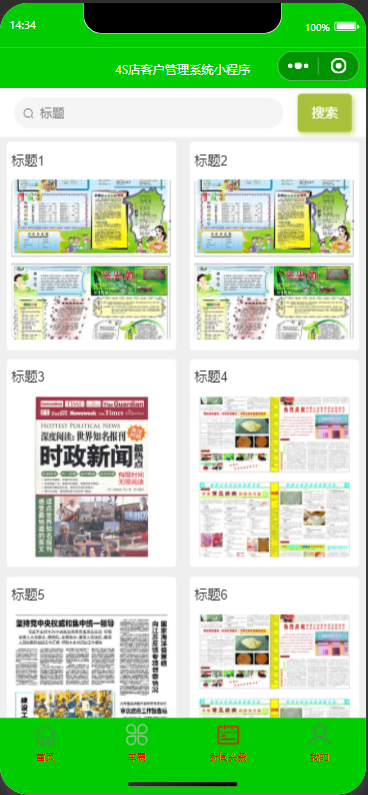
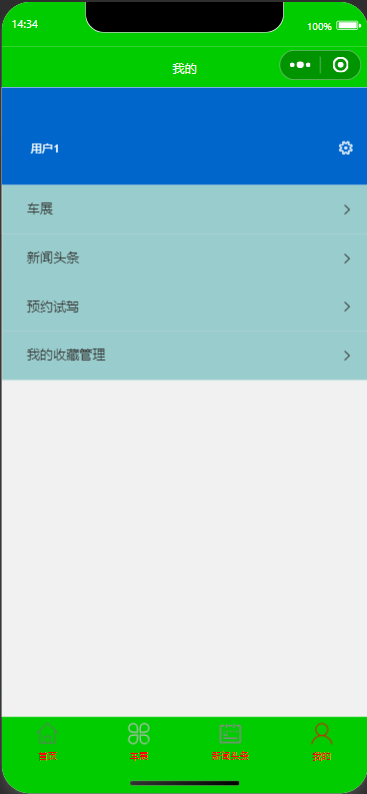
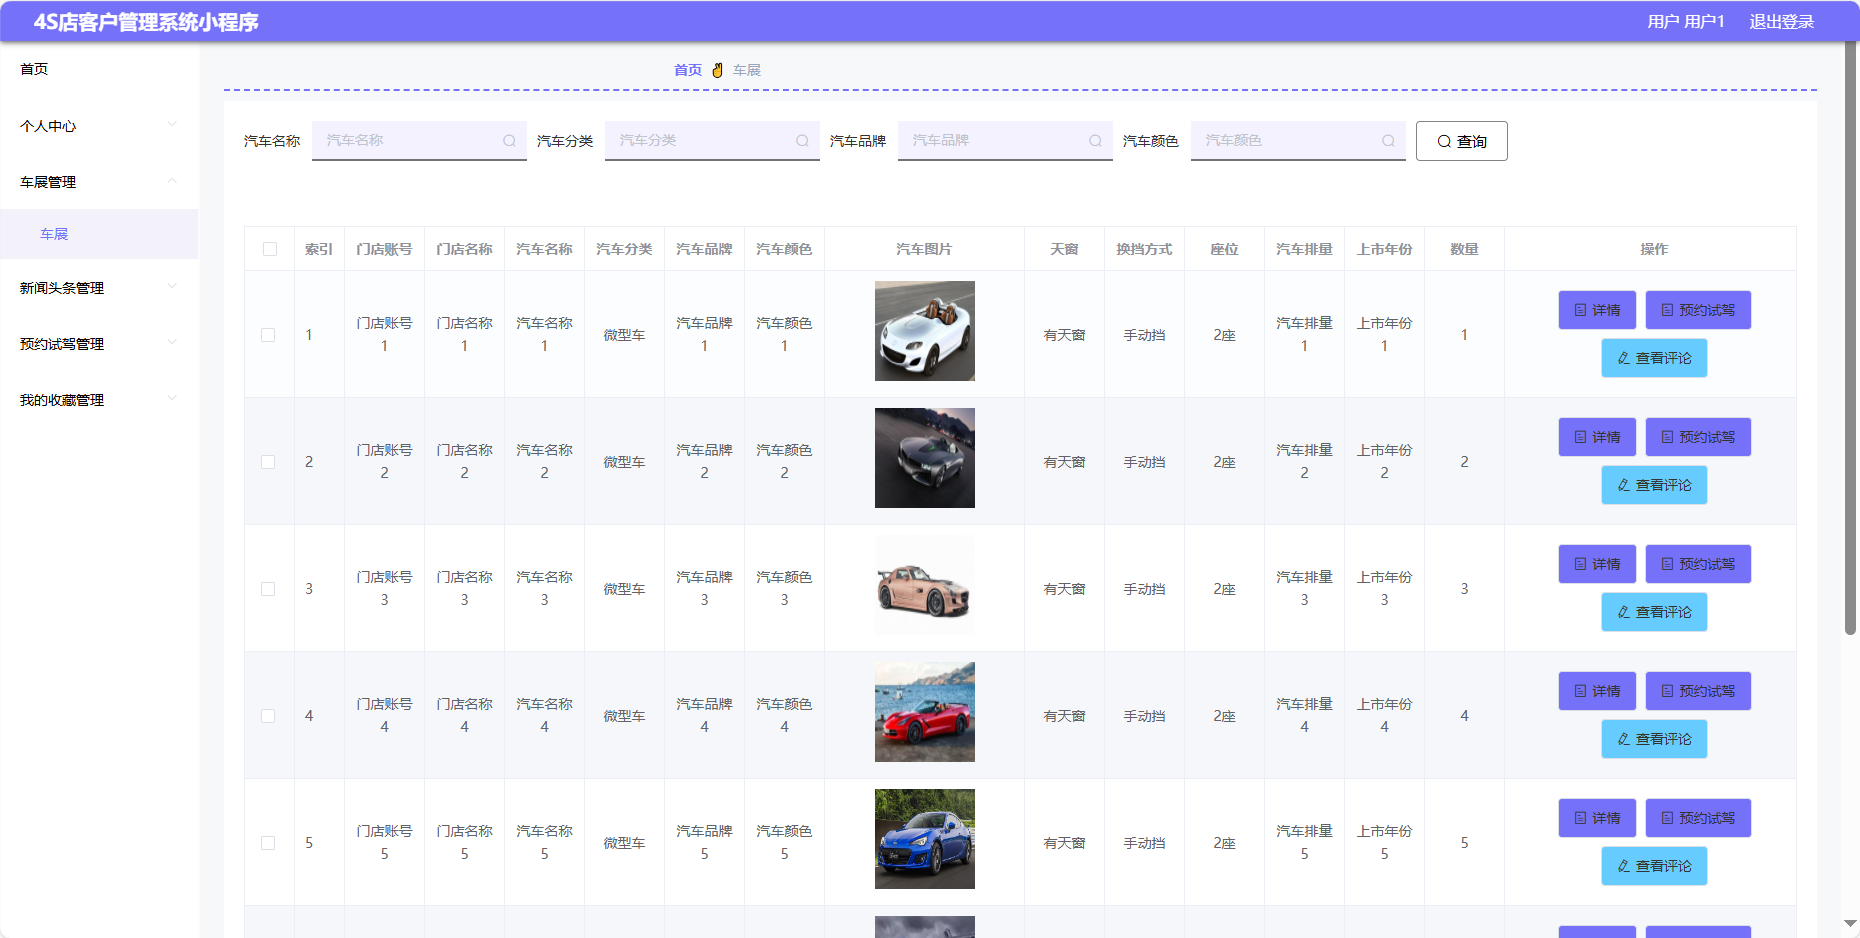
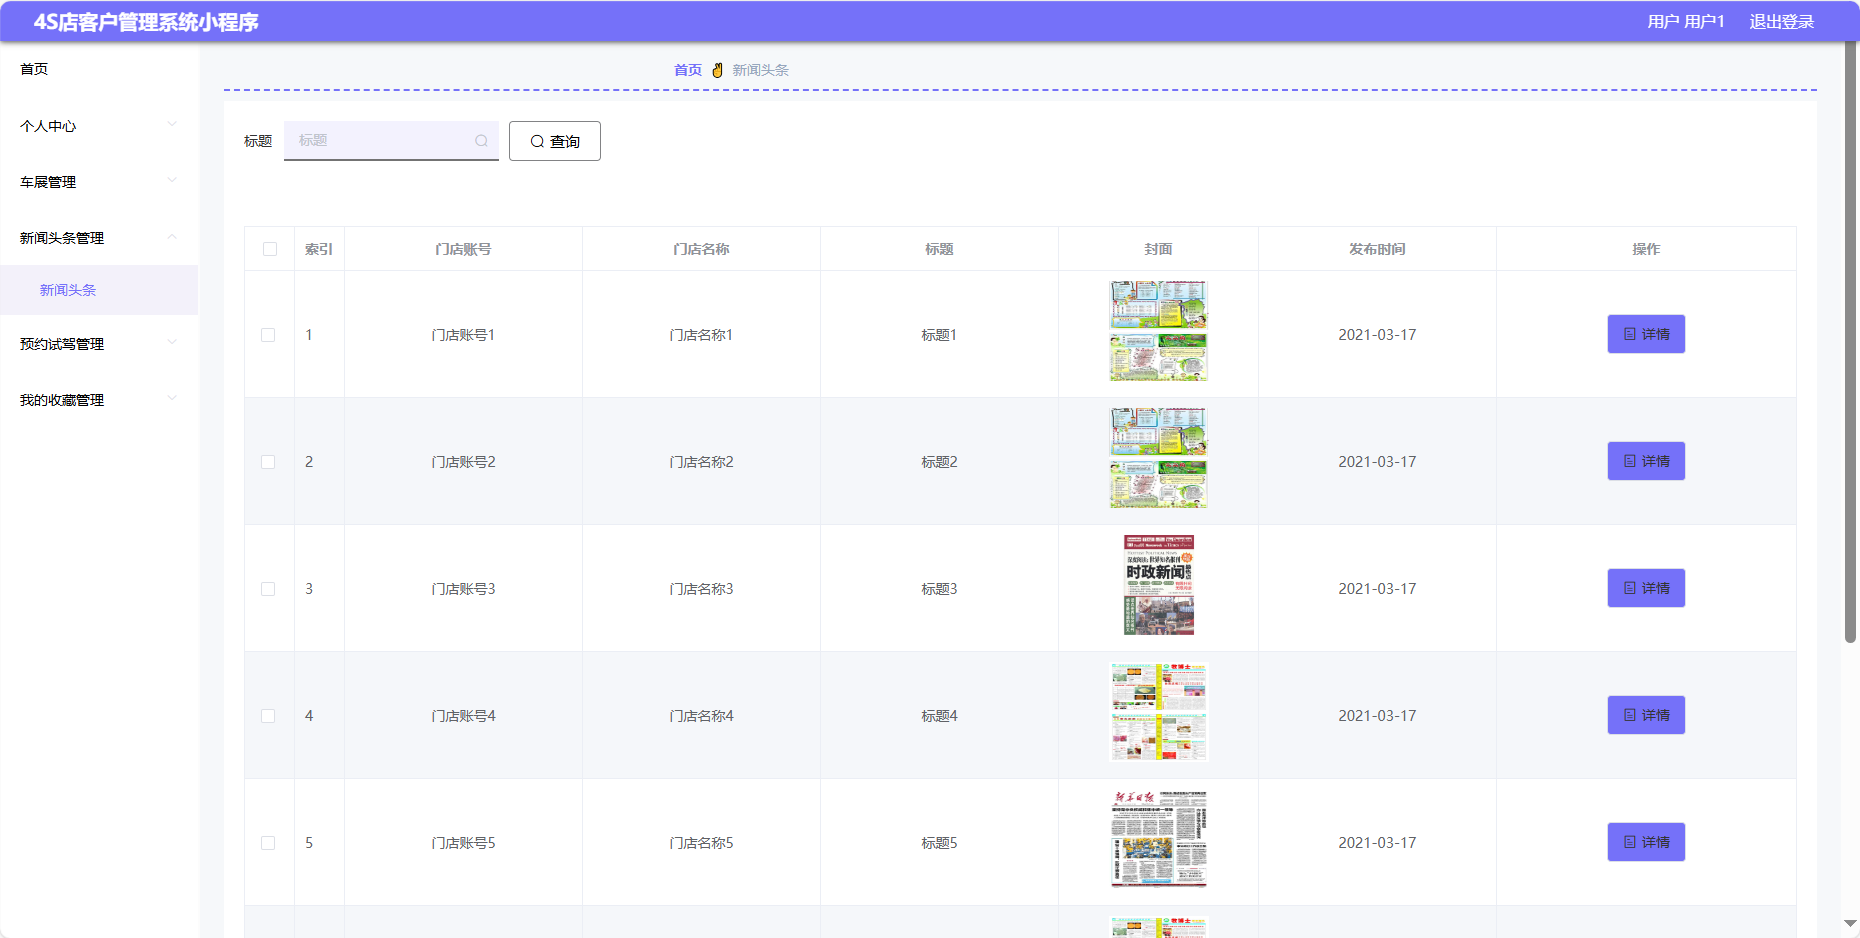
2、用户实现了首页、车展、新闻头条、我的。
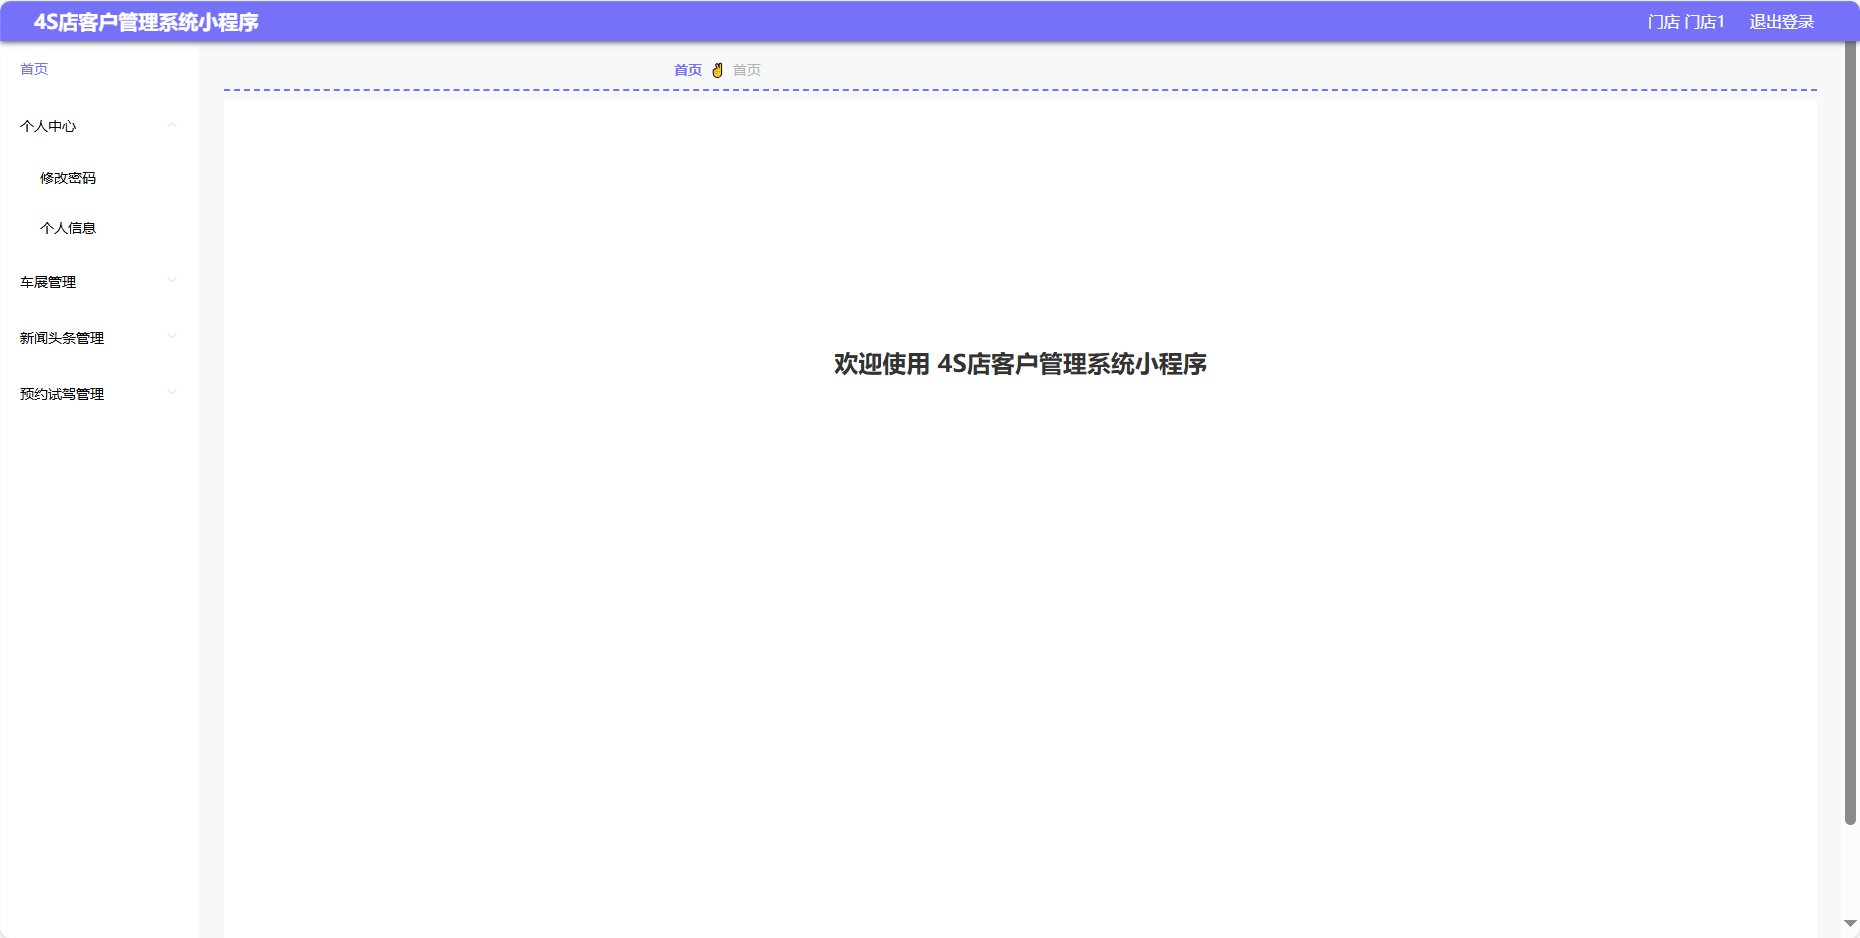
3、门店实现了首页、车展、新闻头条、我的。
2、项目技术
后端框架:SSM(Spring、SpringMVC、Mybatis)
前端技术:VUE、小程序
3、开发环境
- JAVA版本:JDK1.8(最佳)
- IDE类型:IDEA、Eclipse都可运行
- 数据库类型:MySql(5.7、8.x版本都可)
- tomcat版本:Tomcat 7-10版本均可
- maven项目:是
- 是否小程序: 是
- maven版本:无限制
- 硬件环境:Windows
4、功能介绍
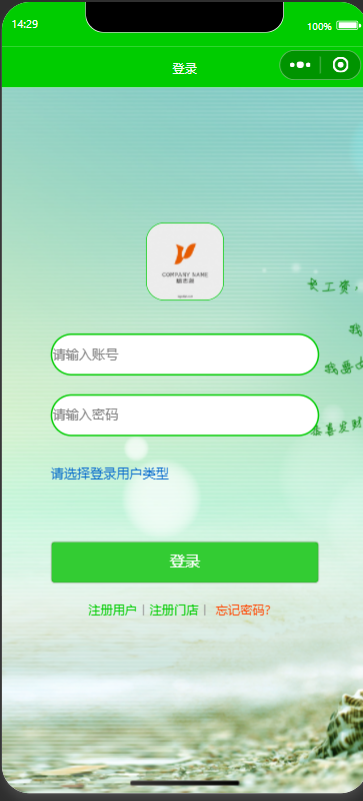
4.1 登录
4.2 管理员模块

4.3 用户模块


4.4 文档目录