给小学生做家教的网站企业培训课程设置
在现代数字营销中,横幅banner广告是一种常见的形式,也是许多网站、博客和在线广告平台上常见的广告类型。然而,正确的横幅banner尺寸是至关重要的,因为它可以影响广告的可见性和效果。在本文中,我们将探讨横幅banner尺寸,以及如何选择适当的尺寸来最大化广告效果。
常见的横幅banner尺寸
横幅banner尺寸通常由像素数表示,通常以宽度 x 高度的格式给出。以下是一些常见的横幅尺寸:
728 x 90像素
468 x 60像素
300 x 250像素
336 x 280像素
160 x 600像素
120 x 600像素
其中,728 x 90和468 x 60被称为“领头广告”或“页眉广告”,因为它们通常出现在网页的顶部或标题下方。
300 x 250和336 x 280是常见的“矩形广告”,通常出现在网页的侧边栏或中心位置。
而160 x 600和120 x 600通常被称为“摩天大楼广告”,通常出现在网页的侧边栏中,通常比矩形广告更窄但更高。
如何选择横幅banner尺寸
选择适当的横幅banner尺寸取决于许多因素,包括网站或平台的布局、广告的目标受众和广告主的目标。例如,如果您的网站或平台的布局具有宽敞的页眉或标题区域,则可能希望使用728 x 90或468 x 60的领头广告。如果您希望在侧边栏中展示广告,则矩形广告或摩天大楼广告可能更合适。
此外,考虑您的广告受众是在桌面计算机上浏览还是在移动设备上浏览也是很重要的。通常情况下,移动设备上的屏幕比桌面计算机上的屏幕小,因此较小的尺寸可能更适合移动设备上的广告。
最后记住,在选择横幅banner尺寸时,确保您的广告是有吸引力和具有吸引力的,包括使用高质量的图像和清晰的文本。如果您的广告没有吸引力,无论您选择什么尺寸都可能无济于事。
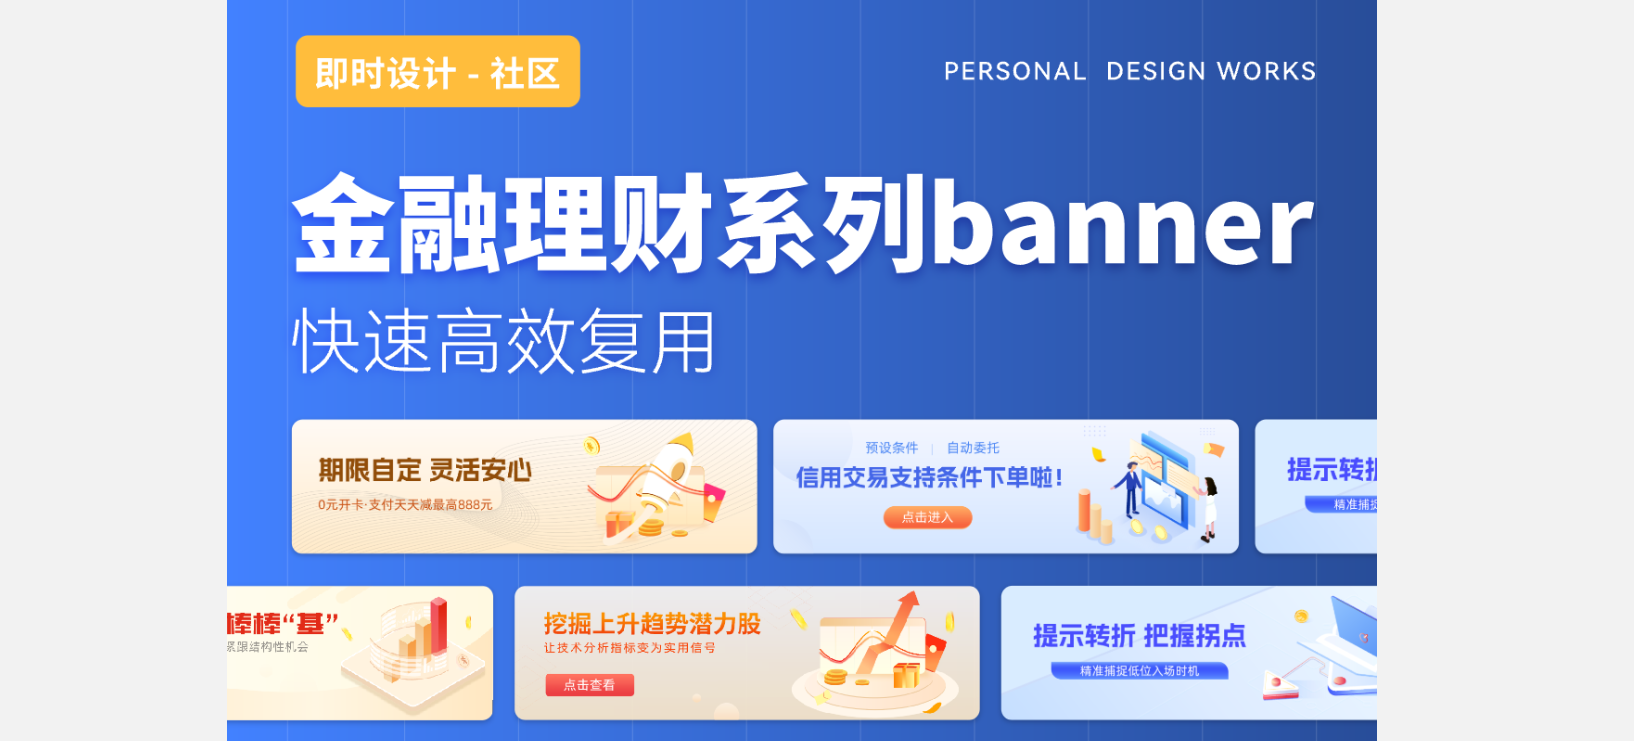
金融理财系列banner分享![]() https://js.design/community?category=detail&type=resource&id=648bd21e0d7a67e8c109fc9d&source=csdn&plan=btt5242
https://js.design/community?category=detail&type=resource&id=648bd21e0d7a67e8c109fc9d&source=csdn&plan=btt5242
横幅banner广告制作锦囊
选择正确的横幅banner尺寸对于广告的可见性和效果至关重要,选择一款高效专业的横幅banner制作工具同样重要。推荐使用即时设计协同设计工具。即时设计是一款基于云端的设计工具,被广泛用于界面设计和用户体验设计。它也是一种流行的制作横幅广告的工具。下面是使用即时设计制作横幅广告的优势:
易于使用:即时设计提供了一套直观的界面和易于理解的工具,使得即使是没有设计背景的人也可以轻松上手使用。用户可以通过简单的拖放和单击操作来创建和编辑设计,这使得设计过程非常快速和高效
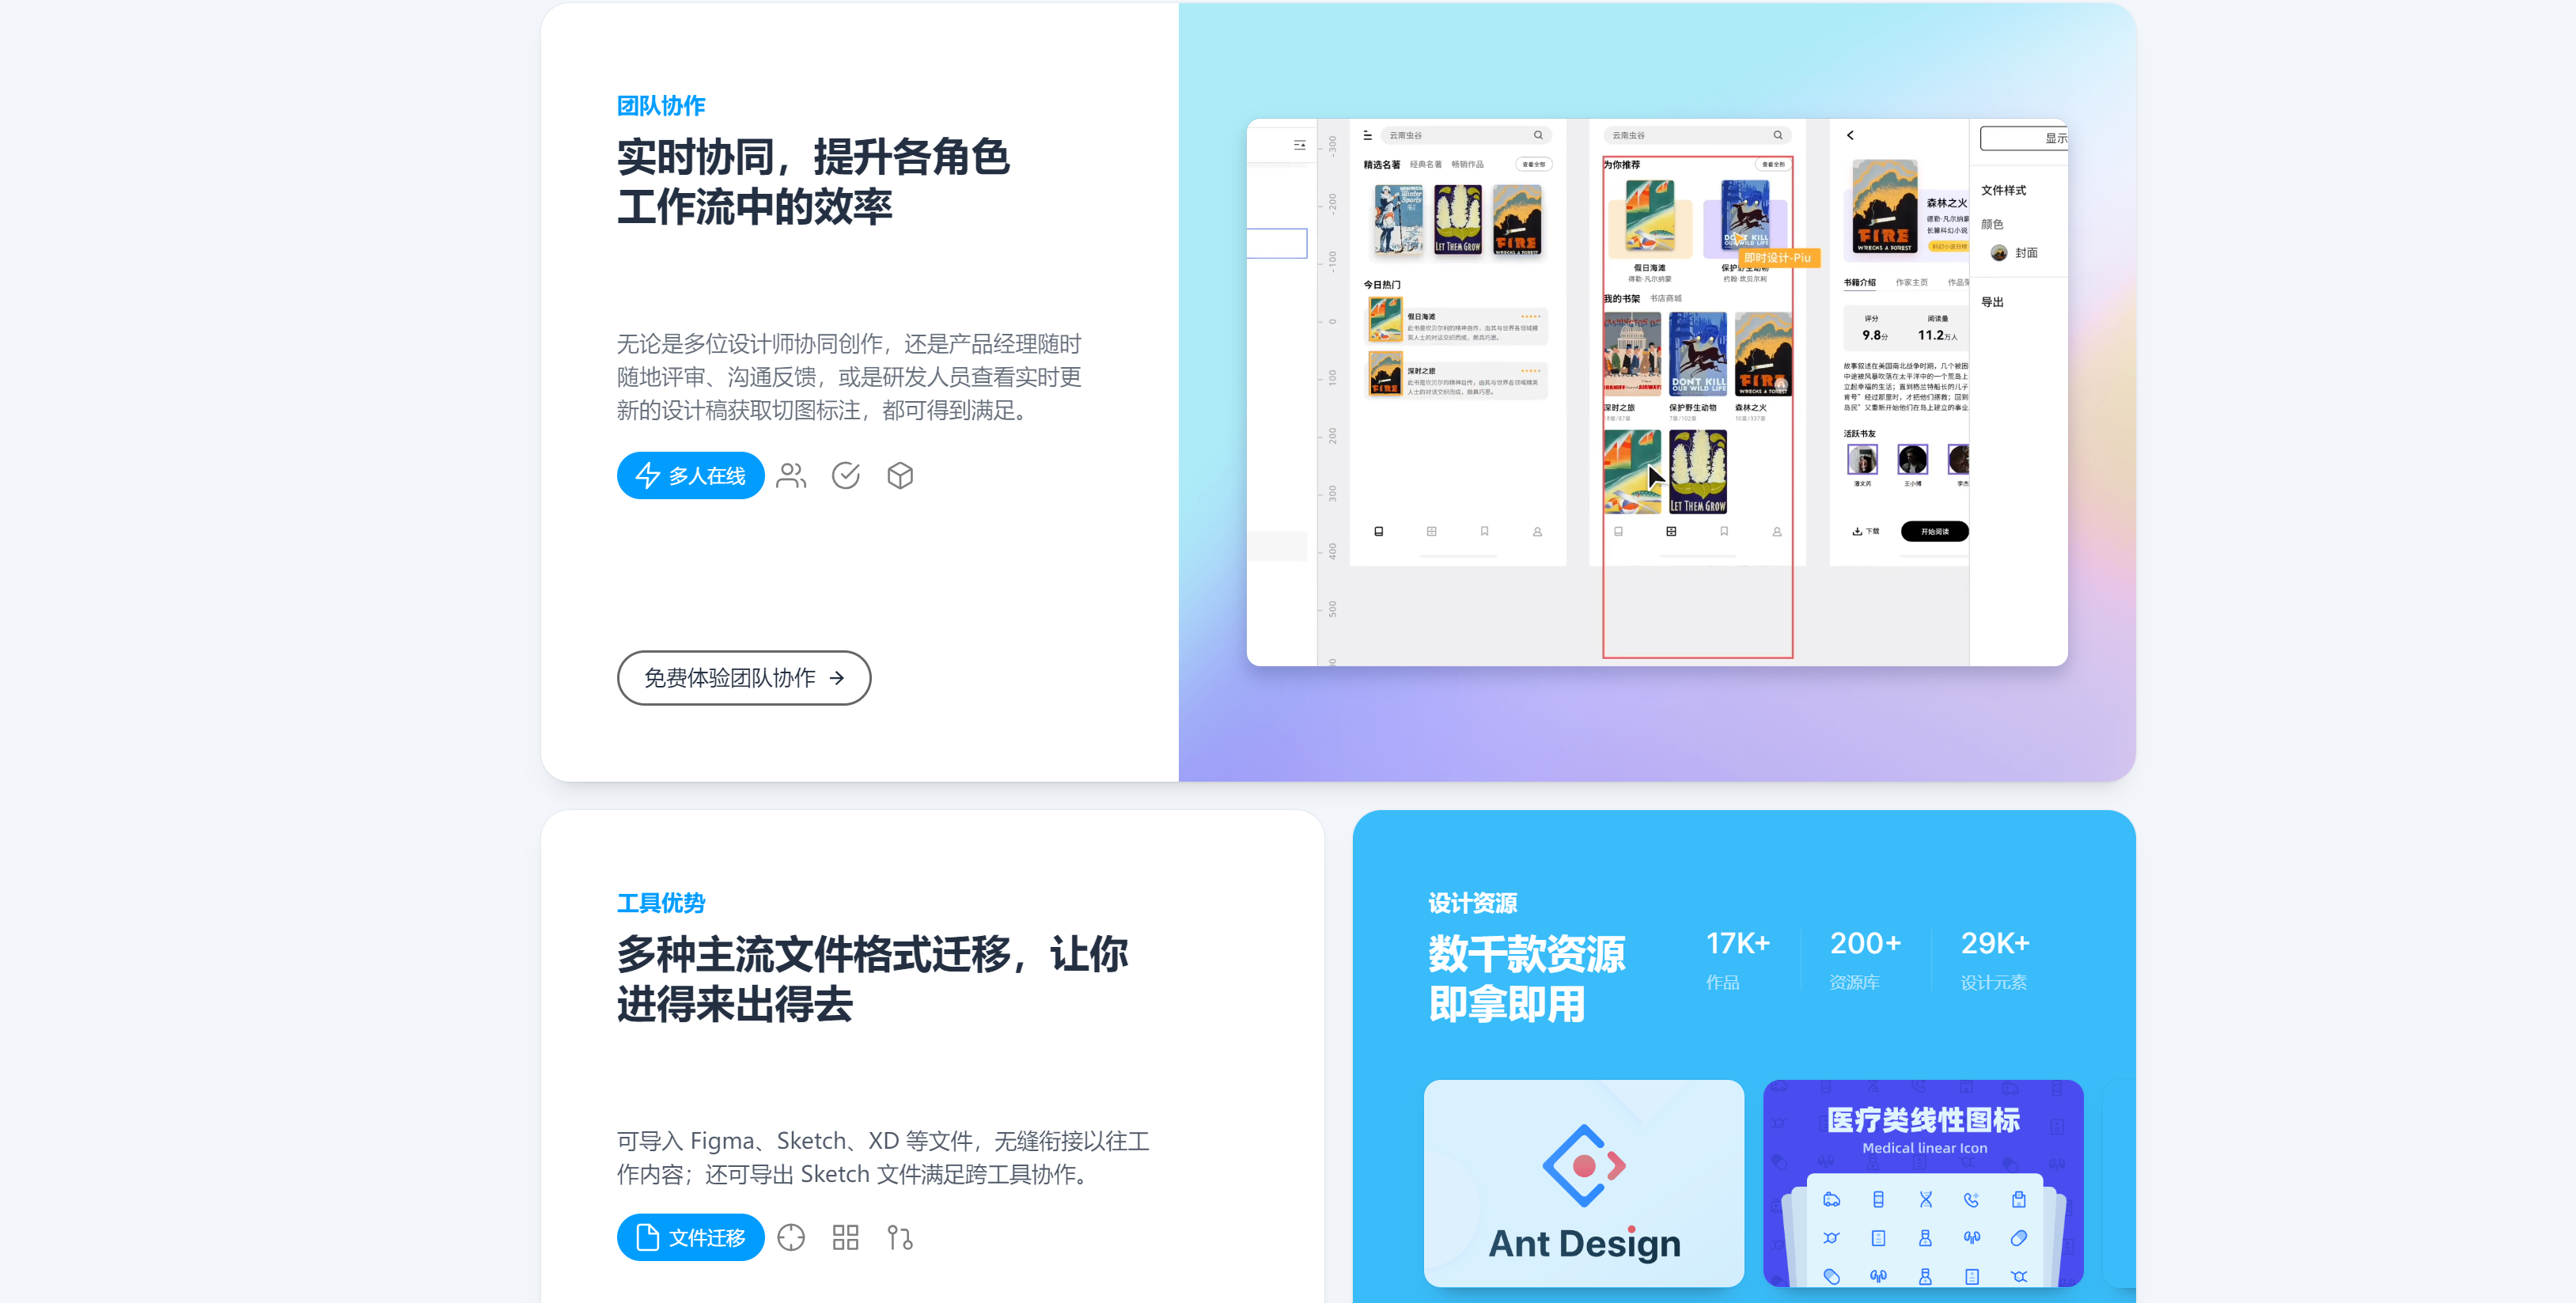
协作和共享:即时设计是一款基于云端的工具,这意味着用户可以轻松地与同事和客户协作和共享设计文件。多个用户可以同时在同一文件上工作,并即时看到其他人所做的更改。这使得工作流程更加协作和高效。
即时设计 - 可实时协作的专业 UI 设计工具即时设计是一款支持在线协作的专业级 UI 设计工具,支持 Sketch、Figma、XD 格式导入,海量优质设计资源即拿即用。支持创建交互原型、获取设计标注,为产设研团队提供一站式协同办公体验。![]() https://js.design/community?category=explore&source=csdn&plan=btt5242
https://js.design/community?category=explore&source=csdn&plan=btt5242
多平台支持:即时设计不仅支持桌面应用程序,还提供了移动应用程序,这意味着用户可以随时随地访问他们的设计文件。这样,用户可以随时查看和修改横幅广告,从而更快地推进设计工作。
实时预览:即时设计提供了一个实时预览功能,允许用户在设计期间即时预览横幅广告的外观和感觉。这使得用户能够快速测试不同的设计方案,并做出更好的决策,从而提高横幅广告的效果和吸引力。
重复使用:即时设计允许用户创建和保存设计元素,并将其用于其他设计项目中。这意味着设计师可以在多个横幅广告中使用相同的元素,例如颜色方案、图像和文本样式。这有助于提高设计的一致性和效率,节省时间和精力。即时设计资源社区内置大量专属UI/UX设计资源模板,行业设计电商、家居、教育、科技等,所有资源均支持在线编辑
即时设计 - 可实时协作的专业 UI 设计工具即时设计是一款支持在线协作的专业级 UI 设计工具,支持 Sketch、Figma、XD 格式导入,海量优质设计资源即拿即用。支持创建交互原型、获取设计标注,为产设研团队提供一站式协同办公体验。![]() https://js.design/community?category=explore&source=csdn&plan=btt5242
https://js.design/community?category=explore&source=csdn&plan=btt5242

总之,使用即时设计制作横幅banner具有许多优势,包括易于使用、协作和共享、多平台支持、实时预览和设计重用。这些优势可以帮助设计师更快速、高效地制作具有吸引力和效果的横幅广告,从而实现广告主的营销目标