企业网站建设需要许可证吗网络营销心得体会300字
以创建led工程为例:
新建一个led文件夹
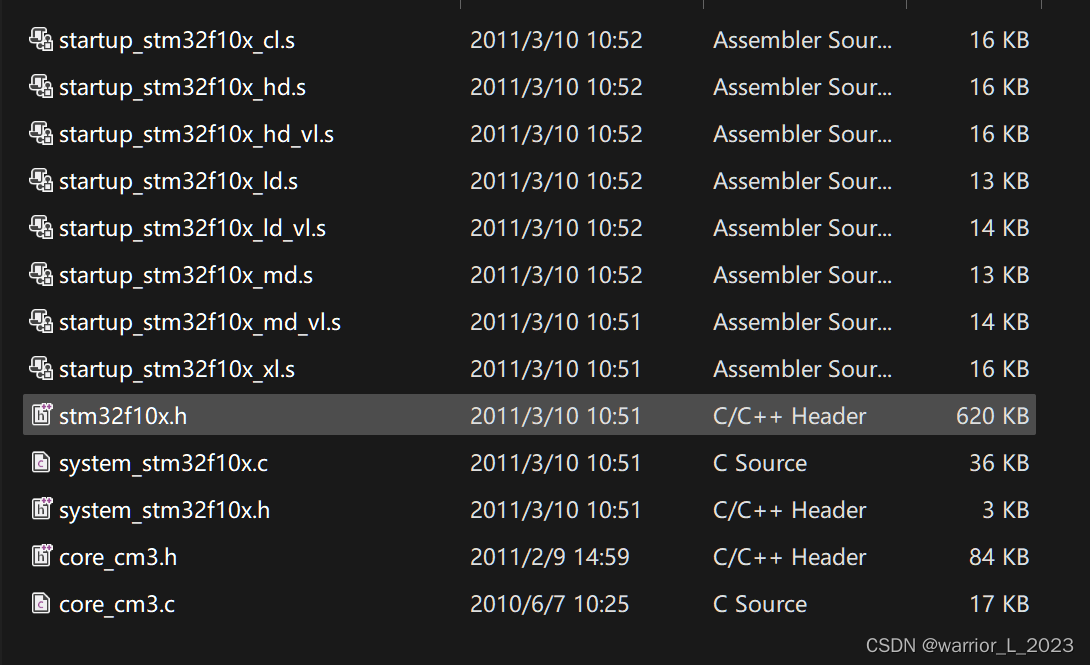
新建一个以led命名的工程(用keil_uVision5)并添加三个组。
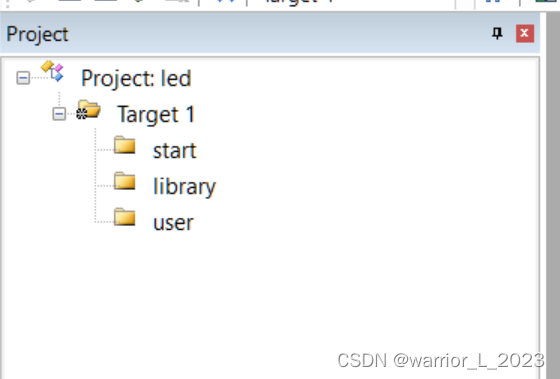
Library文件夹里放置库函数文件。 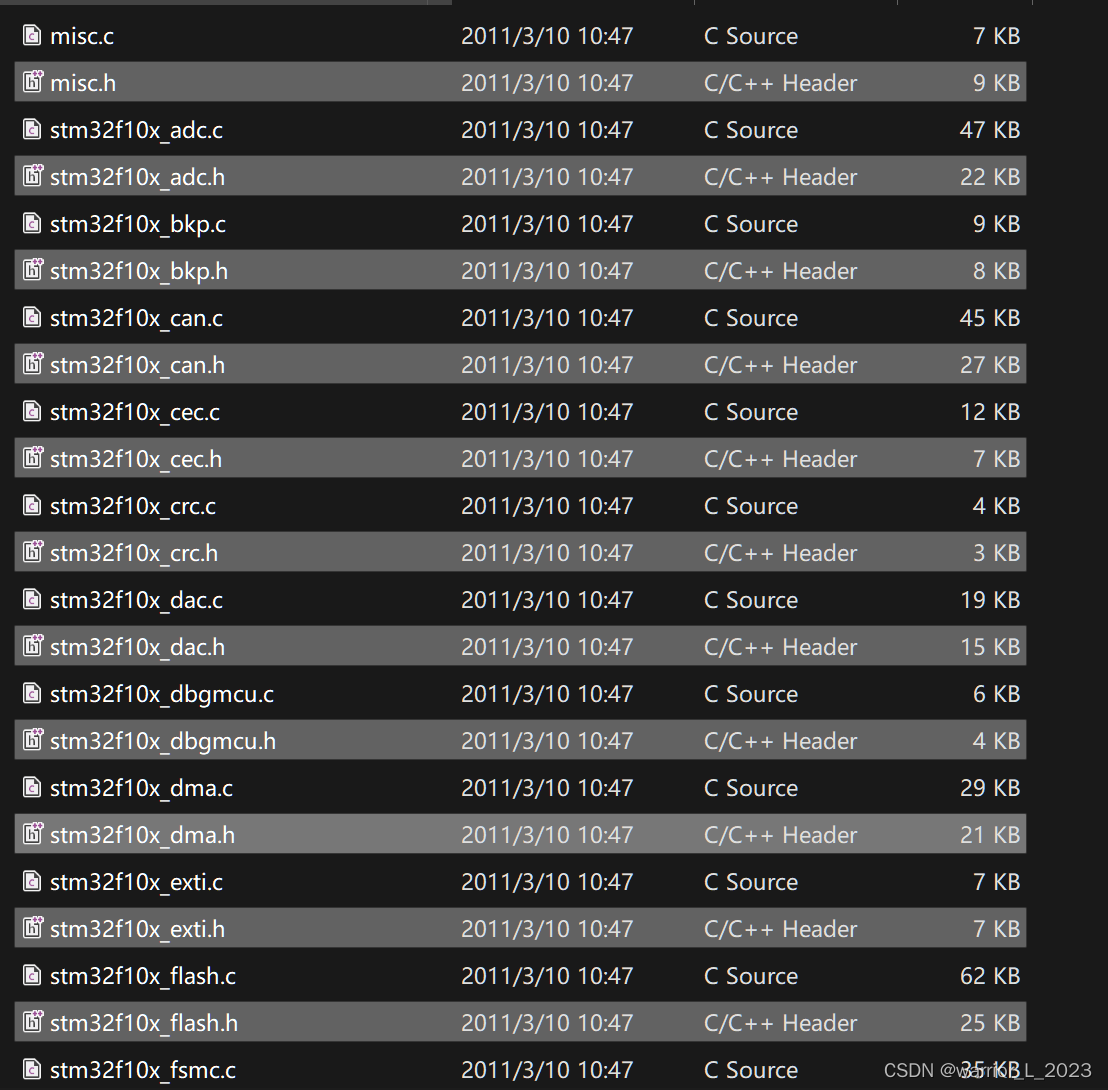
User:
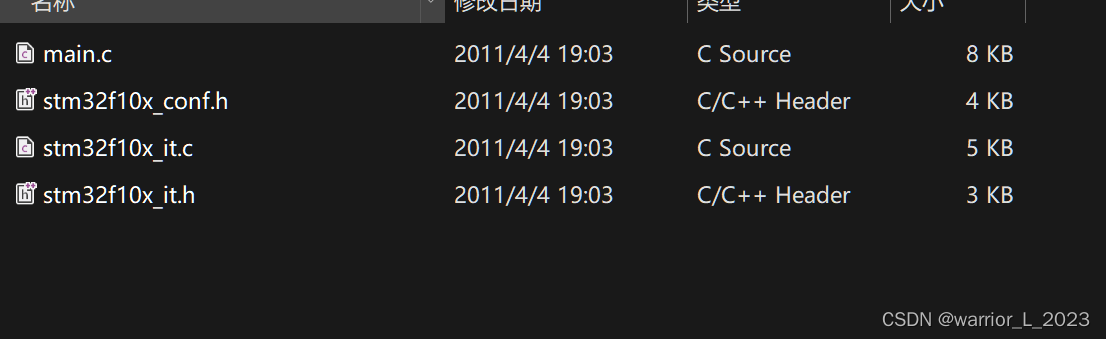
点亮led灯的程序;
直接给寄存器赋值
调用库函数。
#include "stm32f10x.h"                  // Device headerint main (void)
{
//        RCC -> APB2ENR = 0X00000010; // 打开gpioc的时钟。
//        GPIOC->CRH = 0X00000030; // 模式与时钟配置
//        GPIOC->ODR = 0X00002000; // 0X00000000亮。RCC_APB2PeriphClockCmd(RCC_APB2Periph_GPIOC, ENABLE);//外设和状态。时钟使能。GPIO_InitTypeDef GPIO_InitStructure; GPIO_InitStructure.GPIO_Mode = GPIO_Mode_Out_PP; // 通用推挽输出。GPIO_InitStructure.GPIO_Pin = GPIO_Pin_13;GPIO_InitStructure.GPIO_Speed= GPIO_Speed_50MHz;GPIO_Init(GPIOC, &GPIO_InitStructure);// 配置端口gpio模式// GPIO_SetBits(GPIOC, GPIO_Pin_13); // 灭GPIO_ResetBits(GPIOC, GPIO_Pin_13); // 亮while(1){}
}