网站快速排名优化方法typecho跟wordpress
微信小程序中获取用户当前位置的解决方案
1 概述
微信小程序有时需要获取用户当前位置,以便为用户提供基于位置信息的服务(附近美食、出行方案等)。
获取用户当前位置的前提是用户手机需要打开 GPS 定位开关;其次,微信小程序依托于手机微信 APP 运行,所以需要保证用户已授予手机微信 APP 访问定位信息的权限;然后,微信小程序也需要在用户使用时向用户申请访问定位信息。此外,如果用户拒绝授权访问位置信息后应提醒用户无法提供服务。如果用户想要重新授权使用服务,还应引导用户前往设置与授权。
2 判断用户手机是否开启定位开关
微信小程序官方提供了 getSystemInfo() 接口可以让小程序获取用户手机的系统信息(设备型号、屏幕宽高、蓝牙,WIFI,GPS 开关等)。
如果用户手机 GPS 定位已开启,则进一步判断手机微信 APP 是否已获取访问定位信息的权限;如果用户手机 GPS 定位未开启,则需引导用户手动打开 “设置 - 定位服务/位置信息” 开启手机定位。微信小程序无法感知到手机定位开关状态是否发生变化,还需提醒用户关闭小程序后重新进入。
isPhoneLocationEnabled() {let _this = this// 获取用户手机系统信息uni.getSystemInfo({success: (res) => {const locationEnabled = res.locationEnabledif (locationEnabled) {// 手机GPS定位已开启则判断微信APP是否已获取访问定位信息的权限_this.isAppAuthorized()} else {// 手机GPS定位未开启则引导用户手动前往开启uni.showModal({title: '提示',content:'小程序需要基于您的手机定位信息为您提供出行服务,当前检测到您的手机并未打开定位开关,请关闭小程序后前往 "设置 - 定位服务/位置信息" 开启手机定位,然后重新进入小程序~',showCancel: false,confirmText: '我已知悉'})}},fail: (err) => {console.log('用户手机系统信息获取失败', err)}})
}
效果图如下:

3 判断微信APP是否已获取访问定位信息的权限
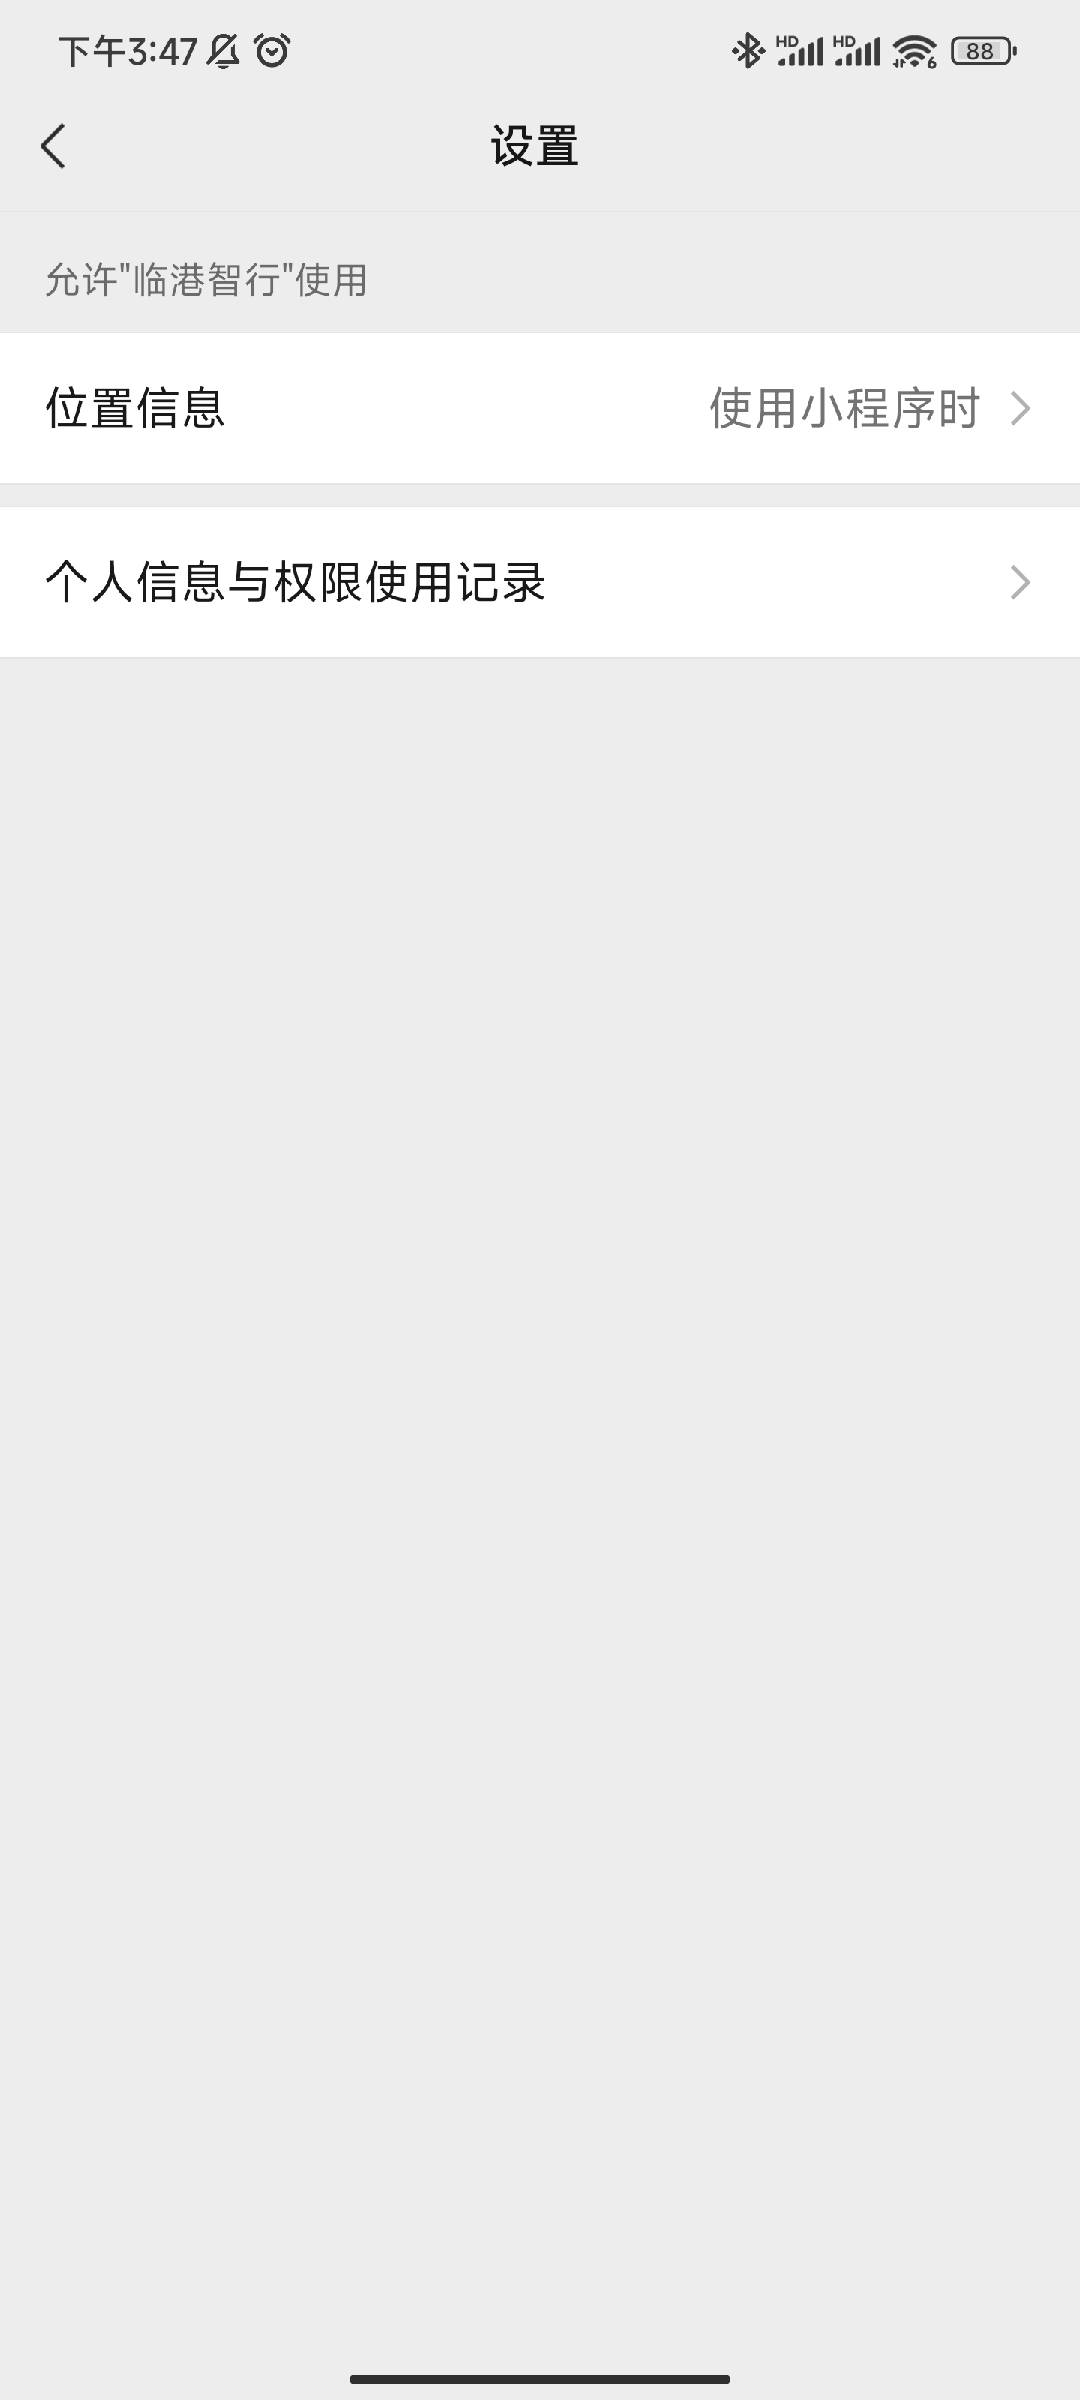
用户手机 GPS 定位开启后,接下来需要判断手机微信 APP 是否已获取访问定位信息的权限。微信小程序官方提供了 getAppAuthorizeSetting() 接口可以让小程序获取用户授予手机微信 APP 的权限信息(相册、摄像头、蓝牙,WIFI,GPS 开关等),同时提供了 openAppAuthorizeSetting() 接口可以让小程序跳转至手机微信 APP 授权管理页,引导用户进行授权。
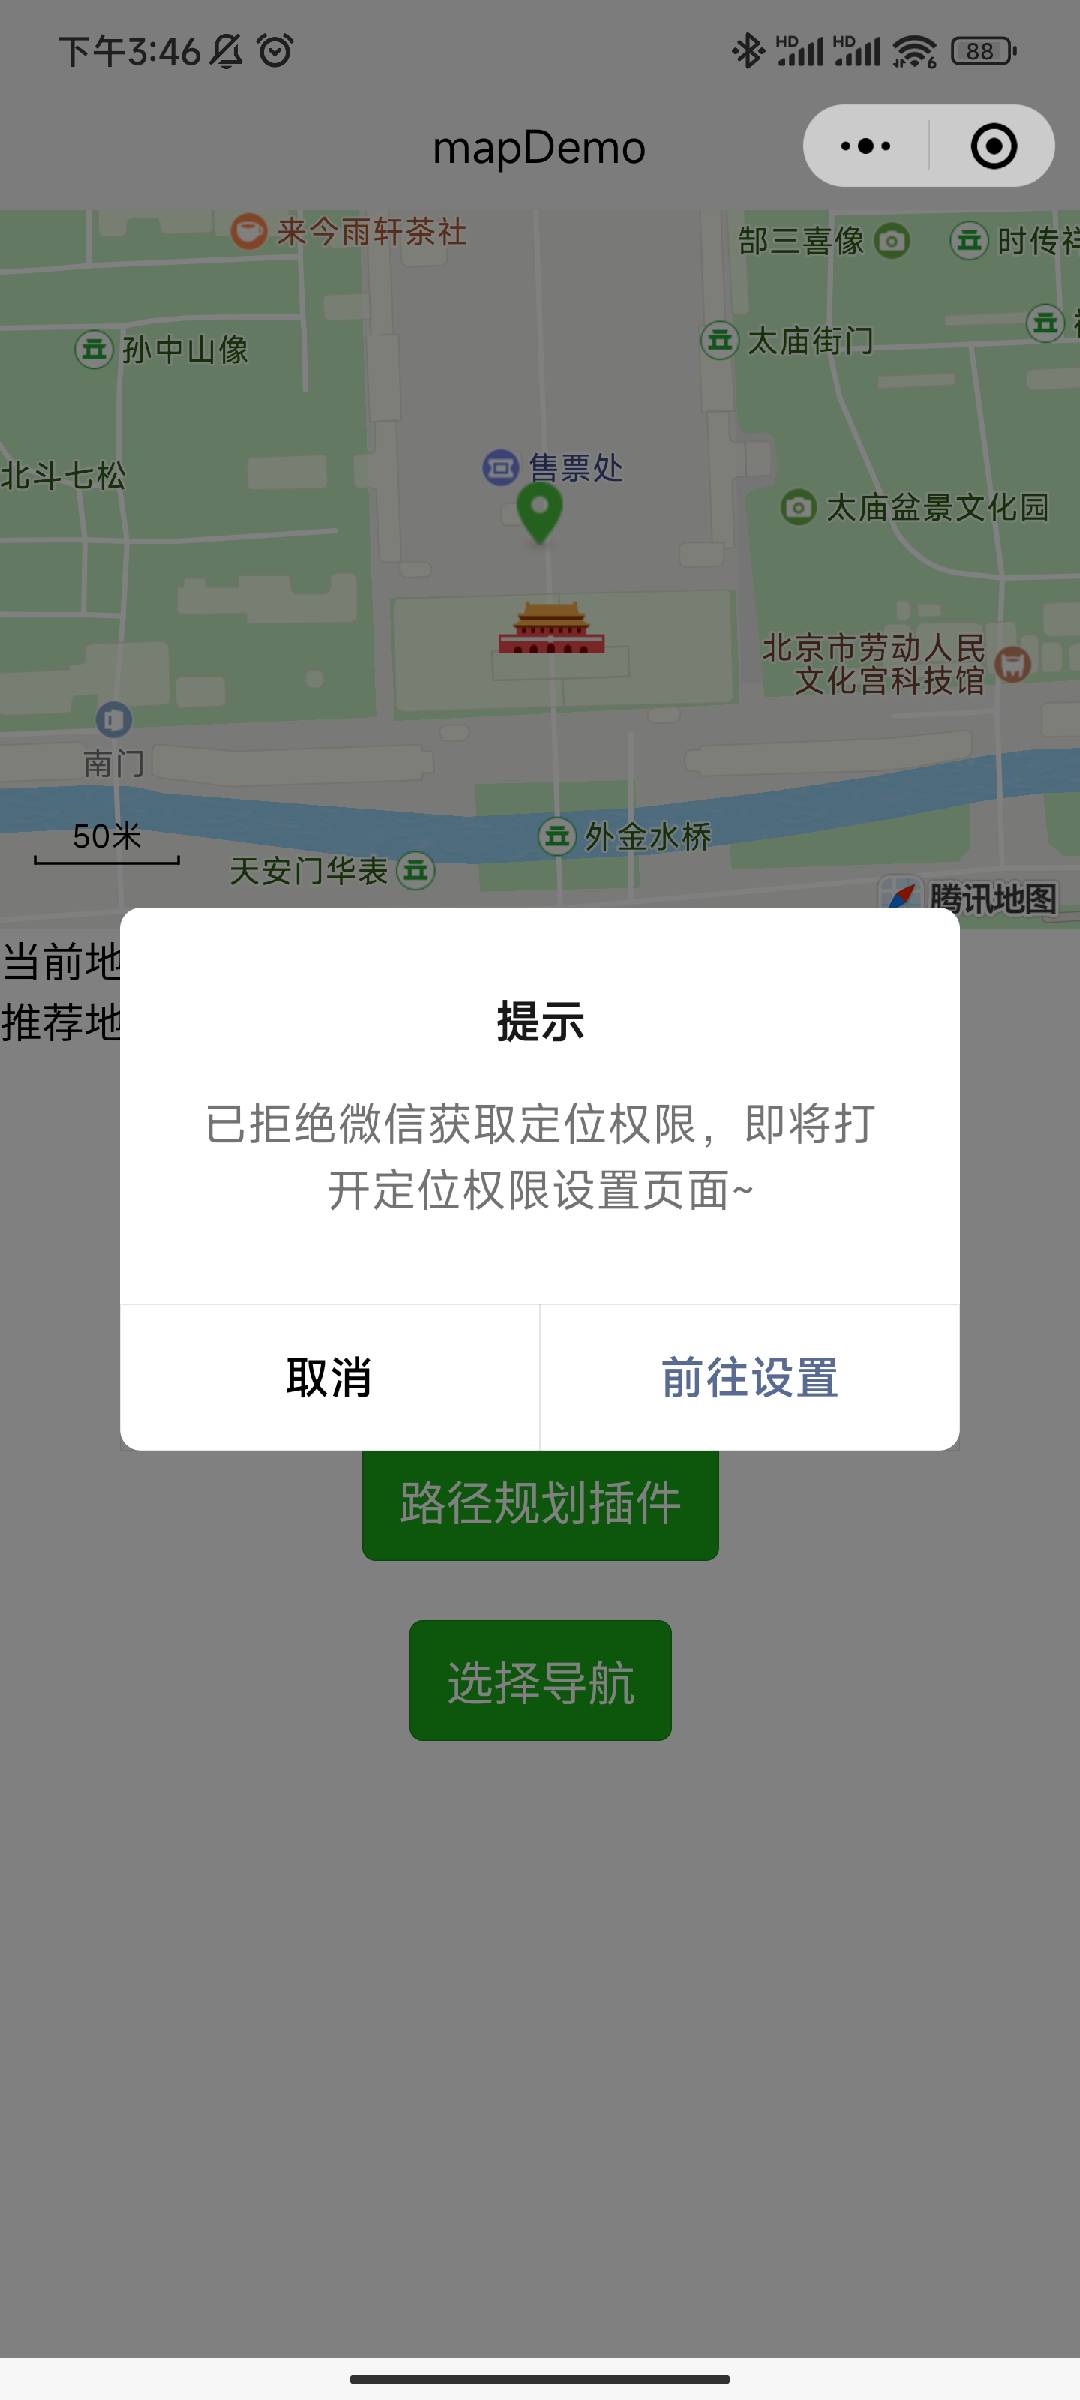
如果用户手机微信 APP 已获取到访问定位信息的权限,则进一步判断微信小程序是否已获取访问定位信息的权限;如果用户手机微信 APP 没有获取到访问定位信息的权限,则需引导用户前往 “微信授权管理页面” 开启访问定位信息的权限。
// 微信APP是否拥有访问定位信息的权限
isAppAuthorized() {let _this = this// 微信APP授权设置const appAuthorizeSetting = uni.getAppAuthorizeSetting()// 是否允许微信使用定位信息的开关let locationAuthorized = appAuthorizeSetting.locationAuthorizedswitch (locationAuthorized) {case 'authorized':_this.isAuthorized()breakcase 'denied':uni.showModal({title: '提示',content: '已拒绝微信获取定位权限,即将打开权限管理页面,请把定位权限设置为允许~',confirmText: '前往设置',success: (res) => {if (res.confirm) {_this.openAppAuthorizeSetting()} else if (res.cancel) {_this.rejectGetLocation()}}})breakcase 'not determined':uni.showModal({title: '提示',content: '请授权微信获取定位权限~',confirmText: '同意授权',success: (res) => {if (res.confirm) {_this.openAppAuthorizeSetting()} else if (res.cancel) {_this.rejectGetLocation()}}})break}
},
// 打开系统微信授权管理页
openAppAuthorizeSetting() {let _this = thisuni.openAppAuthorizeSetting({success: (res) => {console.log('打开系统微信授权管理页成功', res)_this.isAuthorized()},fail: (err) => {console.log('打开系统微信授权管理页失败', err)}})
}
效果图如下:
4 判断微信小程序是否已获取访问定位信息的权限
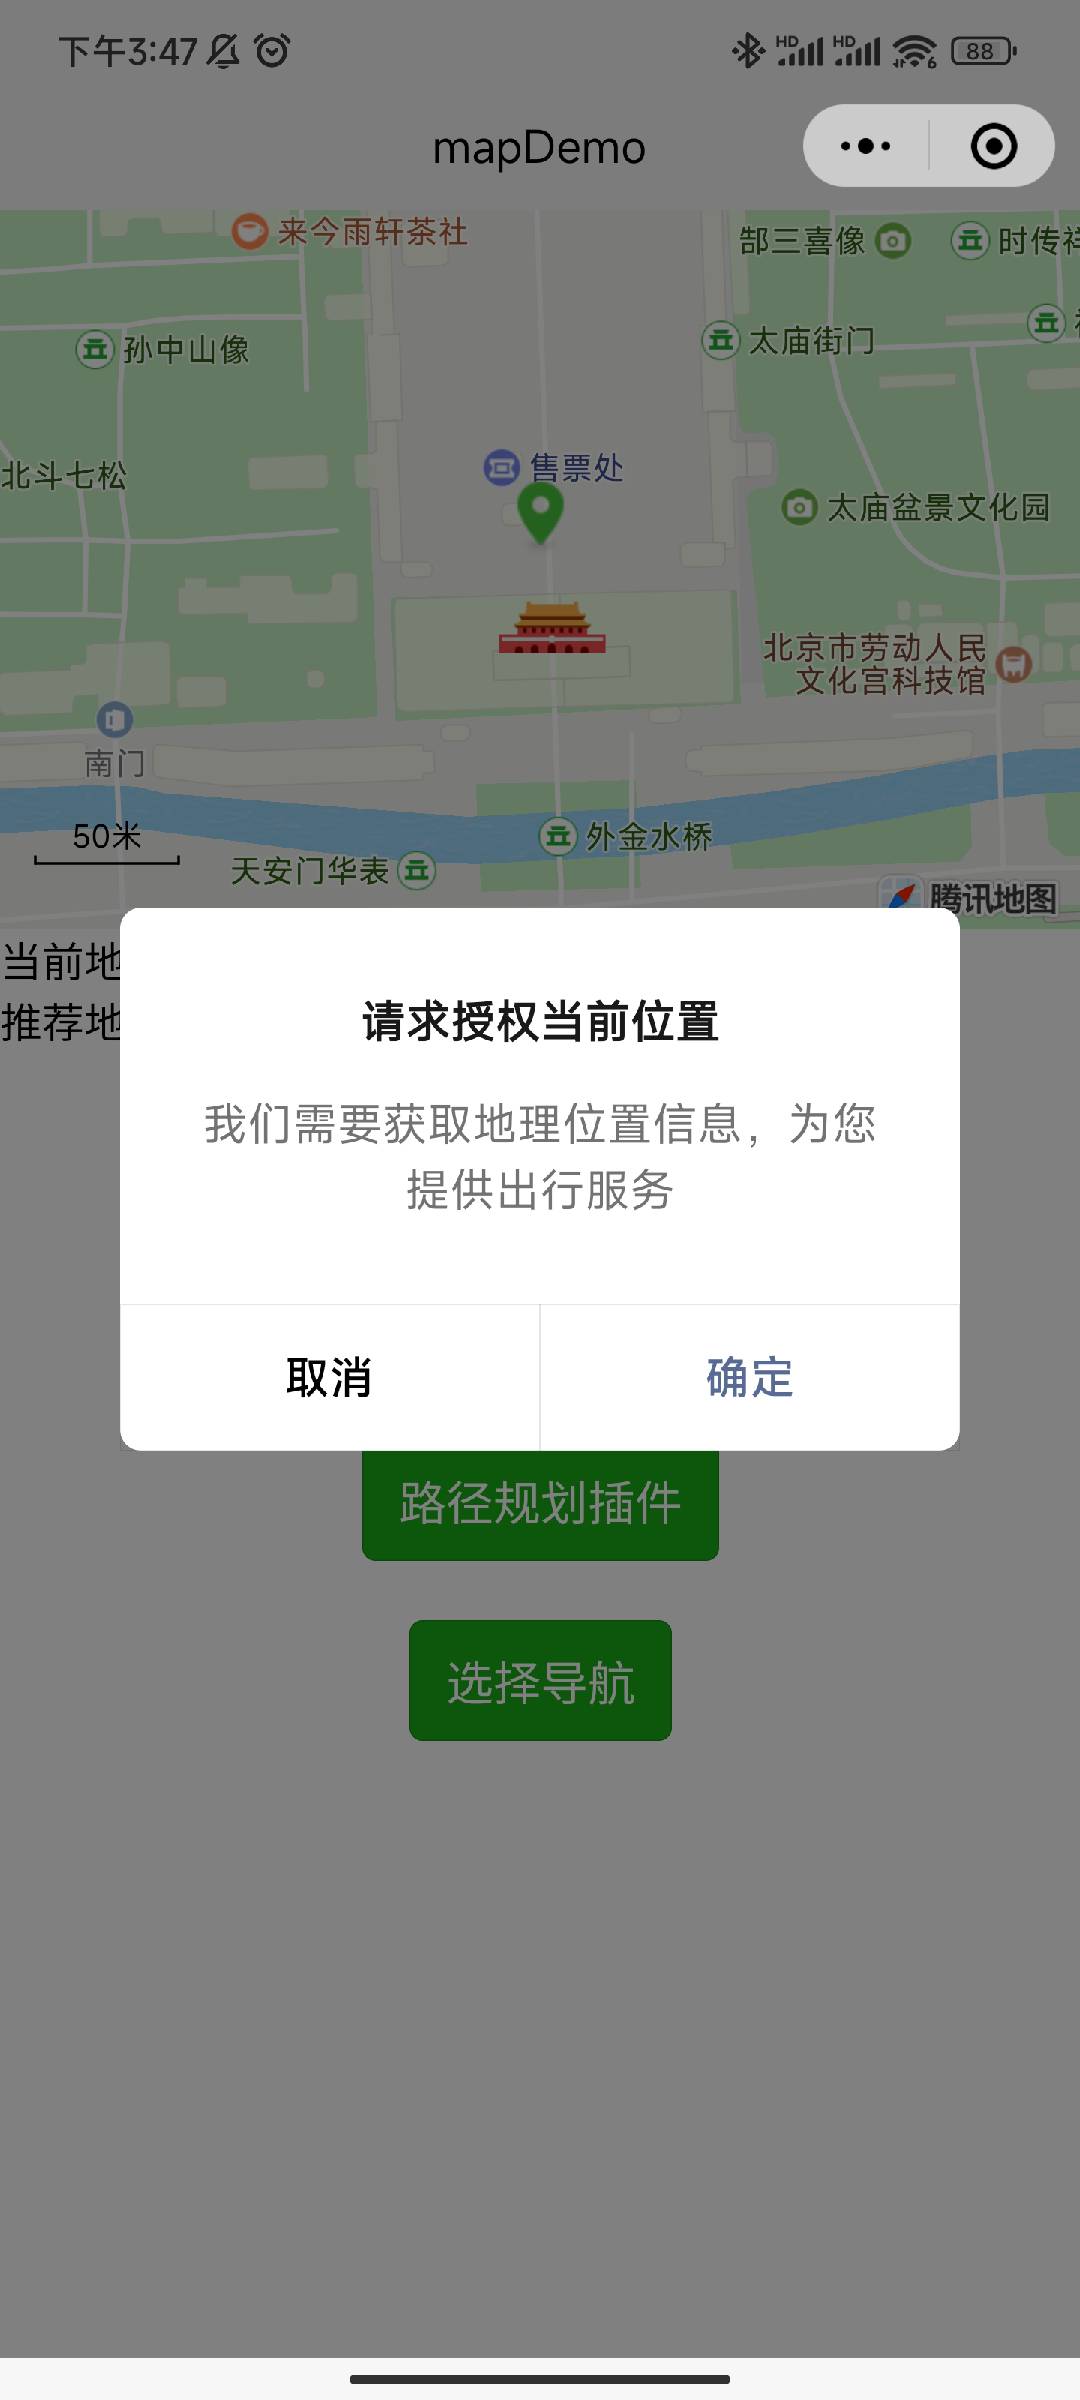
用户手机微信 APP 获取到访问定位信息的权限后,接下来需要判断微信小程序是否已获取访问定位信息的权限。微信小程序官方提供了 getSetting() 接口可以让小程序获取用户授予微信小程序的权限信息(用户信息、摄像头、蓝牙,GPS 开关,微信运动步数等),同时提供了 authorize() 接口以弹窗的形式请求用户授予访问定位信息的权限,提供了 openSetting() 接口可以让小程序打开设置页,引导用户进行授权。
如果微信小程序没有获取到访问定位信息的权限,则需再次向用户确认是否给微信小程序授权定位信息(防止用户误触导致拒绝授权)。用户再次拒绝授权后,则提示用户由于拒绝授权位置信息,小程序无法继续提供服务。
// 小程序是否拥有访问定位信息的权限
isAuthorized(a = 'scope.userLocation') {// 检查当前是否已经授权访问scope属性let _this = thisuni.getSetting({success: (res) => {let userLocation = res.authSetting[a]if (!userLocation) {// 判断当前是否获得授权,如果没有就去申请授权_this.getAuthorize()} else {_this.getLocation()}},fail: (err) => {_this.openSetting()}})
},
// 小程序请求获取定位权限
getAuthorize(a = 'scope.userLocation') {let _this = this// uniapp弹窗弹出获取授权(地理,个人微信信息等授权信息)弹窗uni.authorize({scope: a,success: () => {_this.getLocation()},fail: () => {_this.openSetting()}})
},
// 调起客户端小程序设置界面,返回用户设置的操作结果
openSetting() {let _this = thisuni.showModal({title: '提示',content: '我们需要获取您的位置信息,为您提供出行服务~',success: (res) => {if (res.confirm) {uni.openSetting({success: (res) => {if (res.authSetting['scope.userLocation'] === true) {_this.getLocation()} else {_this.rejectGetLocation()}},fail: (err) => {console.log('小程序授权弹窗打开失败', err)}})} else if (res.cancel) {_this.rejectGetLocation()}}})
},
//获取当前所在位置的经纬度
getLocation() {let _this = thisuni.getLocation({type: 'gcj02',success: (res) => {_this.location.latitude = res.latitude_this.location.longitude = res.longitude}})
},
// 彻底拒绝位置获取
rejectGetLocation() {uni.showToast({title: '您拒绝了位置授权,小程序无法继续提供出行服务~',icon: 'none',duration: 3000})
}
效果图: