购物网站 设计仿新浪微博网站代码
编写自动安装jdk的shell脚本
完整流程: 大数据—Hadoop安装教程(一)
文章目录
- 编写自动安装jdk的shell脚本
- 上传压缩包
- 编写shell脚本
- vim autoinstall.sh
- 解压
- 更名
- 添加环境
- 运行
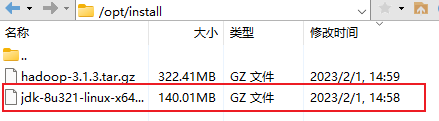
上传压缩包
在opt目录下创建连个目录install和soft
将压缩包上传到install目录下

编写shell脚本
创建目录来放shell脚本
[root@hadoop shellfile]# mkdir shellfile

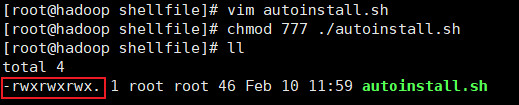
修改atuoinstall.sh的文件权限
[root@hadoop shellfile]# vim autoinstall.sh
[root@hadoop shellfile]# chmod 777 ./autoinstall.sh
[root@hadoop shellfile]# ll
total 4
-rwxrwxrwx. 1 root root 46 Feb 10 11:59 autoinstall.sh
vim autoinstall.sh
#! /bin/bash
echo 'auto install begining....'#global var
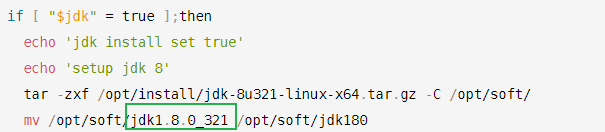
jdk=trueif [ "$jdk" = true ];thenecho 'jdk install set true'echo 'setup jdk 8'tar -zxf /opt/install/jdk-8u321-linux-x64.tar.gz -C /opt/soft/mv /opt/soft/jdk1.8.0_321 /opt/soft/jdk180
# echo '#jdk' >> /etc/profile
# echo 'export JAVA_HOME=/opt/soft/jdk180' >> /etc/profile
# echo 'export CLASSPATH=.:$JAVA_HOME/jre/lib/dt.jar:$JAVA_HOME/lib/tools.jar' >> /etc/profile
# echo 'PATH=$PATH:$JAVA_HOME/bin' >> /etc/profilesed -i '73a\PATH=$PATH:$JAVA_HOME/bin' /etc/profilesed -i '73a\export CLASSPATH=.:$JAVA_HOME/jre/lib/dt.jar:$JAVA_HOME/lib/tools.jar' /etc/profilesed -i '73a\export JAVA_HOME=/opt/soft/jdk180' /etc/profilesed -i '73a\#jdk' /etc/profileecho 'setup jdk 8 success!!!'
fi解压
根据自己的压缩包版本解压
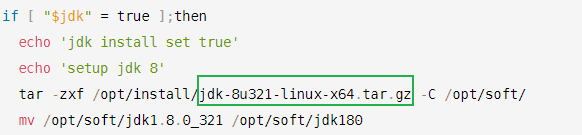
更名
为解压后的版本名称改名为jdk180
添加环境
用sed命令在 /etc/profile文件内第73行后添加java的环境变量

运行
刷新资源
[root@hadoop shellfile]# source /etc/profile
运行
[root@hadoop shellfile]# ./autoinstall.sh

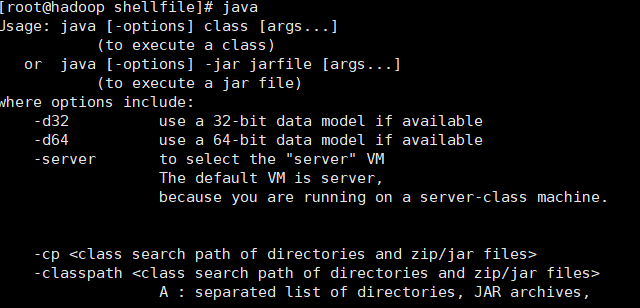
输入java 显示表示成功