做网站怎么改关键词做视频网站需要多大空间
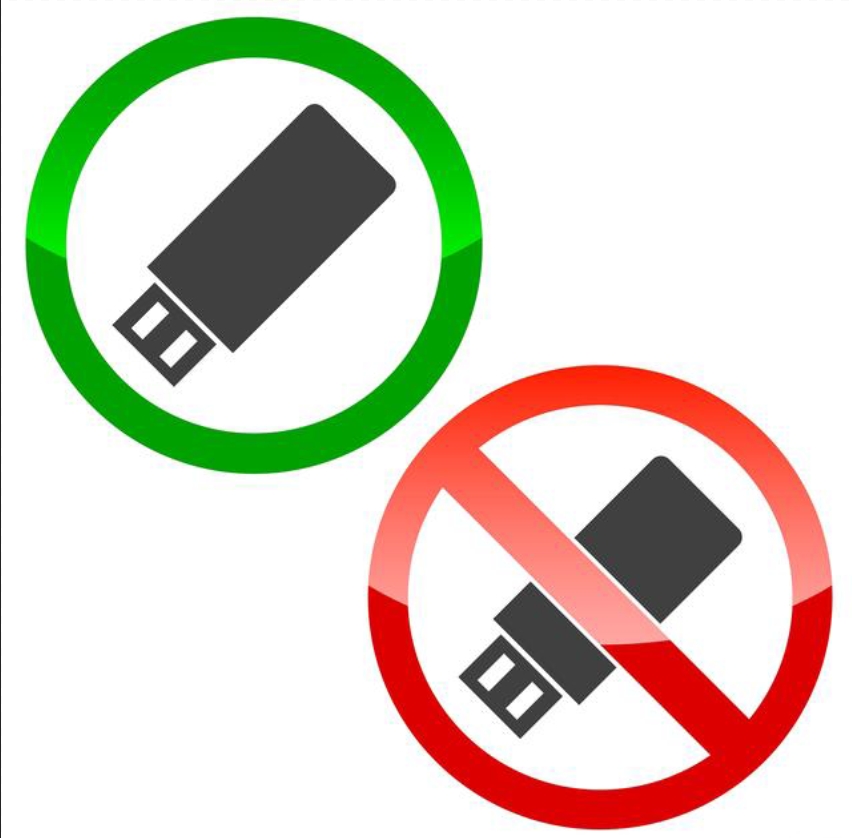
公司电脑禁用U盘的方法
安企神U盘管理系统下载使用
在这个复杂的数据时代,保护公司数据的安全性至关重要。其中,防止未经授权的数据泄露是其中的一个关键环节。U盘作为一种常用的数据传输工具,也成为了潜在的安全风险。因此,公司电脑禁用U盘的方法成为了确保数据安全的一种策略。
本文将介绍几种常见的禁用U盘的方法和操作步骤。

一、通过操作系统设置禁用U盘
1、打开“控制面板”,点击“硬件和声音”。
2、选择“设备管理器”,在设备管理器中,找到并展开“通用串行总线控制器”。
3、右键点击“USB根集线器”,选择“属性”。在属性窗口中,切换到“策略”选项卡。
4、选择“停用USB存储设备”。
5、点击“确定”按钮保存更改。
方法二:设置BIOS密码
要禁用U盘,最直接的方法是通过BIOS设置。大多数电脑在开机时都会要求输入BIOS密码,这是我们设置的第一步。
1、重启电脑,当屏幕出现提示时,输入BIOS密码。
2、进入BIOS设置界面后,找到"Integrated Peripherals"或"集成设备"选项。
3、在这个选项下,找到"USB Configuration"或"USB配置",然后选择"Disabled"或"禁用"。
4、保存并退出BIOS设置,电脑将在下次启动时禁用U盘。
注: 以上两种方法会存在弊端,如果员工懂得电脑操作,会重新设置成电脑初始状态,这两种方法仅适合个人使用,下面一种方法是适合企业使用的一款终端管理软件。
方法三:使用安企神终端管理系统(适合企业)
这是一种专业的终端安全管理系统,可以帮助企业有效管理电脑设备,包括禁止使用U盘。软件的使用步骤:
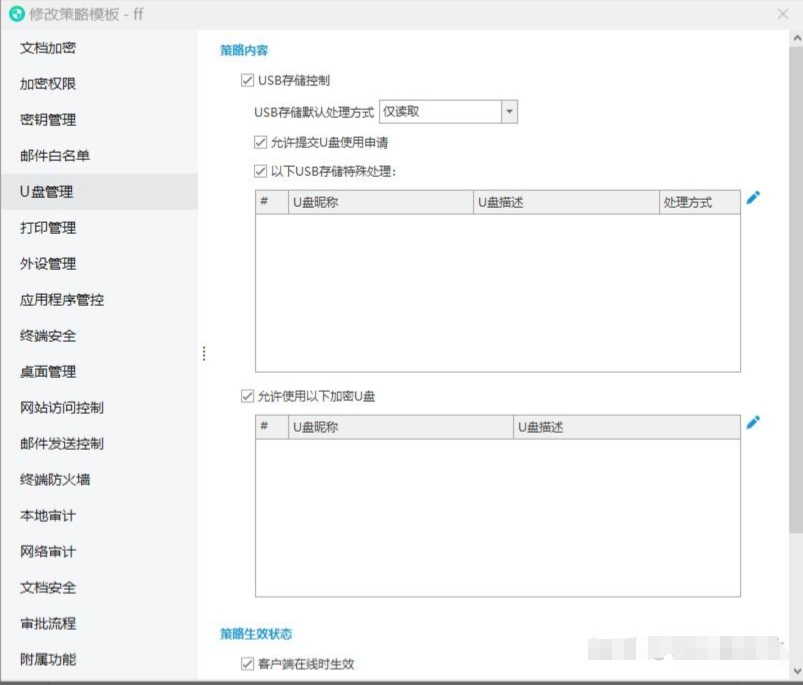
一、U盘管理
管理终端对U盘的使用权限,可以限制终端禁止使用U盘、允许使用U盘、U盘仅读取、U盘仅写入四种处理方式,防止员工随意使用U盘拷贝传输文件;
支持U盘白名单,对列表内的U盘进行特殊处理,可以将常用的U盘添加到白名单防止影响员工的正常工作。
二、U盘加密
可以对U盘内存有重要文件的盘符进行加密处理,加密U盘只可以在办公电脑上正常使用,无法在外部计算机上正常显示,即使U盘丢失,在外部计算机上打开也会处于隐藏状态。
三、外设管理
除了U盘外,还可以管理多种外接设备,比如说禁用光驱、禁止刻录、禁用便携式设备、禁用蓝牙设备、禁用红外设备等等,还可以直接禁用USB外设,禁止员工使用除了鼠标和键盘外的其他USB设备。
四、USB操作文件审计
支持审计终端计算机插拔USB存储设备的记录,以及对usb存储设备的操作文件记录,管理者通过审计可以了解到员工使用usb设备对文件的所有操作。
此外,对于需要使用U盘进行工作的员工,可以考虑更换硬件或使用系统还原功能来解决禁用U盘的问题。总之,在实施禁用U盘的措施时,需要综合考虑数据安全和员工工作需求,以实现平衡和最佳的解决方案。