使用他人注册商标做网站软件开发模型名词解释
我们知道现在很多的景区或者游玩的地方,以及学校、科技馆、科普馆、商场或公园或街镇,都会建一些关于游玩以及科普学习的项目。从而增加学习氛围或者带动人流量等等。这样的形式,还是有很好的效果呈现。


普乐蛙VR体验馆案例
下面是普乐蛙做的一些科技馆或者体验馆项目案例:
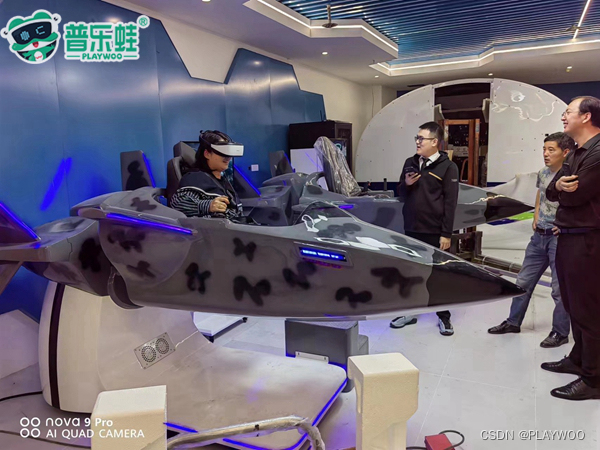
一、莱特飞行者互动体验科技店
通过增加VR航天飞行体验设备,而让科技更入人心,让体验更有趣味,让学习知识更有趣,更有动力,更有效果。


普乐蛙VR案例分享


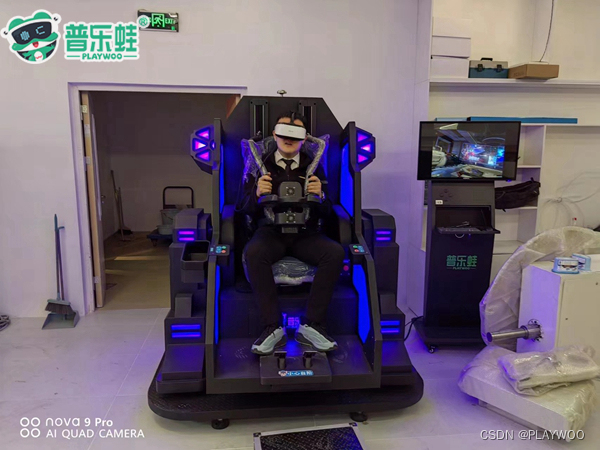
普乐蛙VR案例分享

普乐蛙VR案例分享

普乐蛙VR案例分享
普乐蛙VR案例分享
这样的科技店,吸引很多的人流量,前来体验参观。普乐蛙VR模拟飞行设备,更呈现了设备自身的价值,让人们体验出效果。