营销型网站的目标忠县网站制作
写在前面
Qt–动态链接库一文中提到,动态方式加载dll只能加载 extern "C“ 的导出函数,而无法加载类,因此可以使用Qt提供的插件来实现导出类的动态加载。
QPlugin是Qt插件框架的一部分,是一种轻量级的插件系统,用于在QT应用程序中动态加载和卸载功能模块,QPluginLoader类提供了对Qt插件的访问。
开发环境:
Qt5.15.2
Qt Creator10.0.2
自定义插件步骤
自定义插件时,要先创建一个接口,作为插件类的基类。因为插件存储在一个dll中,因此可以动态的加载。
创建一个插件包含以下几步:
①定义一个接口类(只有纯虚函数的抽象类)
②使用Q_DECLARE_INTERFACE()宏在Qt的元对象系统中注册该接口
③再定义一个插件类,必须继承自QObject类和上面创建的接口类,且需先继承QObject
④在插件类中使用Q_INTERFACE()宏在Qt的元对象系统中注册该接口
⑤使用Q_PLUGIN_METADATa()宏导出该插件
⑥使用合适的.pro文件构建该插件
这里和之前的dll的创建和使用一样,同样以两个项目进行,一个插件项目,一个使用插件项目。
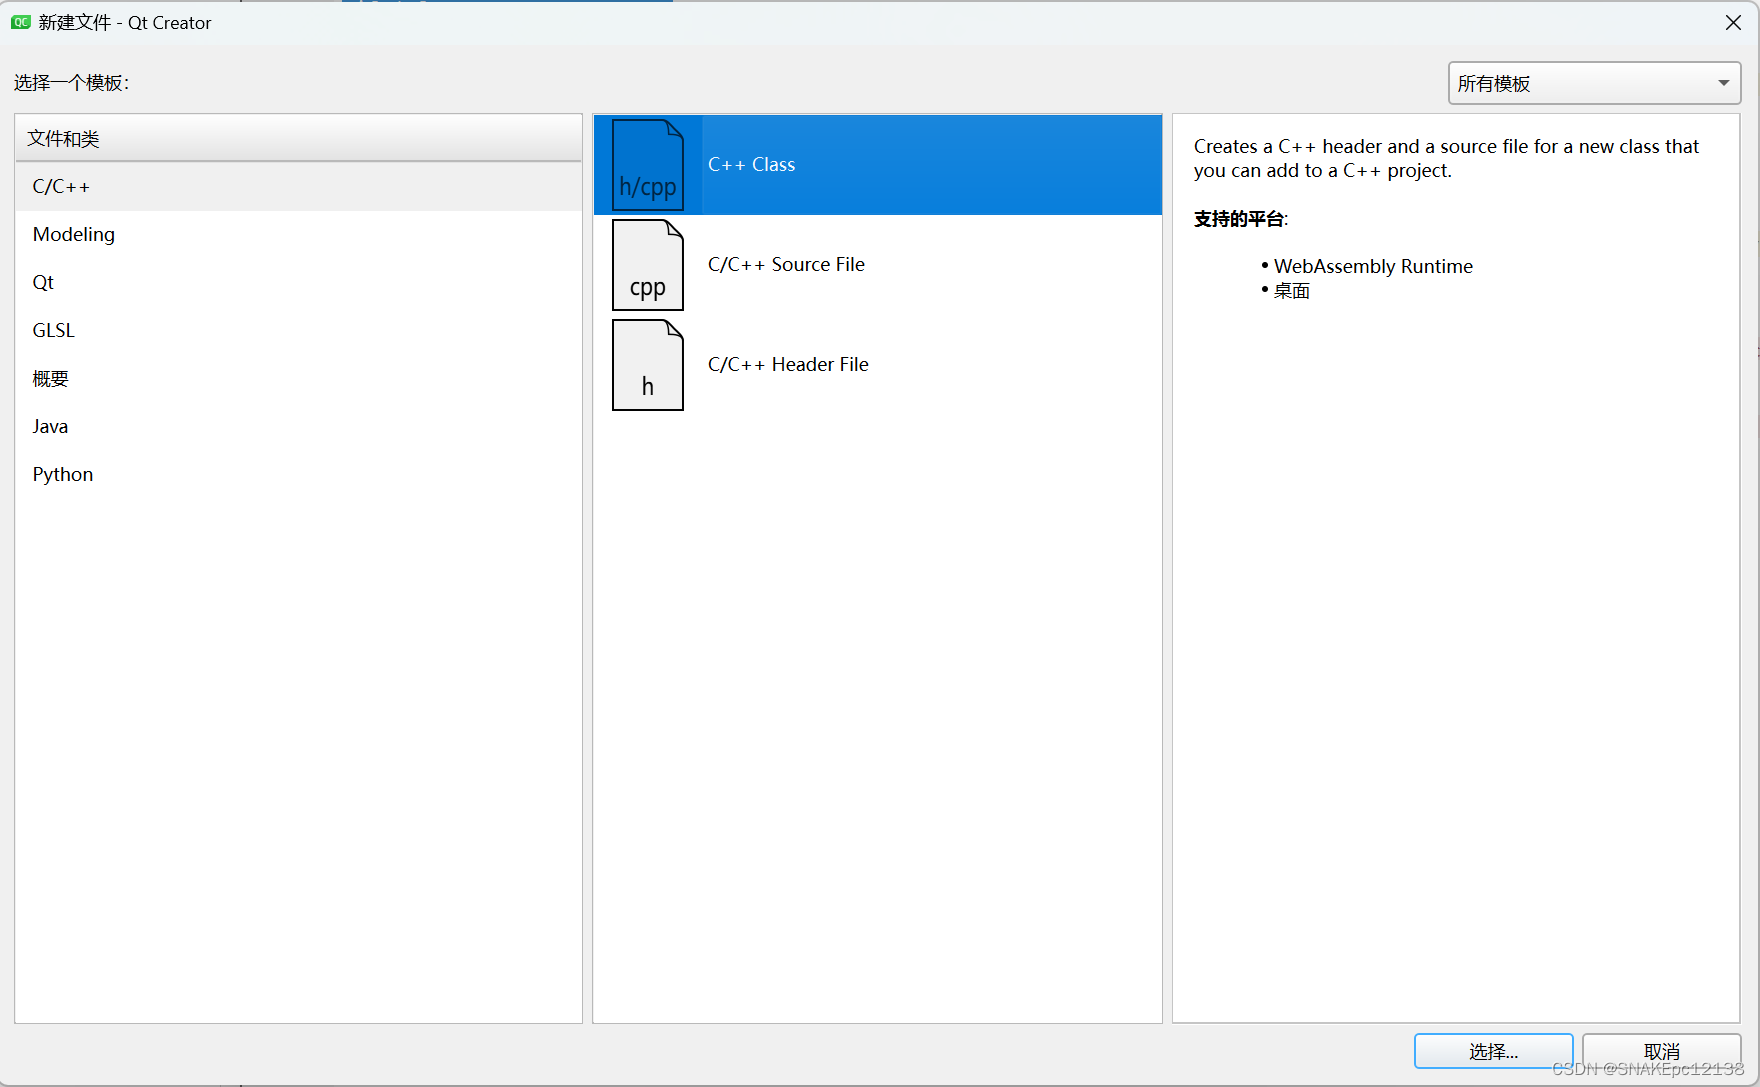
创建插件
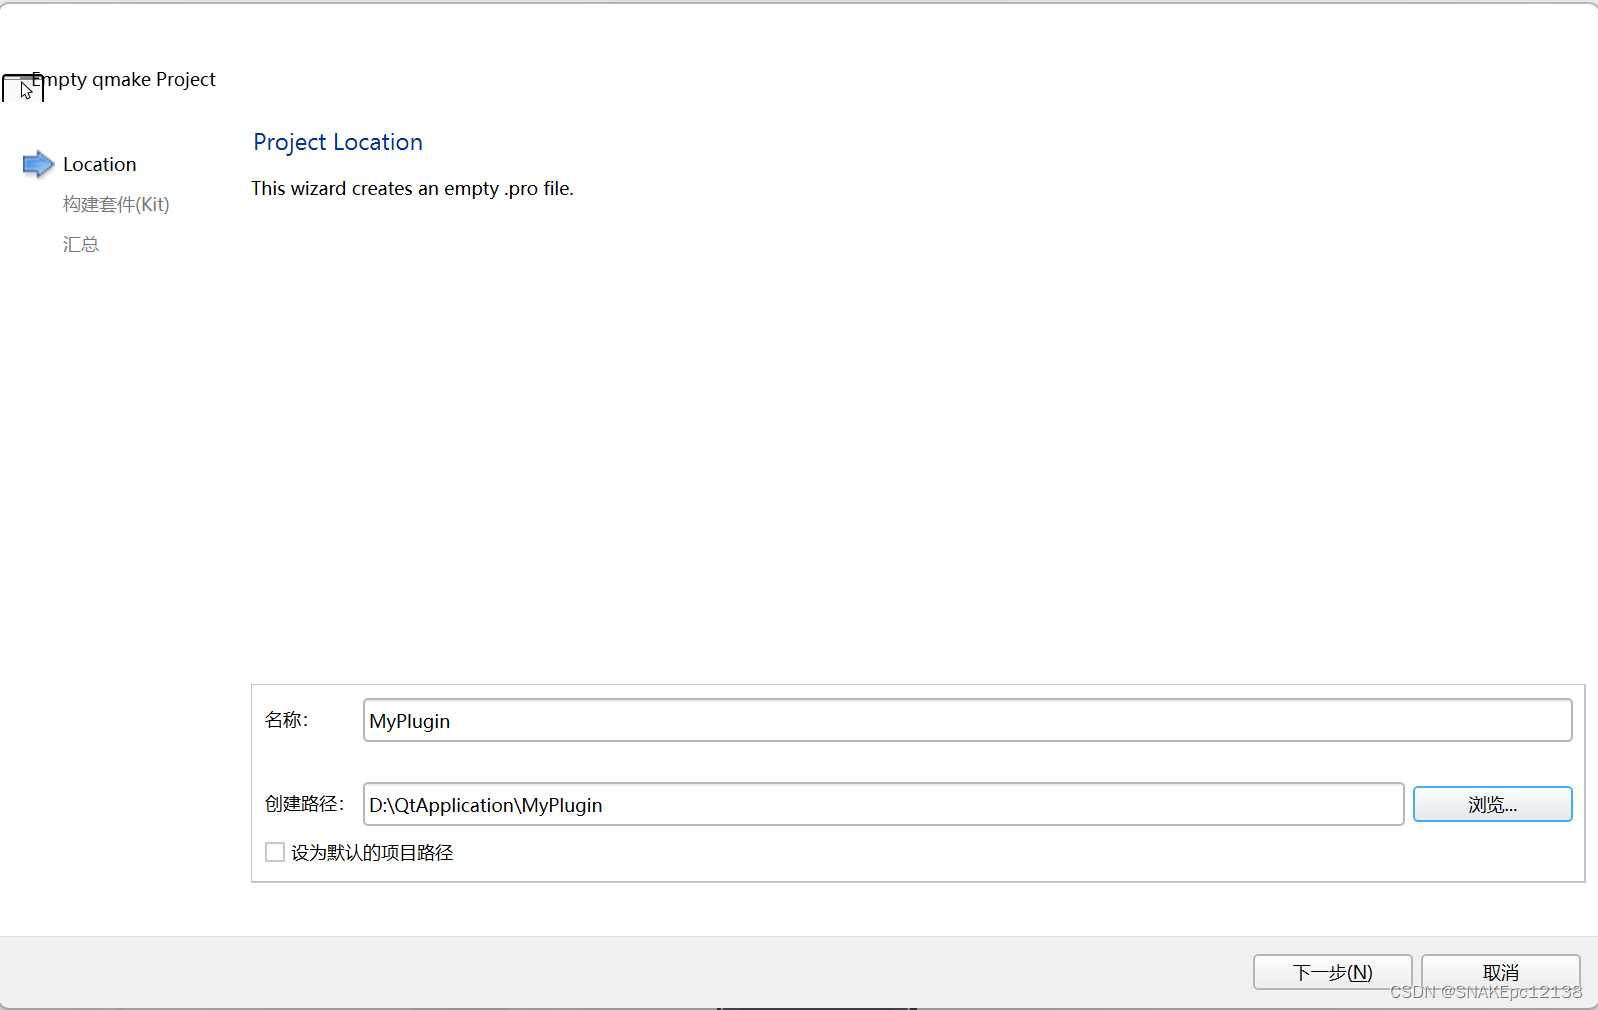
打开Qt Creator,新建空项目,Empty qmake Project。
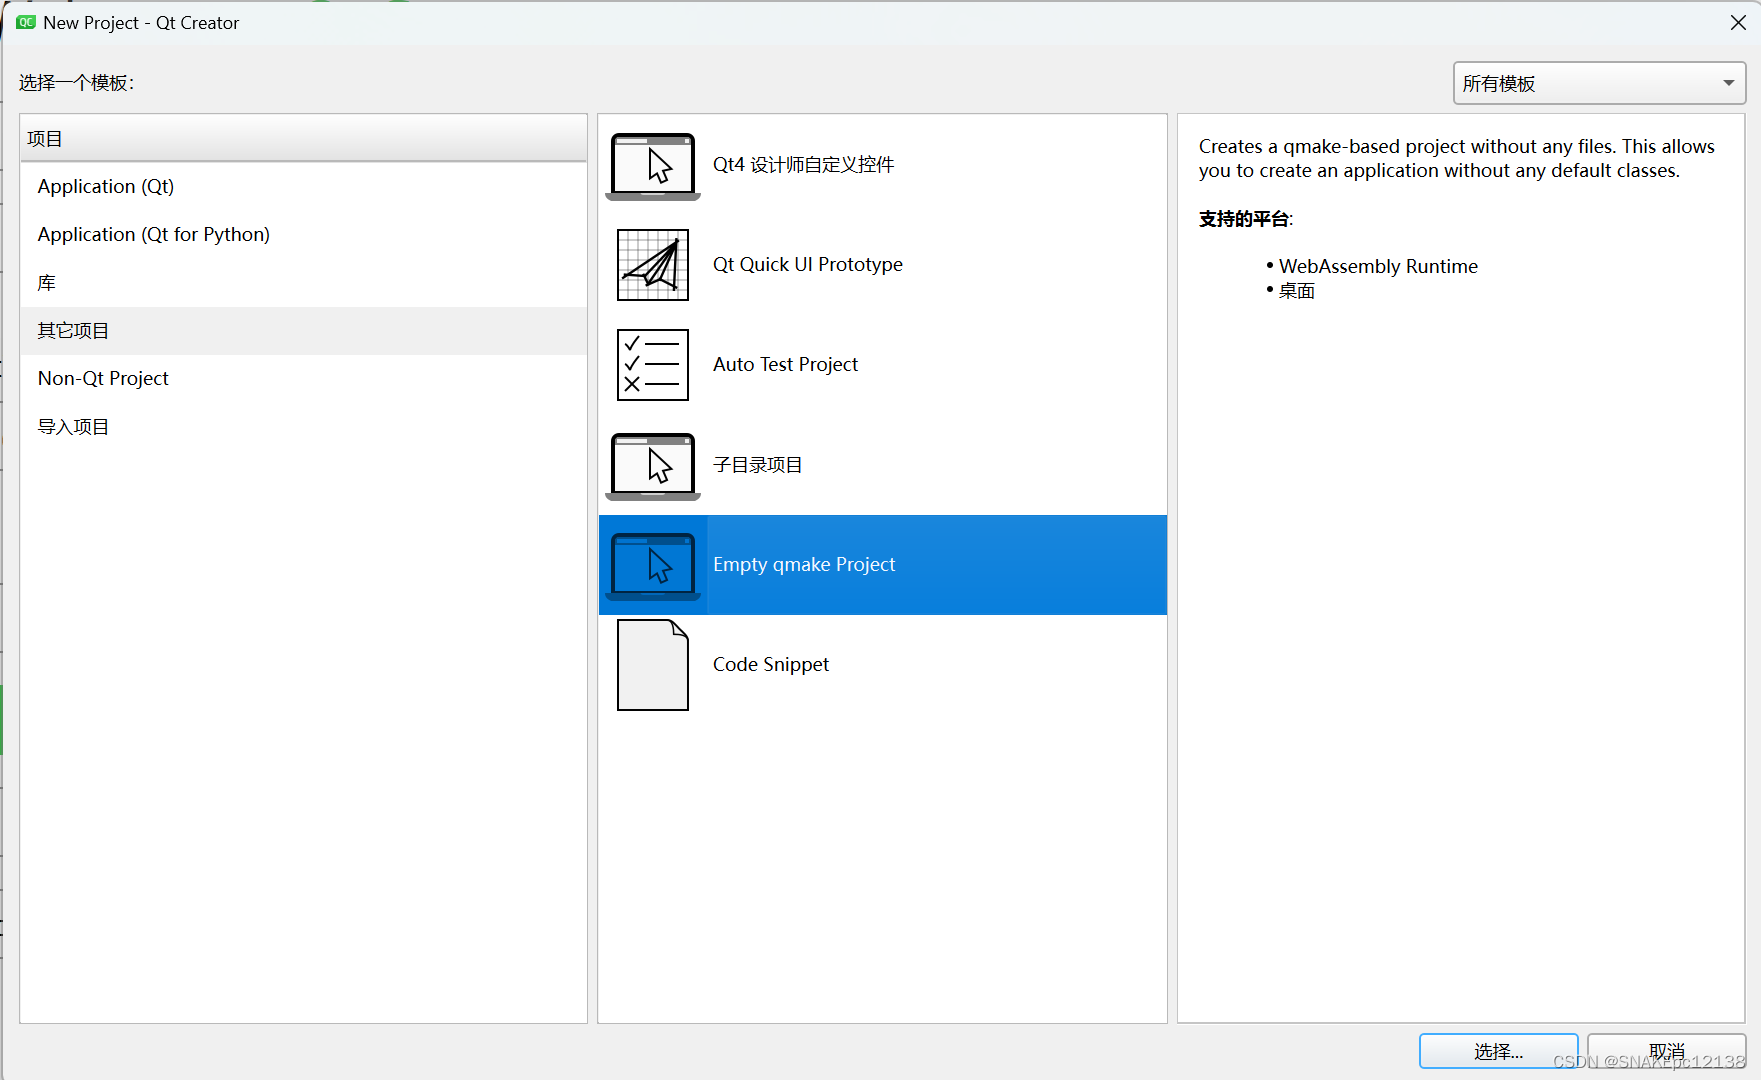
命名为:MyPlugin
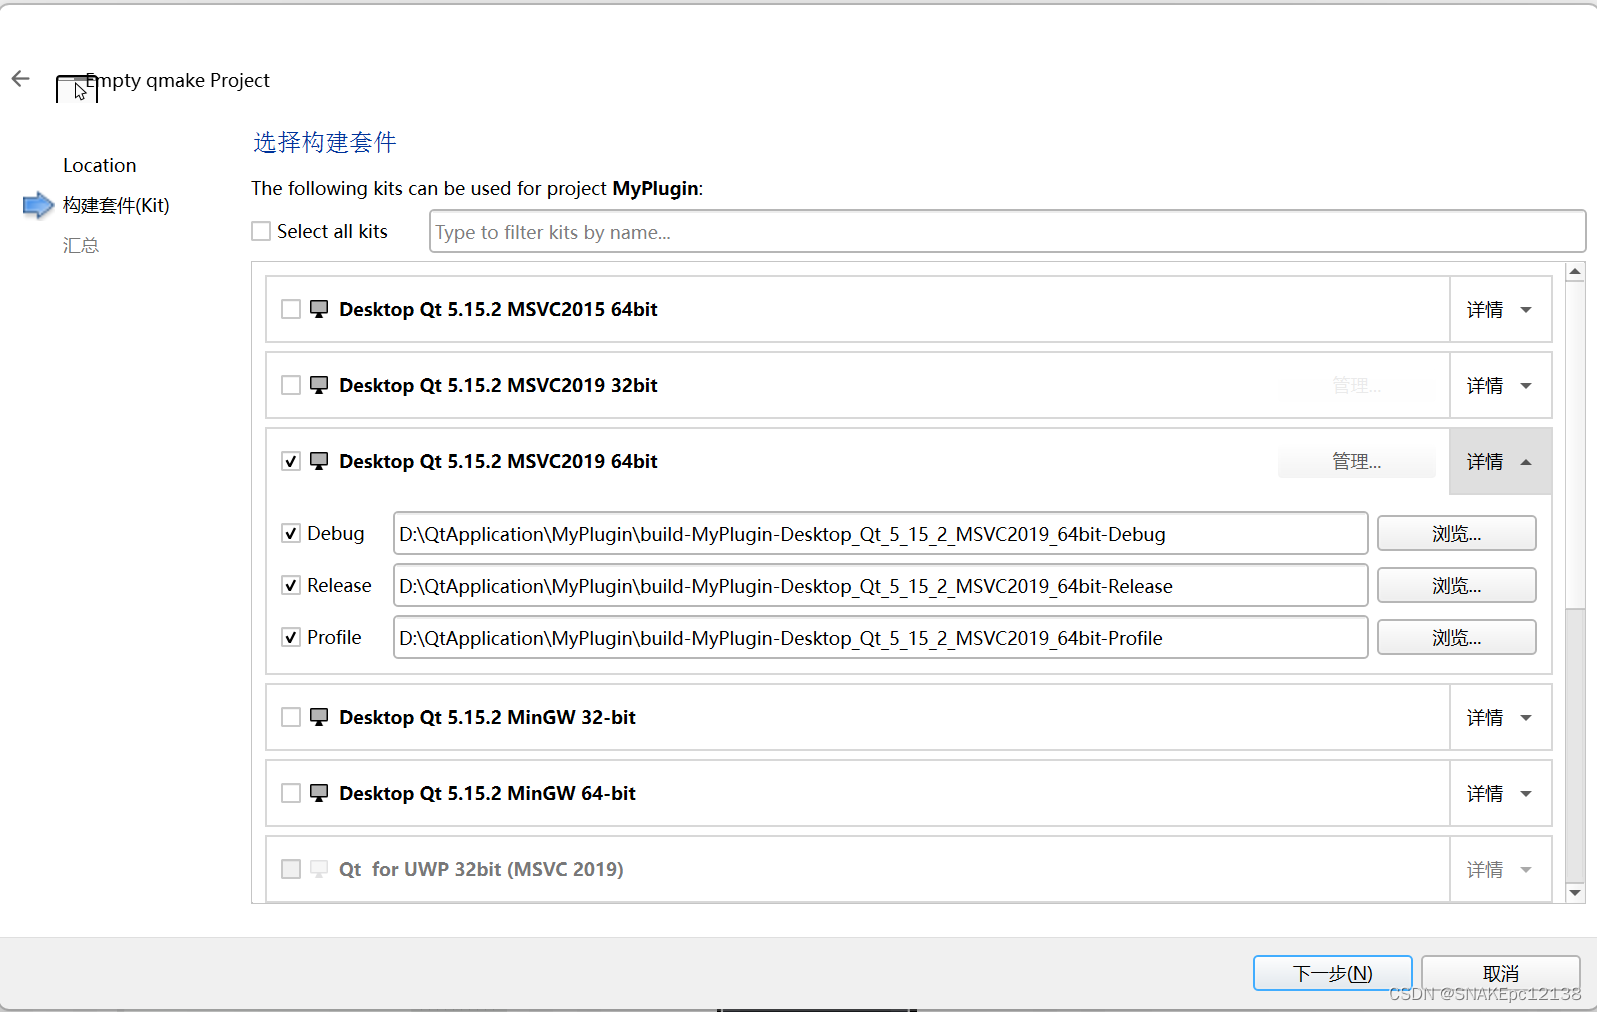
套件配置:
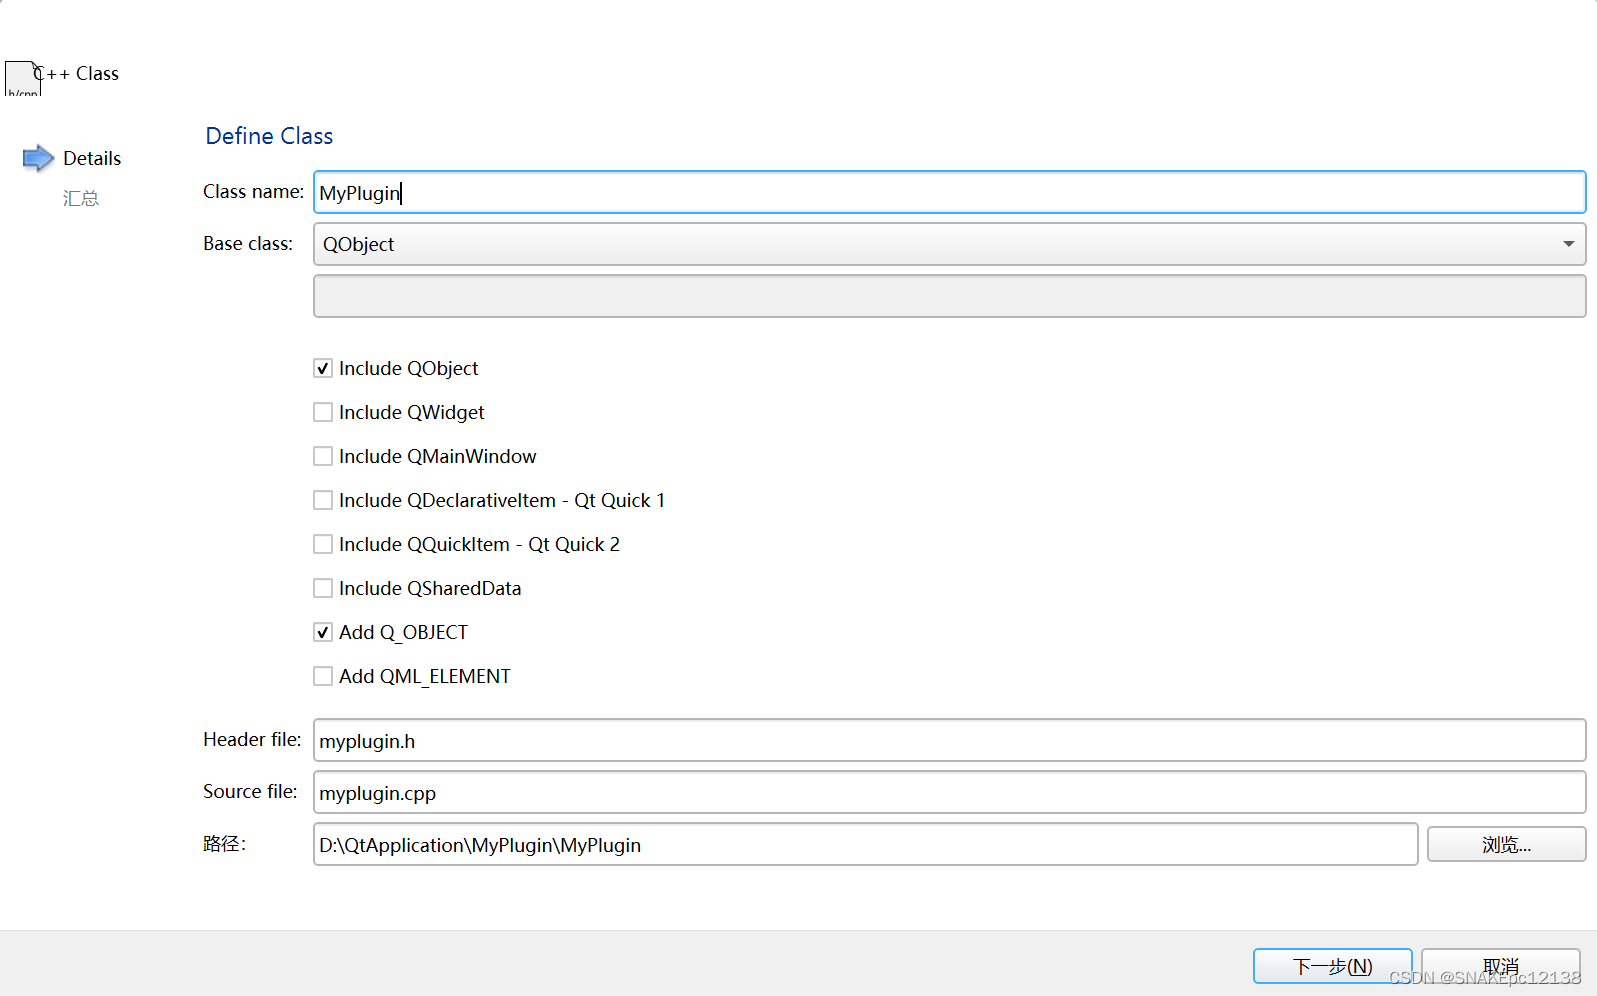
新建一个MyPluginInterface 接口类:
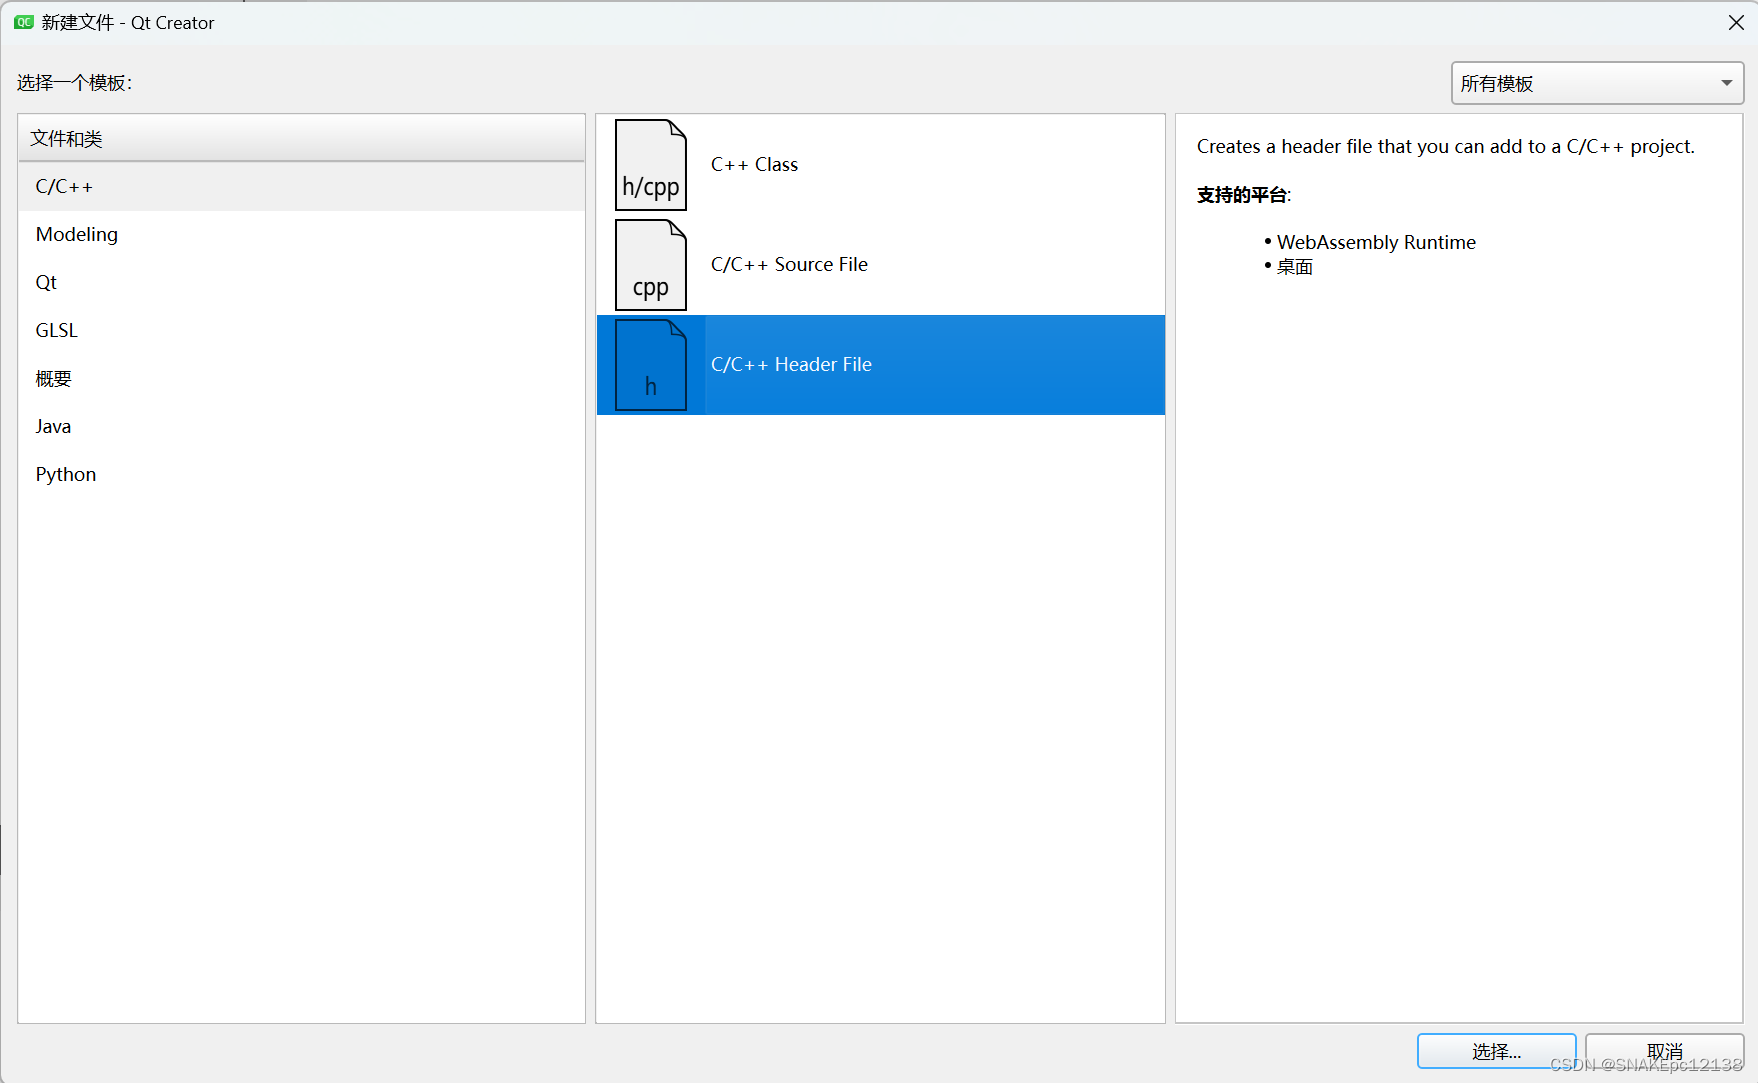
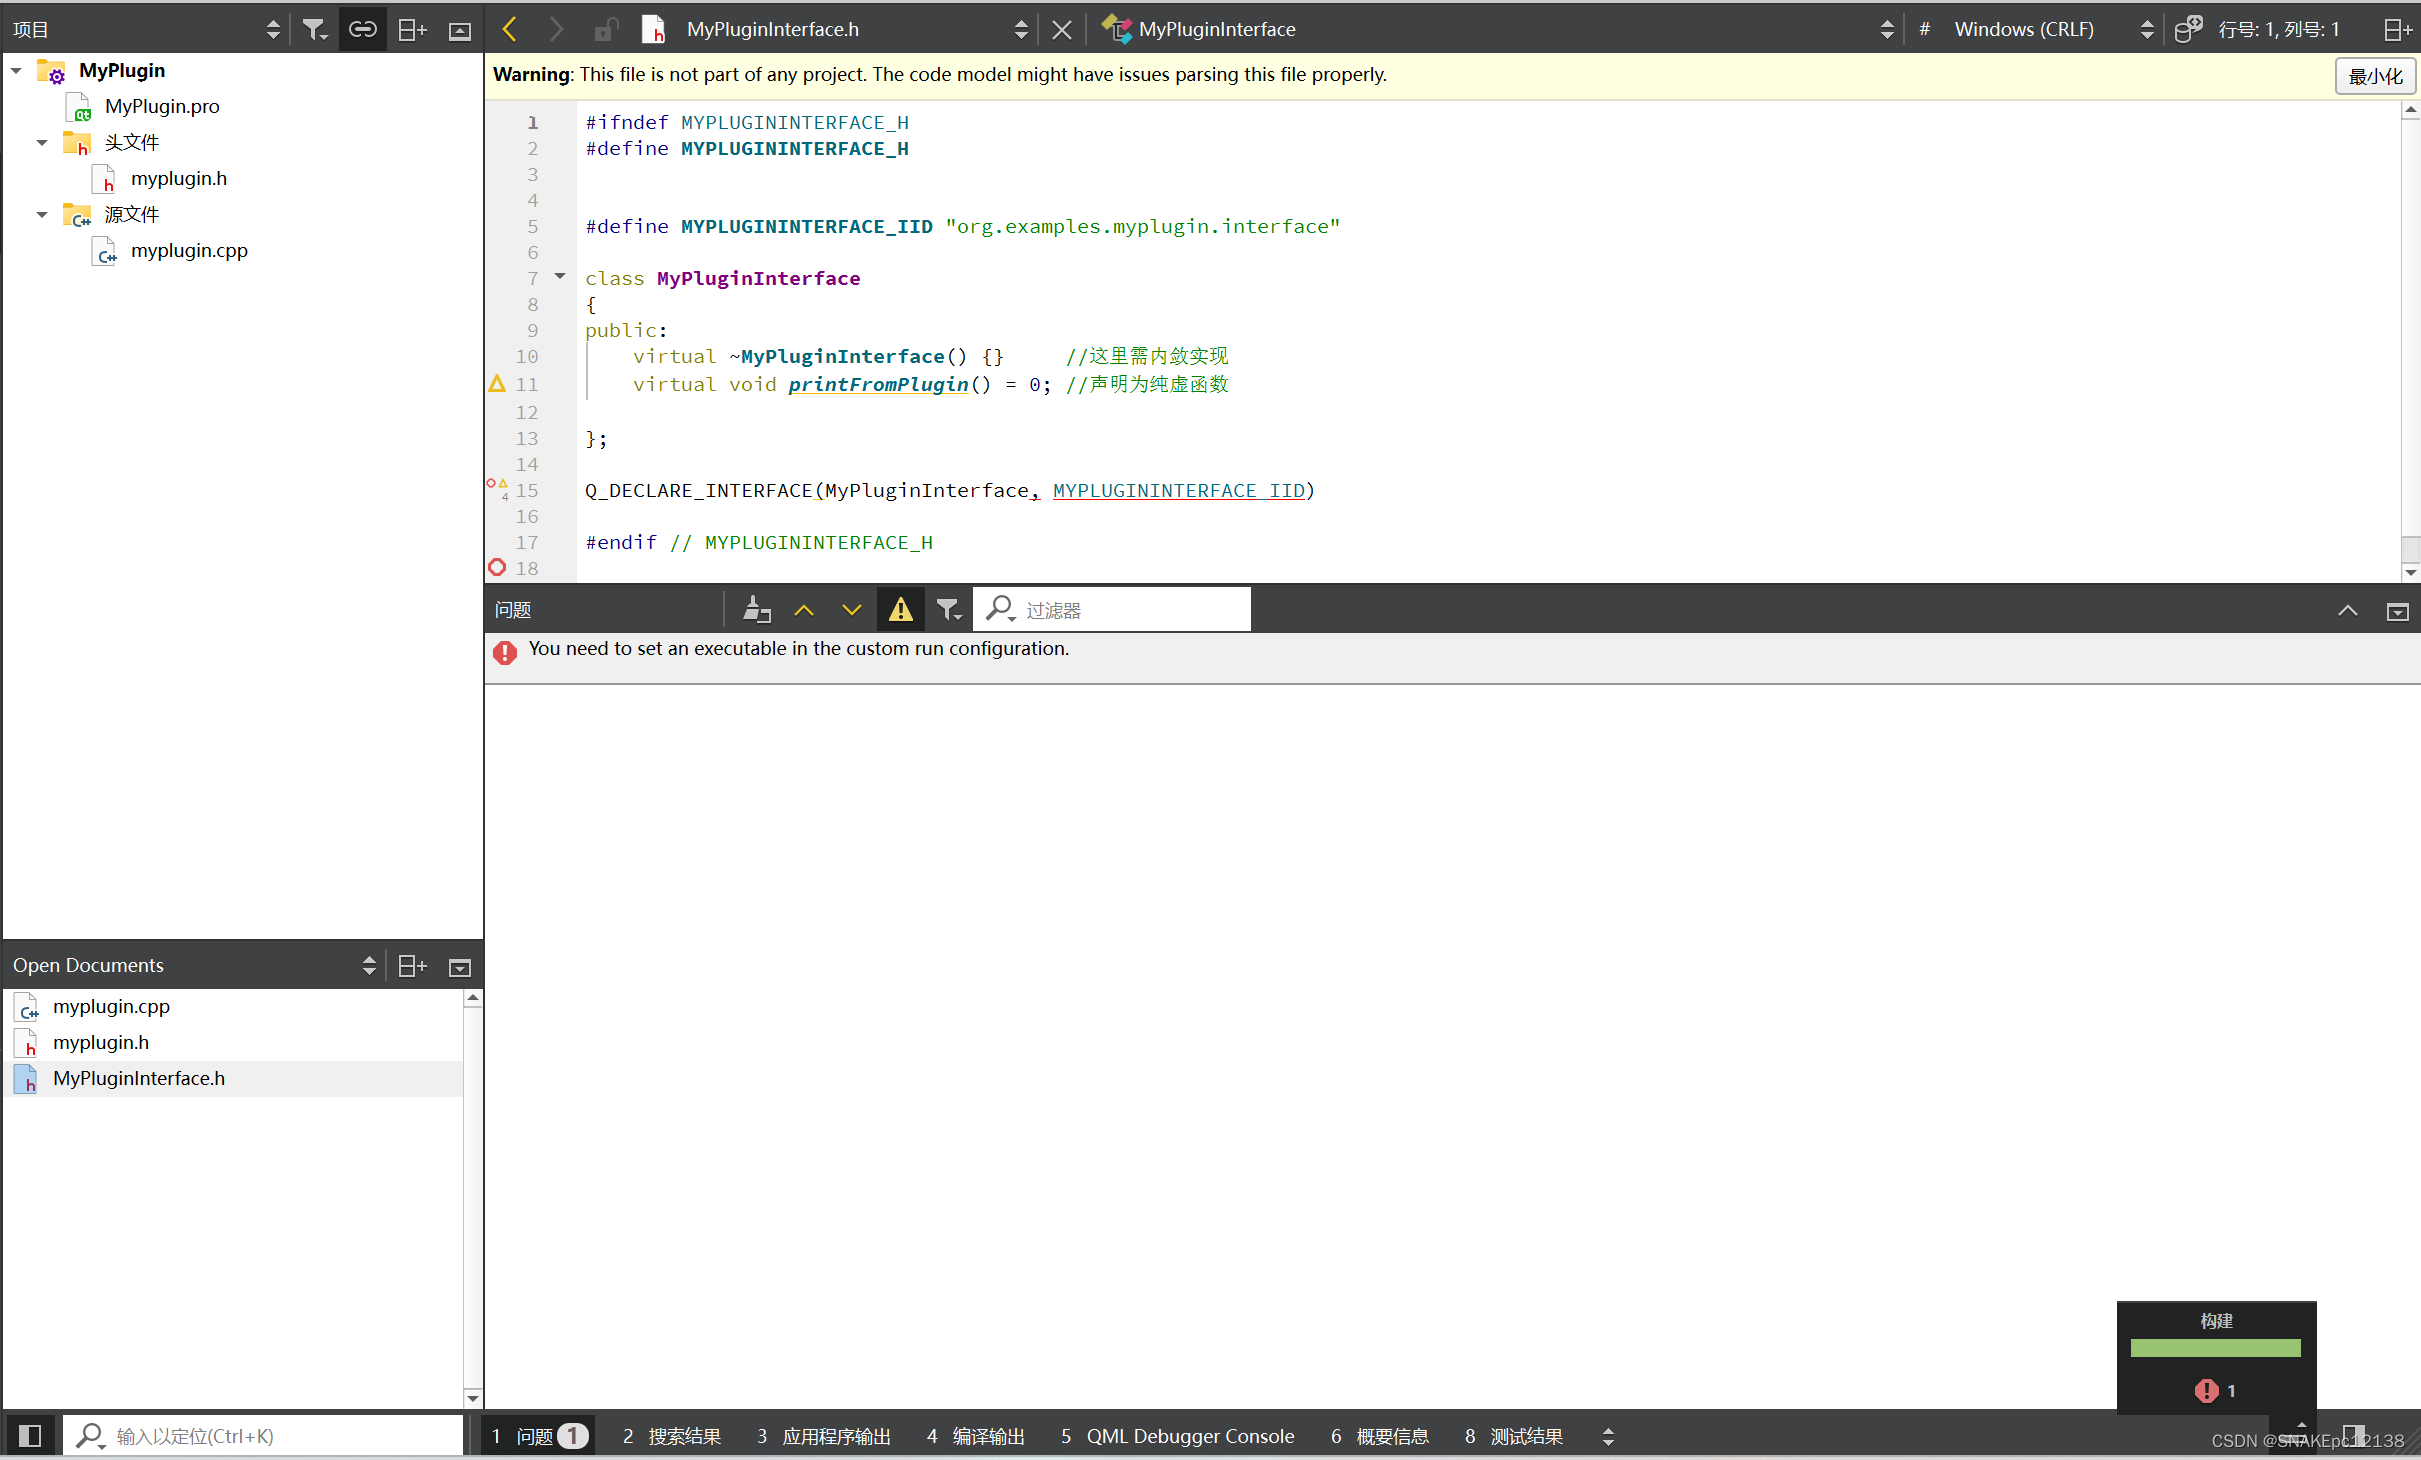
在MyPluginInterface.h中添加以下内容:
//myplugininterface.h
#ifndef MYPLUGININTERFACE_H
#define MYPLUGININTERFACE_H#define MYPLUGININTERFACE_IID "org.examples.myplugin.interface”class MyPluginInterface
{
public:virtual ~MyPluginInterface() {}     //这里需内敛实现virtual void printFromPlugin() = 0; //声明为纯虚函数};Q_DECLARE_INTERFACE(MyPluginInterface, MYPLUGININTERFACE_IID)#endif // MYPLUGININTERFACE_H
再创建插件类,继承自QObject:
添加对QMyPluginInterface的继承,元对象的接口注册和导出:
//myplugin.h
#ifndef MYPLUGIN_H
#define MYPLUGIN_H#include <QObject>
#include "MyPluginInterface.h"class MyPlugin : public QObject, MyPluginInterface
{Q_OBJECTQ_PLUGIN_METADATA(IID MYPLUGININTERFACE_IID)Q_INTERFACES(MyPluginInterface)public:explicit MyPlugin(QObject *parent = nullptr);void printFromPlugin();     //实现继承自基类的纯虚函数signals:};#endif // MYPLUGIN_H
//myplugin.cpp
#include "myplugin.h"
#include <QDebug>MyPlugin::MyPlugin(QObject *parent): QObject{parent}
{}void MyPlugin::printFromPlugin()
{qDebug() << "Print From Plugin";
}最后修改.pro文件,构建项目:
//MyPlugin.pro
TEMPLATE = lib      #表明该项目要构建库
CONFIG += plugin    #告知qmake要创建一个插件HEADERS += \MyPluginInterface.h \myplugin.hSOURCES += \myplugin.cpp
构建会提示MyPluginInterface.h中有错误:D:\QtApplication\MyPlugin\MyPlugin\MyPluginInterface.h:15: error: Parameter type ‘MyPluginInterface’ is an abstract class
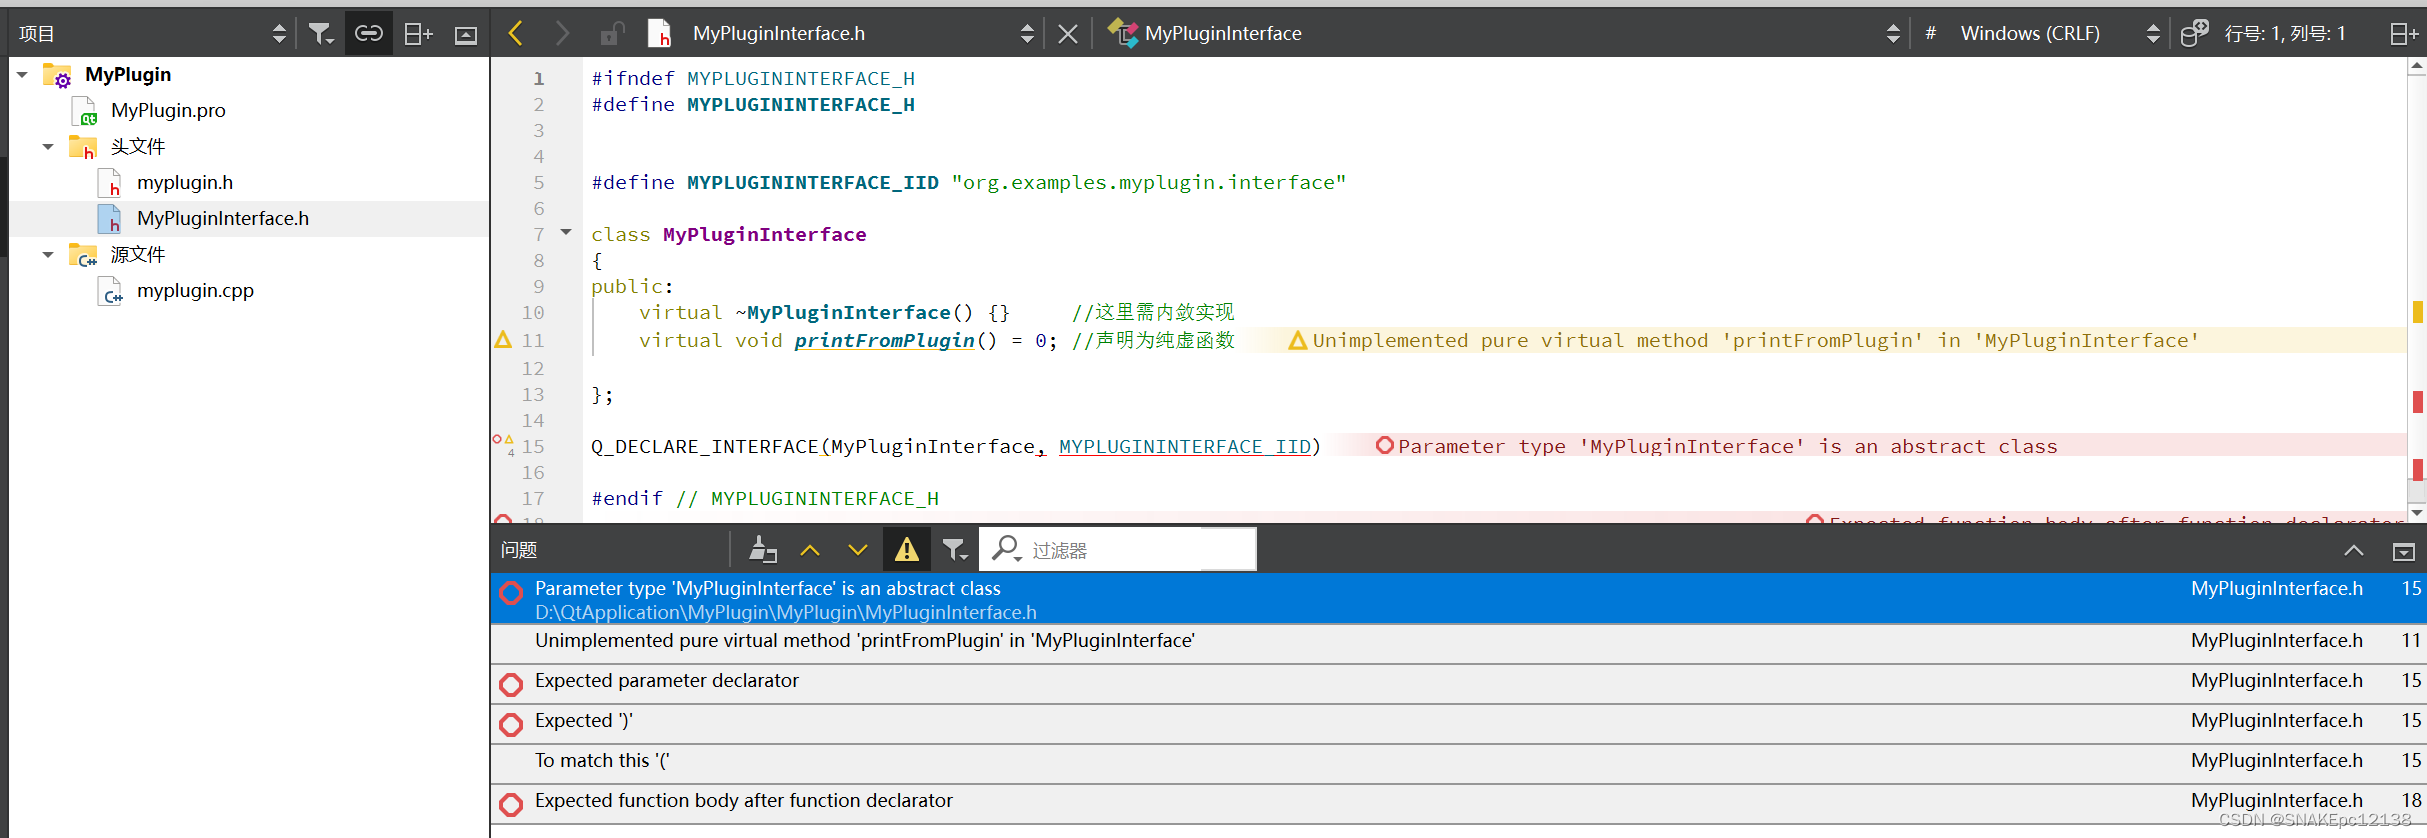
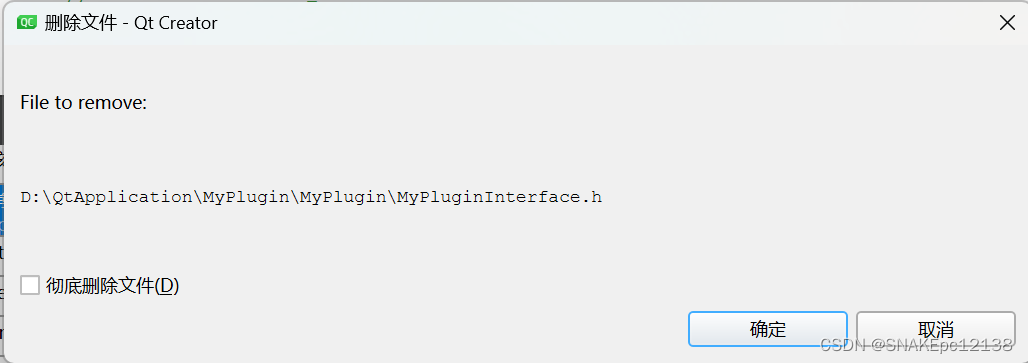
这里将MyPluginInterface.h从项目中移除,注意不要删除!
再重新构建生成即可:
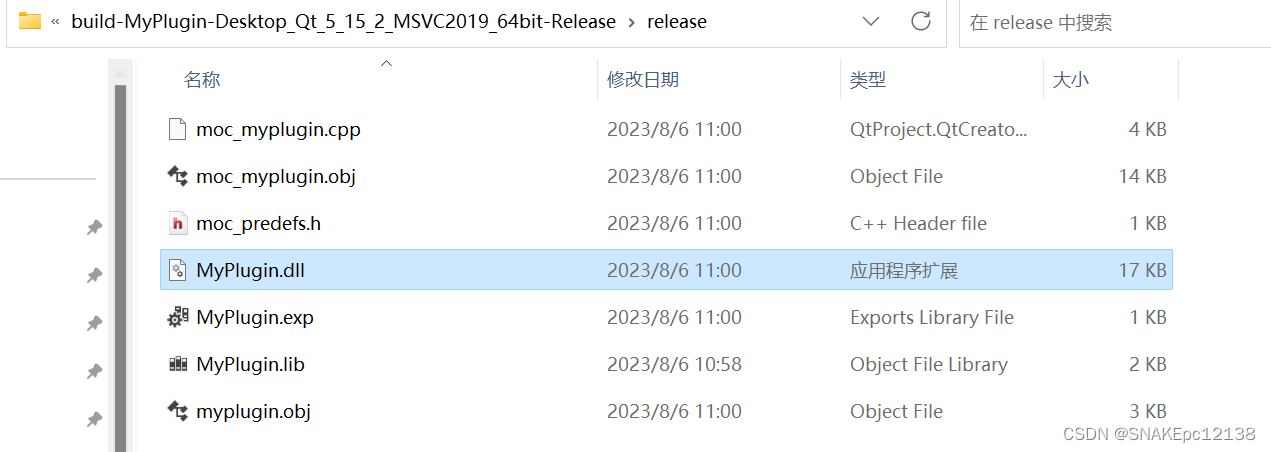
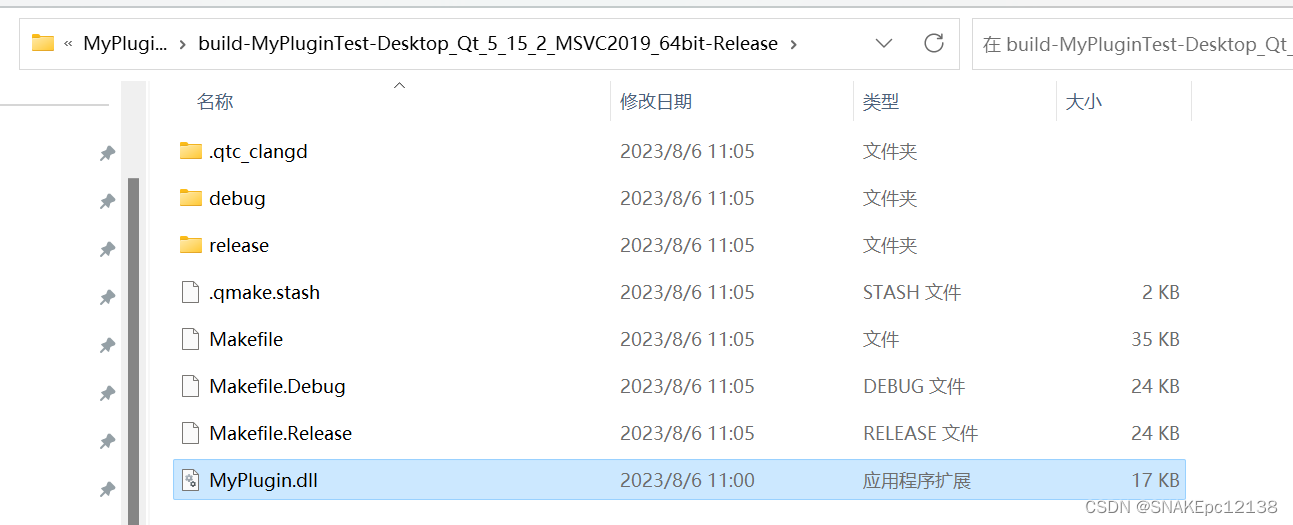
可以在输出目录下看到dll:
然后提供:
①MyPluginInterface.h
②MyPlugin.dll
给其他项目使用即可。
使用插件
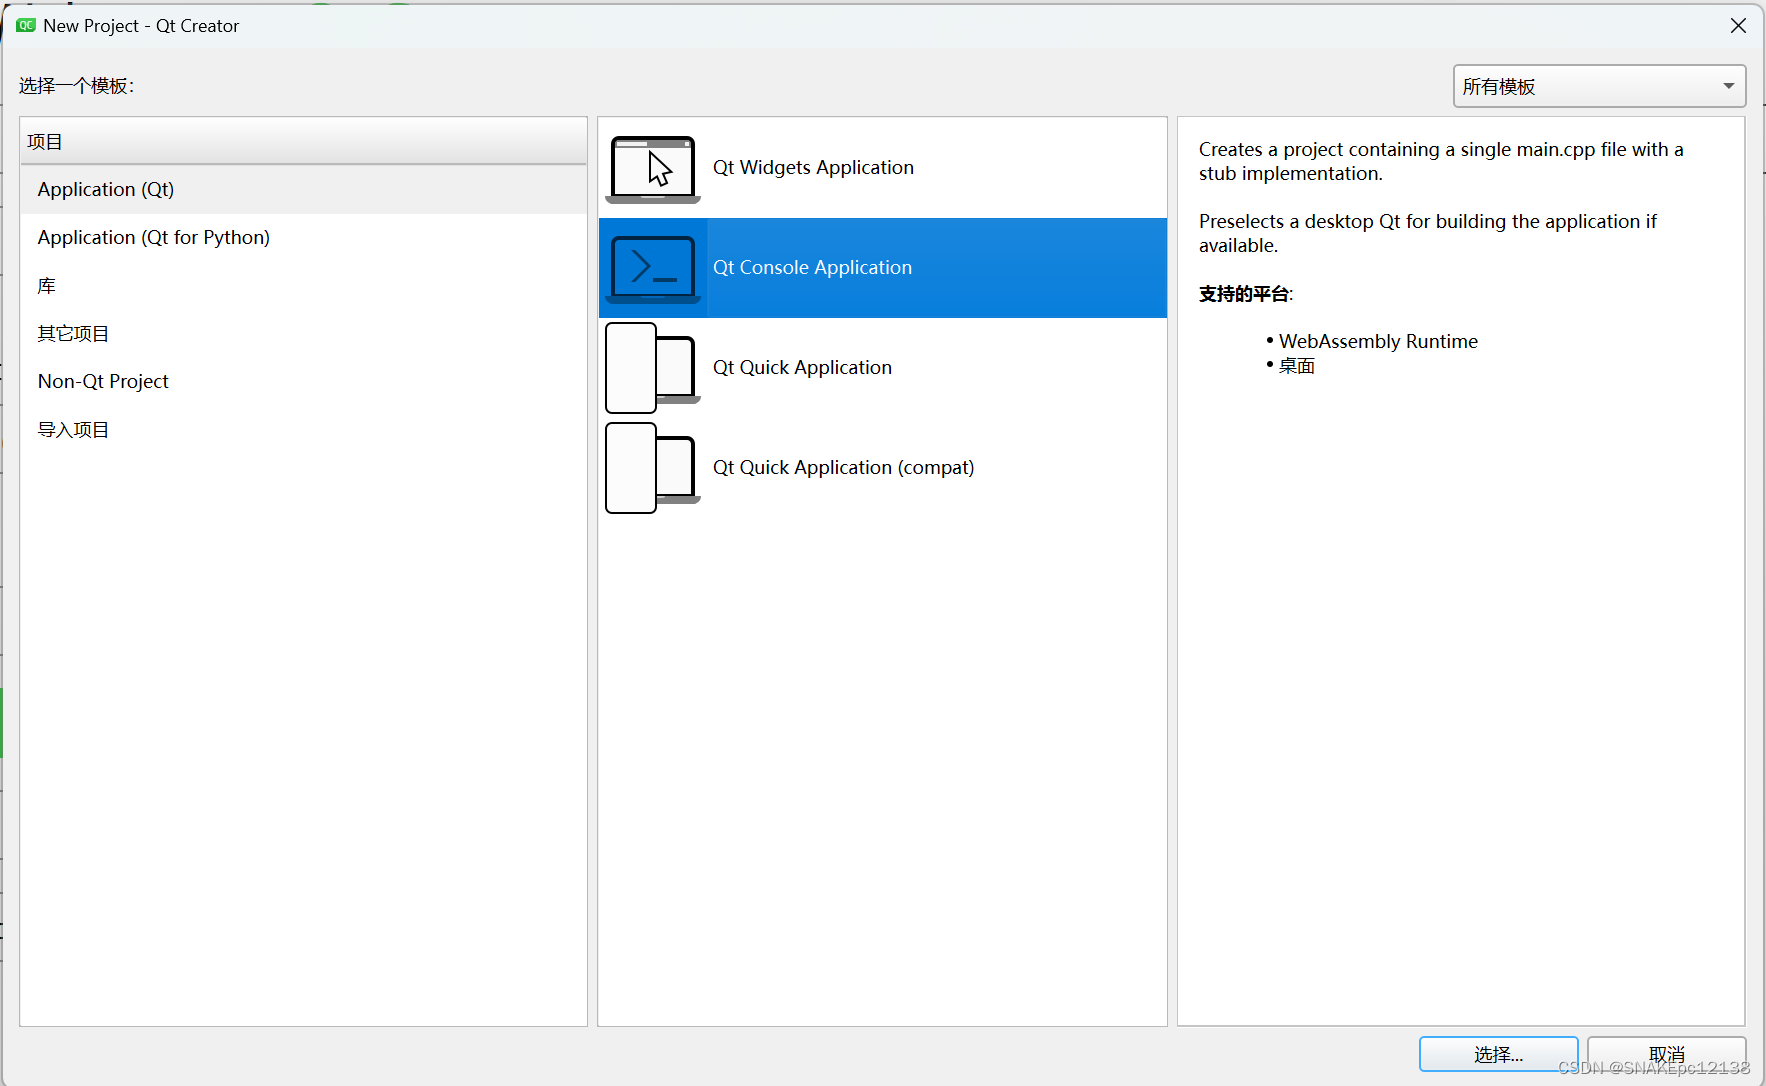
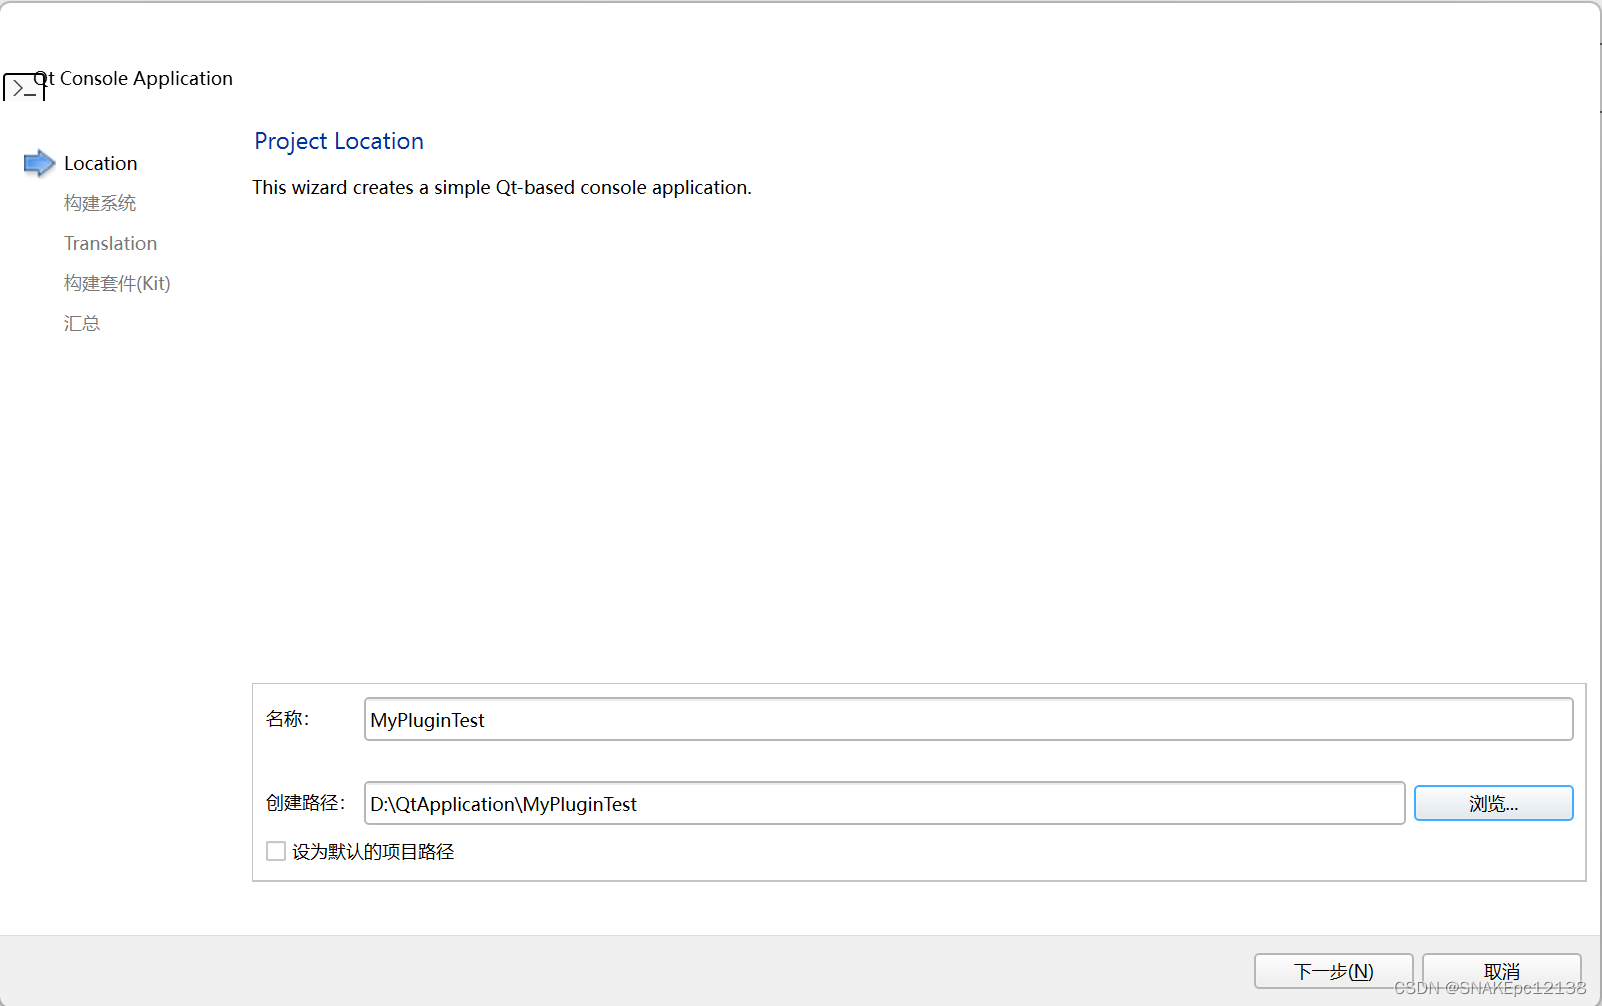
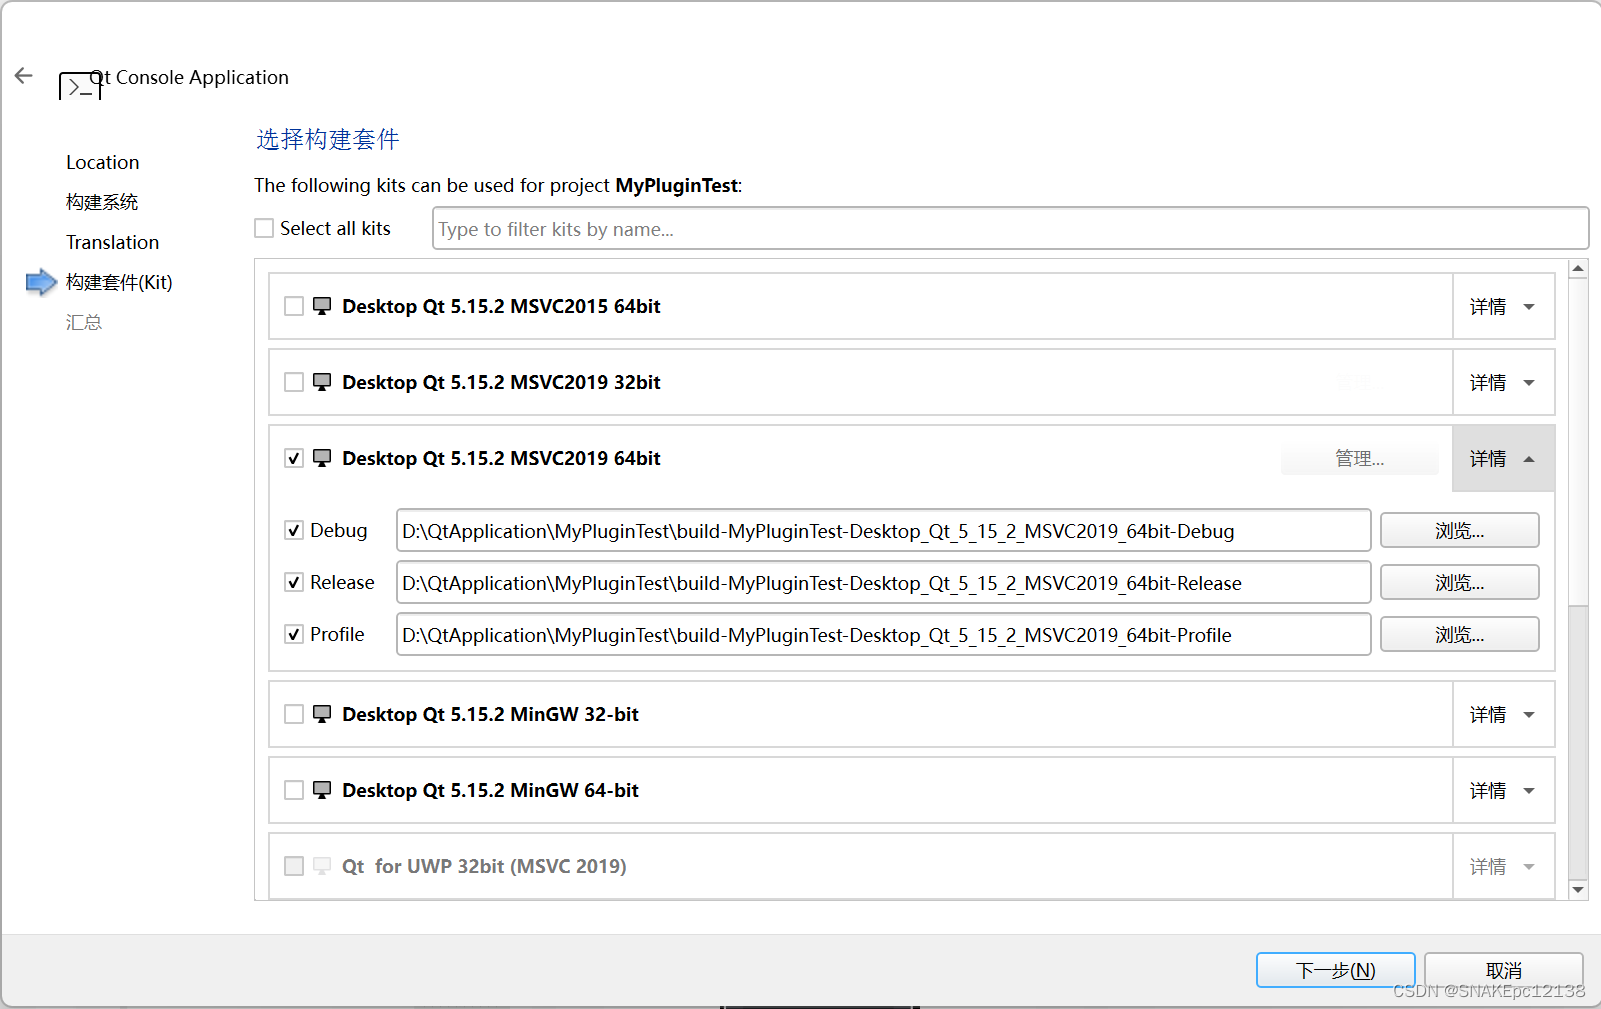
这里新建一个Qt控制台应用程序,来加载上面的插件并使用:
构建套件:
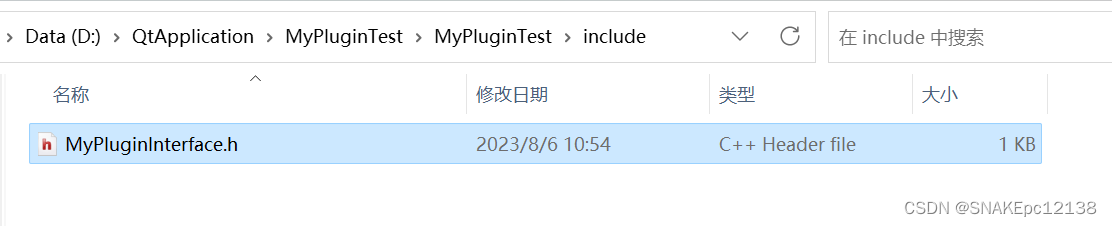
将MyPluginInterface.h拷贝到MyPluginTest.pro目录的include文件夹中,将MyPlugin.dll放到MyPluginTest项目的输出目录下:
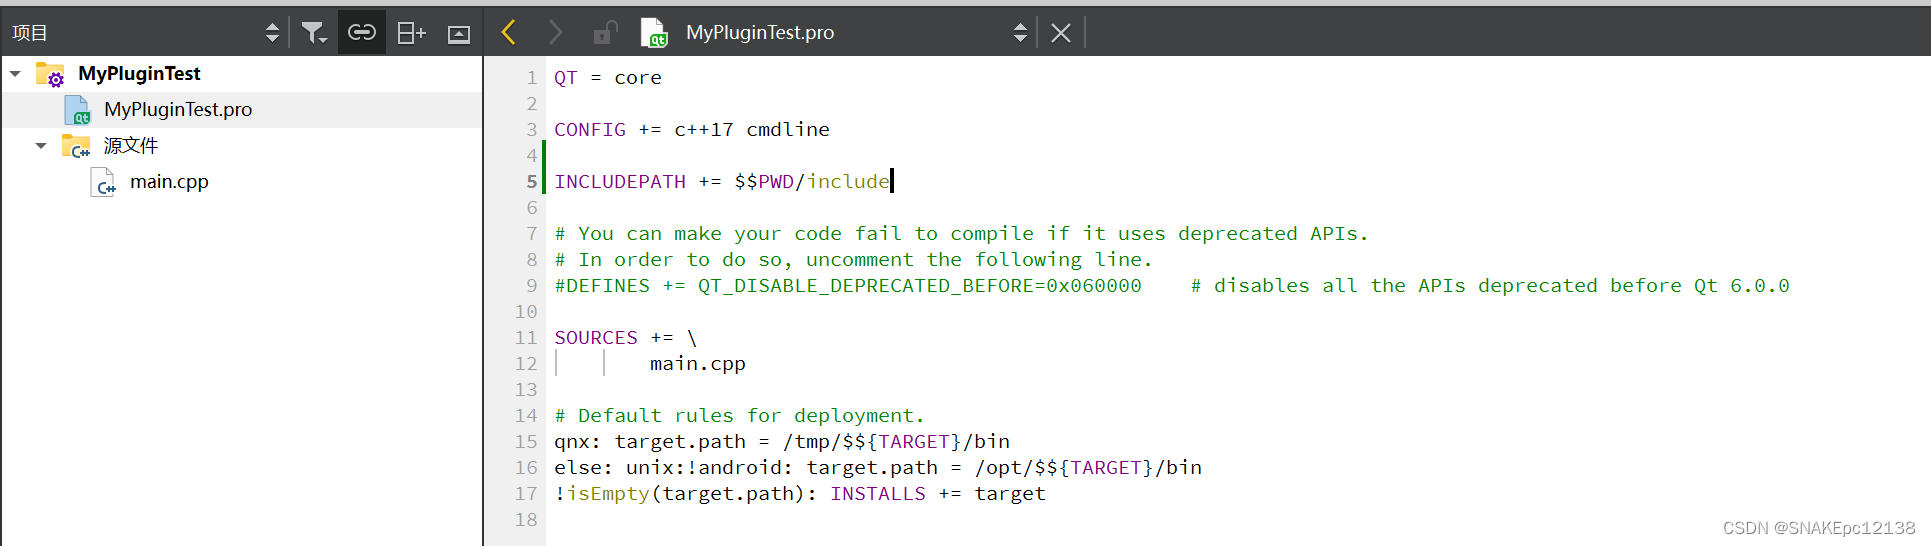
在MyPluginTest.pro中添加包含目录:
在main.cpp中加载使用MyPlugin:
//main.cpp
#include <QCoreApplication>#include <QDebug>
#include <QPluginLoader>
#include "MyPluginInterface.h"int main(int argc, char *argv[])
{QCoreApplication a(argc, argv);//QPluginLoader loader("D:/QtApplication/MyPluginTest/build-MyPluginTest-Desktop_Qt_5_15_2_MSVC2019_64bit-Release/MyPlugin.dll");QPluginLoader loader("../MyPlugin.dll");QObject* instance = loader.instance();if (instance){MyPluginInterface* plugin = qobject_cast<MyPluginInterface*>(instance);if (plugin){plugin->printFromPlugin();}}else{qDebug() << "Instance is null";return 0;}return a.exec();
}
输出结果如下:

总结
使用QPluginLoader可动态加载dll,通过QPluginLoader::instance()得到插件接口类的实例,再通过多态调用对应插件类的接口实现,以此来弥补QLibrary不能动态加载使用导出类的缺陷。
后续扩展其他插件时,需添加抽象的插件接口类(MyPluginInterface)及其对应的插件类(MyPlugin)实现。