学习网站建设难吗wordpress中文模板下载地址
1.由于每个工程使用的环境都可能不一样,因此一个好的习惯就是不同的工程都创建属于自己的环境,在anaconda中默认的环境是base,我们现在来创建一个名为spyder的环境,专门用于爬虫工程:
//括号中名字,代表当前的环境
(base)dragon@machine: $ conda create --name=spyder
2.激活环境
// 环境从base切换到example
(base)dragon@machine: $ conda activate spyder
3.安装spyder- kernels
// 环境已从base切换到spyder
(spyder)dragon@machine: $ conda install spyder-kernels
到此spyder的环境就创建好了,接下来我们来使用这个环境来开发。
4.打开anaconda navigator,这个命令在base环境中,所以我们要切换回base环境中:
(spyder)dragon@machine: $ conda activate base
5.启动navigator
(spyder)dragon@machine: $ anaconda-navigator

6. 点击Spyder的launch按钮,启动这个IDE
7. 启动IDE后,修改运行环境,点击右下角Completions:conda(base) ->Change default environment in Preferences…

8.选择相应Python interpreter -> Use the following Python interpreter,然后选择spyder环境下的python解析器,如下图所示: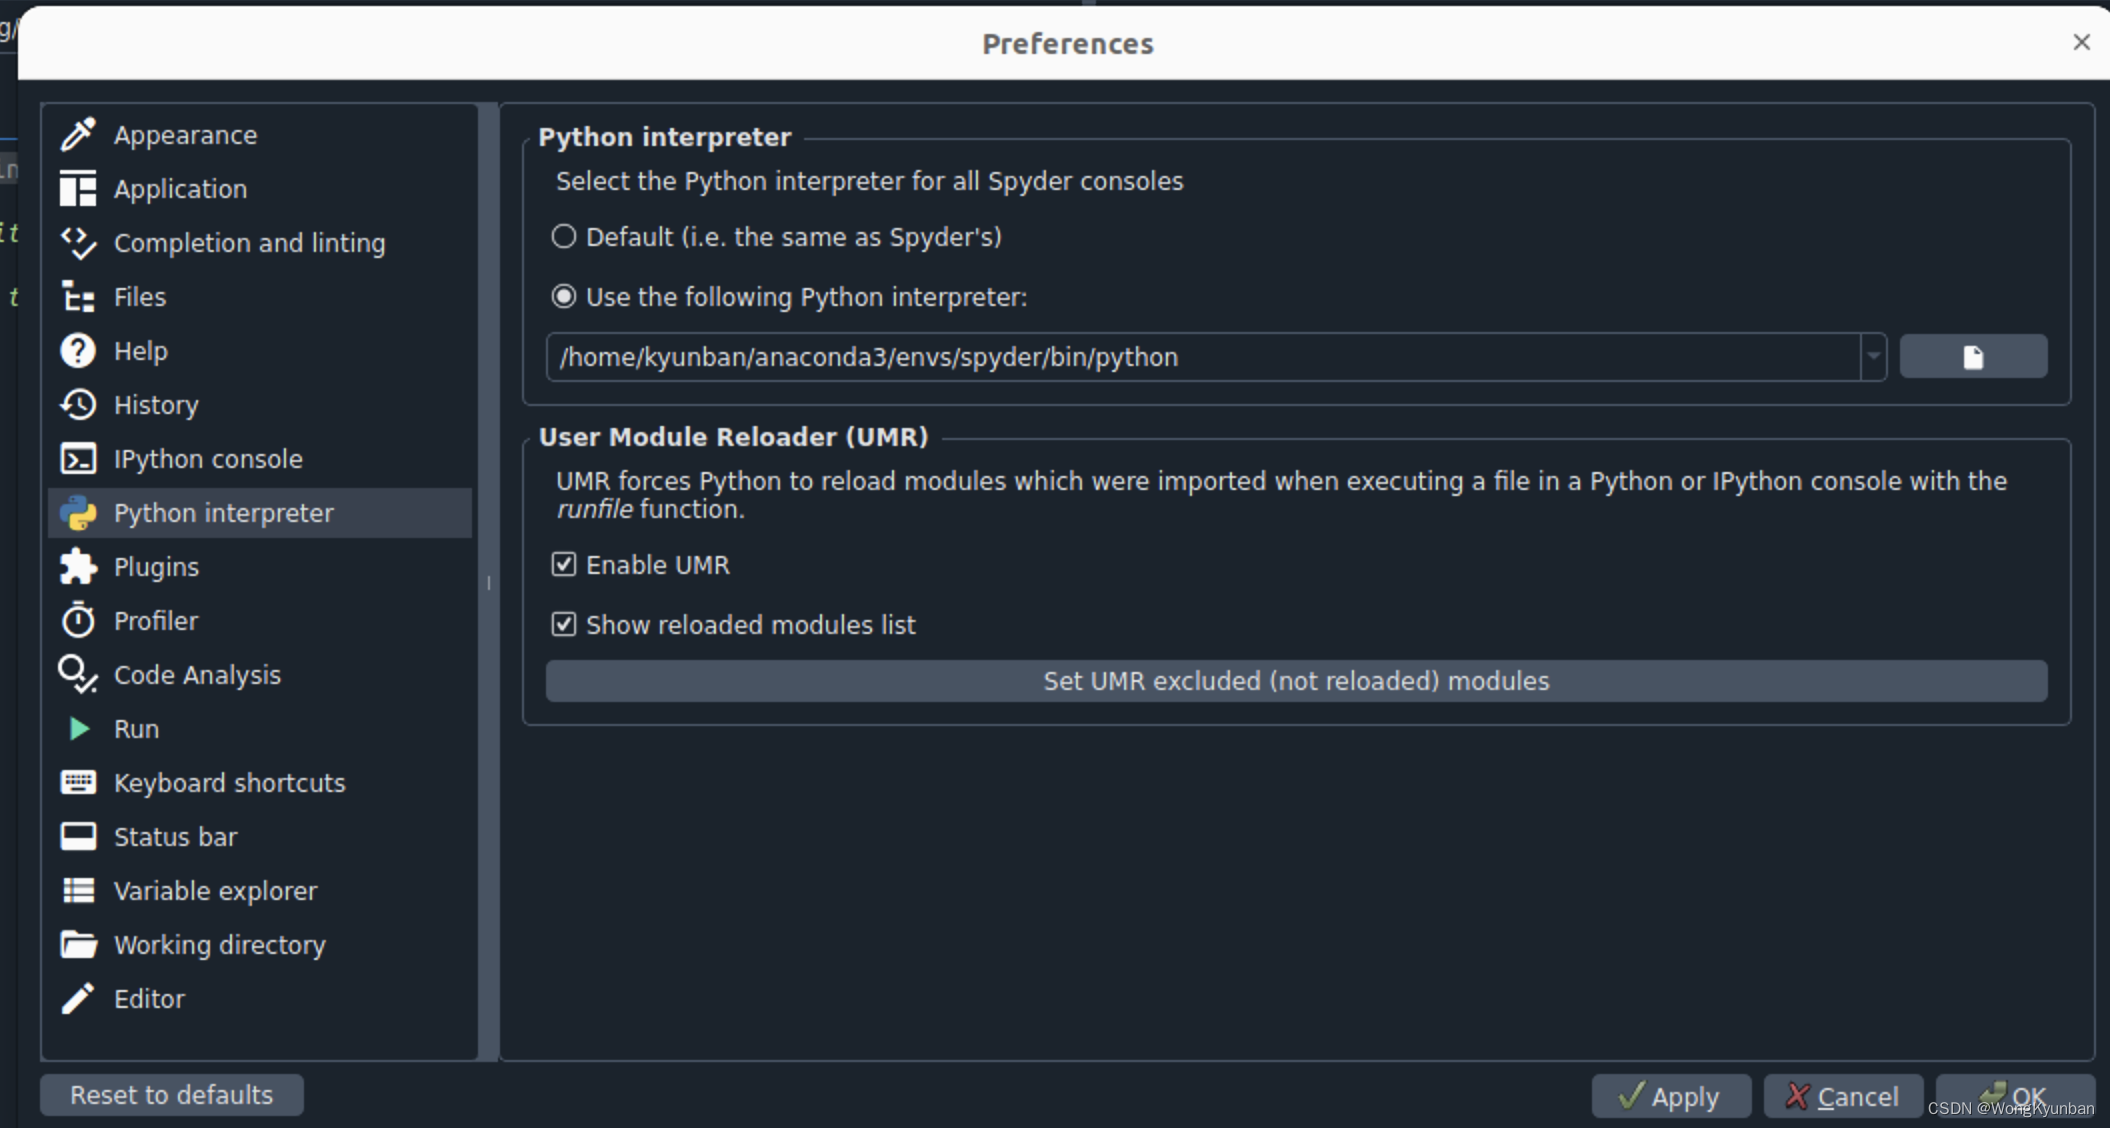
使用anaconda 创建spyder工程是很方便的。