什么网站可以做相册视频广州城乡建设局
python介绍
官方的Python解释器本质是基于C语言开发的一个软件,该软件的功能就是读取以py.结尾的文件内容,然后按照Guido定义好的语法和规则去翻译并执行相应的代码。这种C实现的解释器被称为Cpython。
python解释器的种类:Jython IPython PyPy IronPython
安装Cpython解释器
官网:Welcome to Python.org

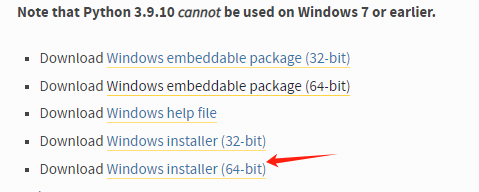
下载完后安装就可以
配置环境变量
安装完成测试安装是否成功,cmd检测安装, python
IDE工具pycharm的使用
pycharm下载官网:Download PyCharm: Python IDE for Professional Developers by JetBrains