网站开发成都宿迁明远建设有限公司网站
使用spark处理数据集,解决gis轨迹点在地图上跨本初子午线的问题,这个问题很复杂,先补充一版我写的
import org.apache.spark.{SparkConf, SparkContext}
import org.apache.spark.sql.{Row, SparkSession}
import org.apache.spark.sql.functions._
import org.apache.spark.sql.expressions.Windowimport org.apache.spark.sql.types.{StringType, StructField, StructType}// by_20231215
// 作者:https://blog.csdn.net/qq_52128187?type=blog
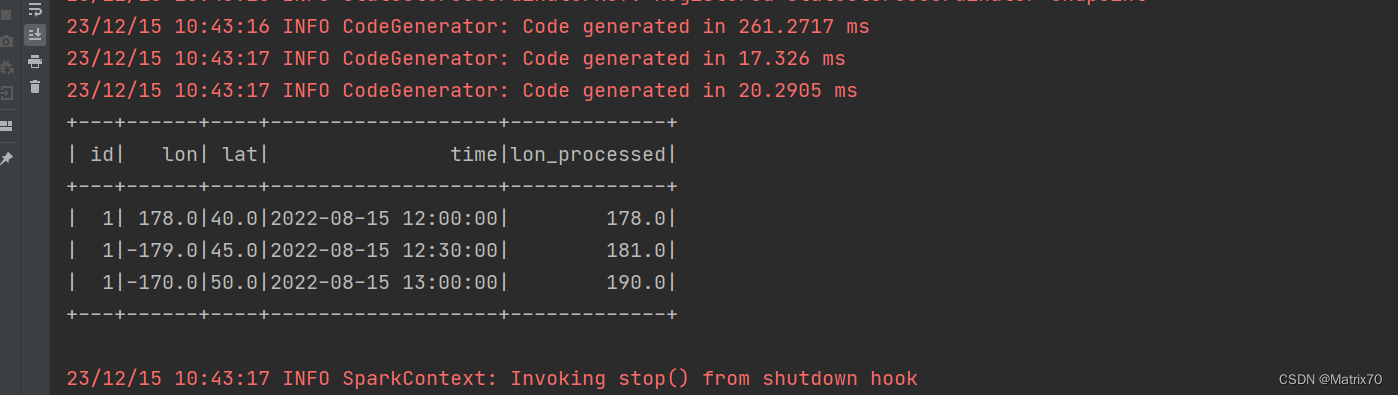
object lon_benchuziwuxian {def main(args: Array[String]): Unit = {val conf = new SparkConf().setAppName("Parent_child_v3").setMaster("local[1]")val sc = new SparkContext(conf)val spark = SparkSession.builder.appName("Parent_child_v3").getOrCreate()import spark.implicits._// 数据val data = Seq((1, 178.0, 40.0, "2022-08-15 12:00:00"),(1, -179.0, 45.0, "2022-08-15 12:30:00"),(1, -170.0, 50.0, "2022-08-15 13:00:00"))// 数据集的schemaval columns = Seq("id", "lon", "lat", "time")val trajDataFrame = data.toDF(columns: _*)// 处理跨越本初子午线的经度val processedDataFrame = trajDataFrame.withColumn("lon_processed",when(col("lon") < 0, col("lon") + 360).otherwise(col("lon")))processedDataFrame.show()// // 处理跨越本初子午线的经度
// val processedDataFrame = trajDataFrame.withColumn("lon_processed",
// when(col("lon") < 0, col("lon") + 360).otherwise(col("lon")))
//
// // 按id和时间排序
// val sortedDataFrame = processedDataFrame.orderBy("id", "time")
//
// // 调整经度以避免跨越本初子午线
// val adjustedDataFrame = sortedDataFrame.withColumn("lon_adjusted",
// when(abs(col("lon_processed") - lag("lon_processed", 1).over(Window.partitionBy("id").orderBy("time"))) > 180,
// when(col("lon_processed") > lag("lon_processed", 1).over(Window.partitionBy("id").orderBy("time")), col("lon_processed") - 360)
// .otherwise(col("lon_processed") + 360)
// ).otherwise(col("lon_processed"))
// )
//
// // 将经纬度点按时间形成一条轨迹字符串
// val trajStringDF = adjustedDataFrame.groupBy("id").agg(collect_list(struct("lon_adjusted", "lat", "time")).as("trajectory"))
//
// trajStringDF.show(false)}
}