专门做2手手机的网站网站建设硬件设备
Jenkuns快速入门
一、CICD概述
CICD是持续集成(Continuous Integration)和持续部署(Continuous Deployment)的缩写。它是软件开发中的一种流程和方法论,旨在通过自动化的方式频繁地将代码集成到共享存储库中,并自动部署到生产环境中。
-
持续集成(Continuous Integration):开发者将代码频繁地合并到共享存储库中,然后自动运行测试以确保代码的质量和稳定性。这有助于发现和解决潜在的问题,并促使开发团队保持代码库的健康状态。
-
持续部署(Continuous Deployment):一旦代码通过了持续集成的测试,并且达到了部署到生产环境的标准,就可以自动地将代码部署到生产环境中,以供最终用户访问和使用。这可以大大减少发布新功能或修复bug的时间,提高交付速度。
传统软件开发流程:
1、项目经理给你们分配模块开发任务给开发人员(项目经理-开发)
2、每个模块单独开发完毕(开发),单元测试(测试)
3、开发完毕后,集成部署到服务器(测试、运维)
4、测试出现问题,提交bug,开发继续修复bug(开发)
5、bug修改完毕,继续提交测试…
问题:
1、模块之间依赖负载,集成部署经常出问题
2、测试人员经常在等待…
3、按时交付也会出问题
思考:
1、测试时间能否提前(开发一提交代码,问题就能直接暴露出来:自动化测试)
2、人工集成部署(能否使用自动化工具构建)
持续集成
持续集成的好处:
1、自动化集成部署,提高了集成效率。
2、更快的修复问题。
3、更快的进行交付。
4、提高了产品质量。
DevOps
DevOps是一种软件开发和IT运维(Operations)的方法论或文化。它旨在通过改进开发团队和运维团队之间的沟通、协作和集成,以实现更快、更可靠的软件交付。DevOps强调自动化、持续集成(Continuous Integration)、持续交付(Continuous Delivery)、持续部署(Continuous Deployment)等实践,以便将软件的开发、测试和部署过程整合到一个无缝的流程中。通过DevOps实践,团队可以更快地响应用户需求,更快地交付软件,并且更容易地应对市场变化和技术挑战。
二、GitLab安装使用
1、安装
# 拉取镜像
docker pull gitlab/gitlab-ce#创建目录
mkdir -p /home/gitlab/etc
mkdir -p /home/gitlab/data
mkdir -p /home/gitlab/logs#启动容器
docker run --name="gitlab" -d --hostname=139.9.199.4 -p 4443:443 -p 8888:80 -p 8022:22 -v /home/gitlab/etc:/etc/gitlab -v /home/gitlab/data:/var/opt/gitlab -v /home/gitlab/logs:/var/log/gitlab --privileged=true gitlab/gitlab-ce:latest#查看启动日志
docker logs -f gitlab#配置修改
#cd /home/gitlab/etc/gitlab.rb
external_url 'http://139.9.199.4'# /home/gitlab/data/gitlab-rails/etc/gitlab.yaml#查看初始密码
cat /home/gitlab/etc/initial_root_passwordPassword: BjIDRuFBLJpw8RqsbR//VOBAOYkE4nu0eN7mM/FLLJs=
使用用户名root+上面获得的密码登录
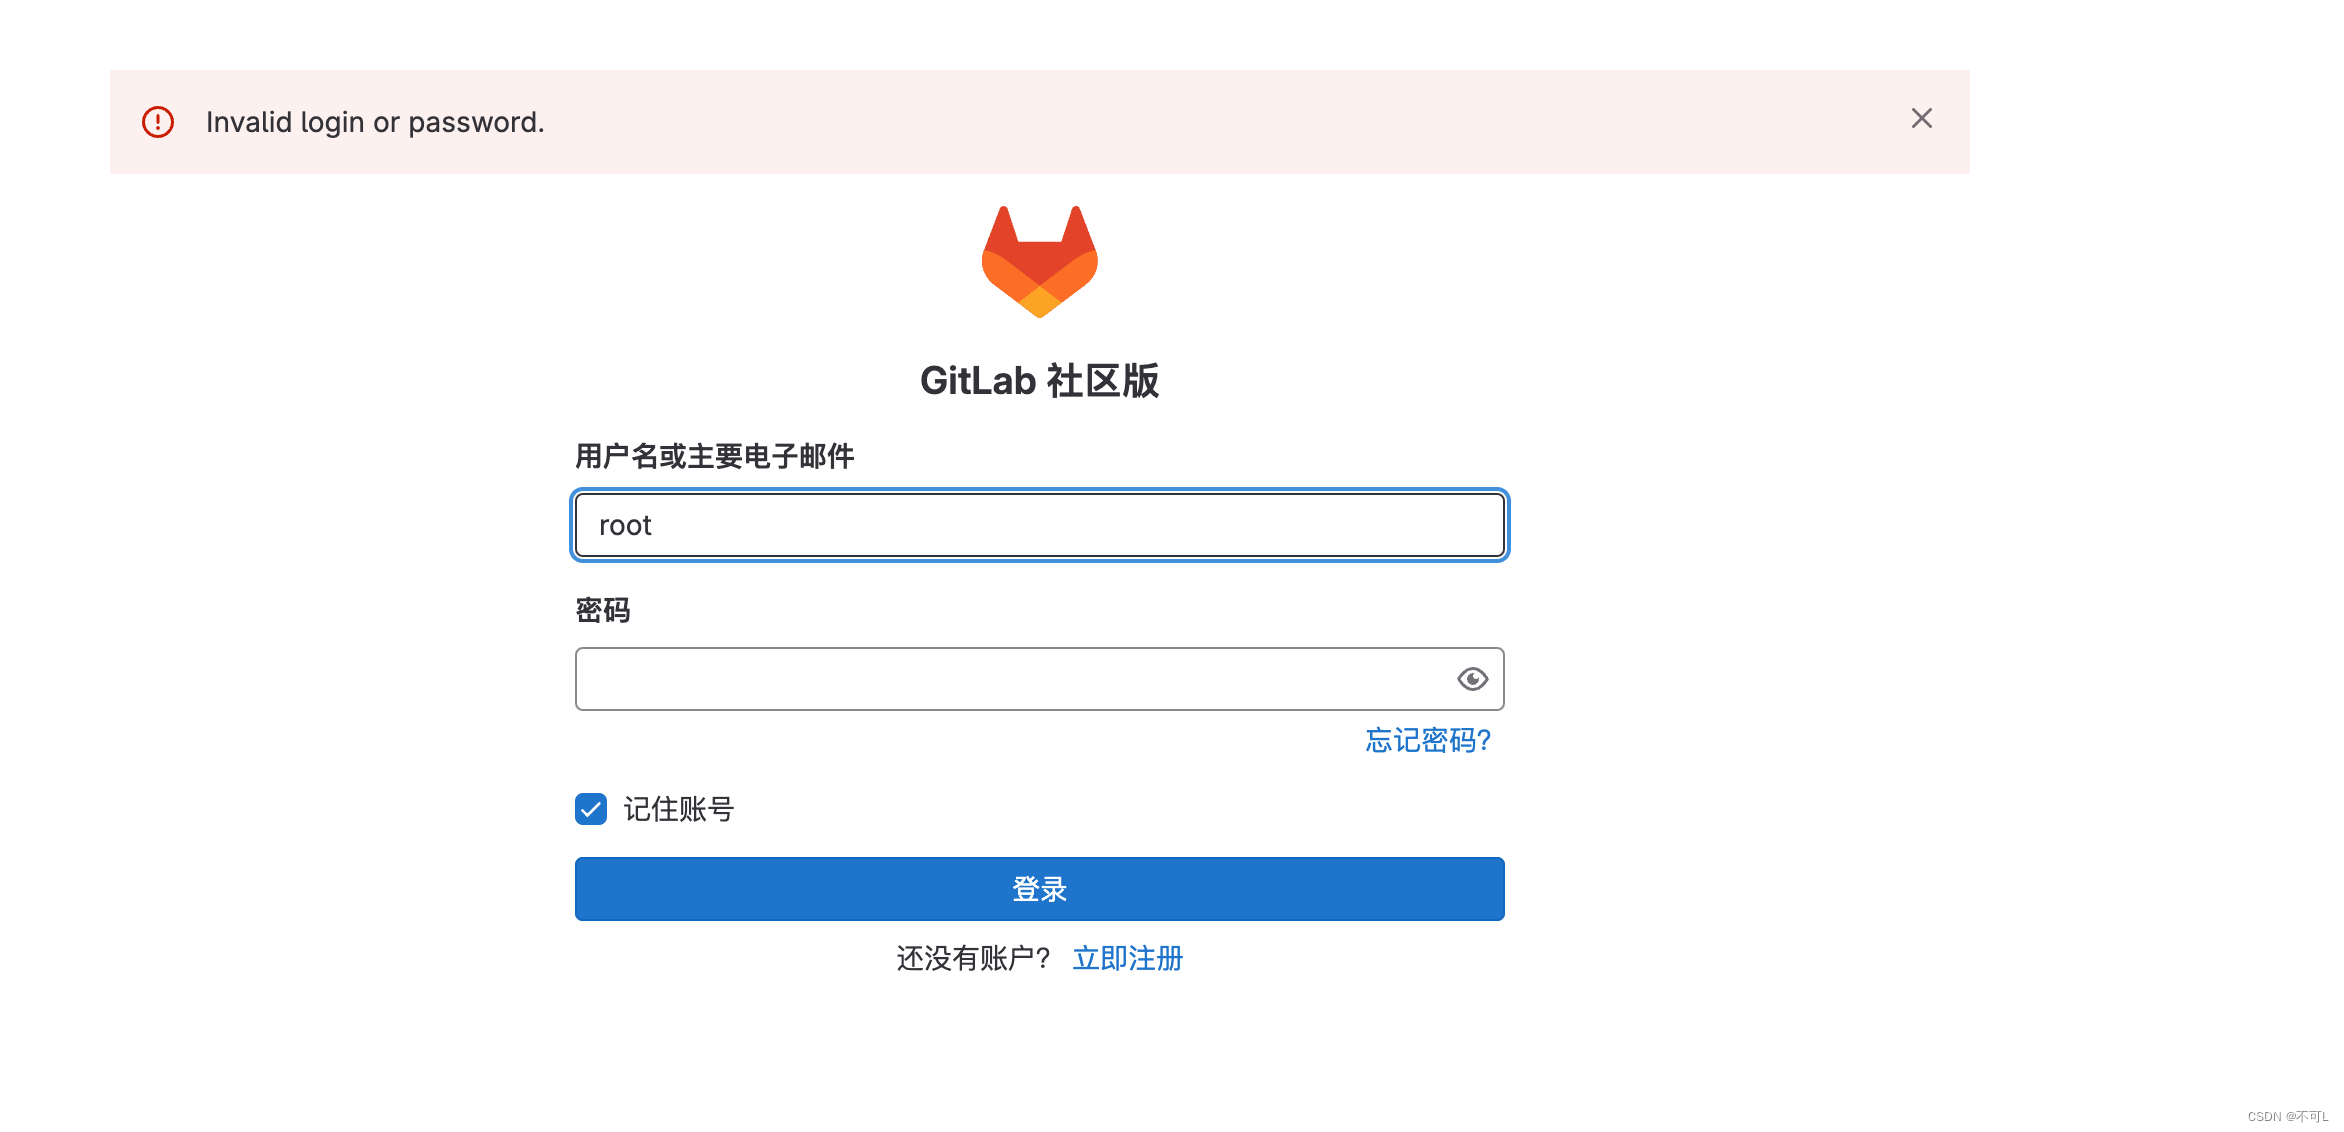
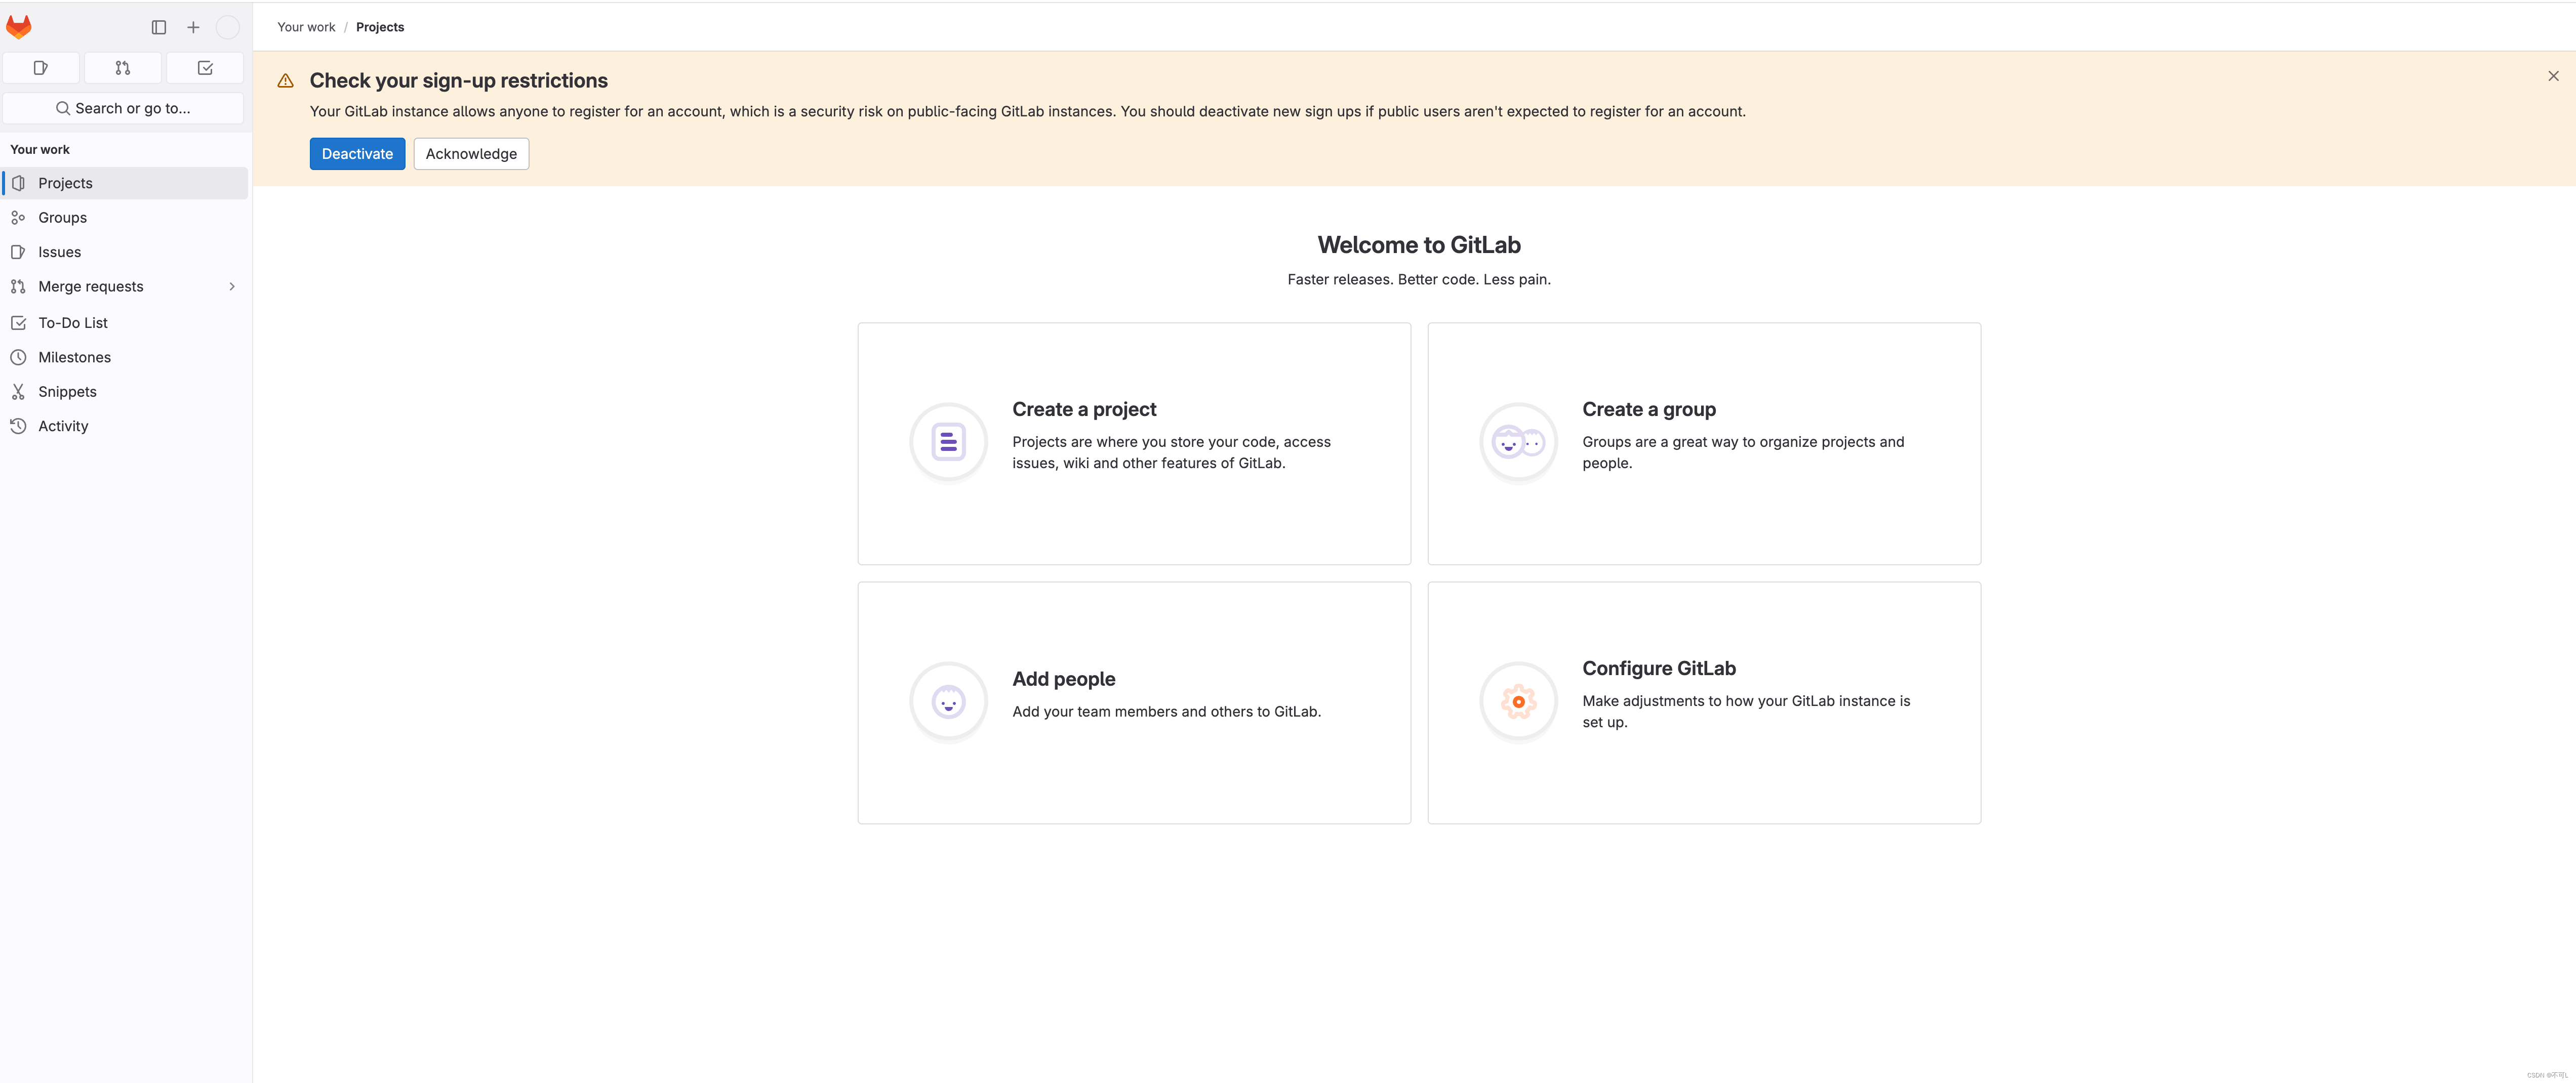
登录成功后先修改密码,初始密码只保留24h
2、使用
直接像使用git一样使用
yum update -y
yum install git -y
git version
由于centos停止维护,安装git时,镜像源的安装存在问题。解决方案
#克隆项目git config --global user.name "Administrator"git config --global user.email "admin@exmple.com"git config --global credential.helper storegit clone http://139.9.199.4:8888/root/base-test.gitcd base-testtouch README.mdgit add .git commit -m "update"git push -u origin main
三、Jenkins
中文官方文档
Jenkins是一个开源的持续集成(CI)和持续部署(CD)工具,用于自动化软件开发过程中的构建、测试和部署。它允许开发团队在一个可视化的界面中设置和管理工作流程,以确保代码的频繁集成和部署。
Jenkins的主要功能包括:
-
持续集成:Jenkins可以定期或在代码提交时触发构建过程,自动编译源代码、运行测试并生成构建报告。
-
持续部署:通过Jenkins可以设置自动化的部署流程,一旦代码通过了测试,就可以自动部署到生产环境中。
-
插件生态系统:Jenkins具有丰富的插件生态系统,使得它可以与各种不同的工具和技术集成,如版本控制系统(如Git、SVN)、构建工具(如Maven、Gradle)、测试框架(如JUnit、Selenium)等等。
-
可扩展性:Jenkins是一个可扩展的平台,可以根据具体的需求定制和扩展功能。
-
可视化界面:Jenkins提供了直观的用户界面,使得用户能够轻松地查看和管理构建和部署任务。
Jenkins是一个强大而灵活的工具,可以帮助开发团队实现持续集成和持续部署,从而提高软件交付的质量和效率。
1、使用docker安装jenkins
docker run -u root --rm -d -p 8080:8080 -p 50000:50000 -v /var/jenkins_home:/var/jenkins_home -v /var/run/docker.sock:/var/run/docker.sock jenkinsci/blueocean
- 根据提示获取登录密码
cat /var/jenkins_home/secrets/initialAdminPassword

- 安装推荐插件
安装前,需要更换配置文件中的外网访问地址
#进入目录  cd /var/jenkins_home/updates
#替换default.json的外网地址
sed -i 's/https:\/\/updates.jenkins-ci.org\/download/https:\/\/mirrors.tuna.tsinghua.edu.cn\/jenkins/g' default.jsonsed -i 's/https:\/\/www.google.com/https:\/\/www.baidu.com/g' default.json
修改完成后开始安装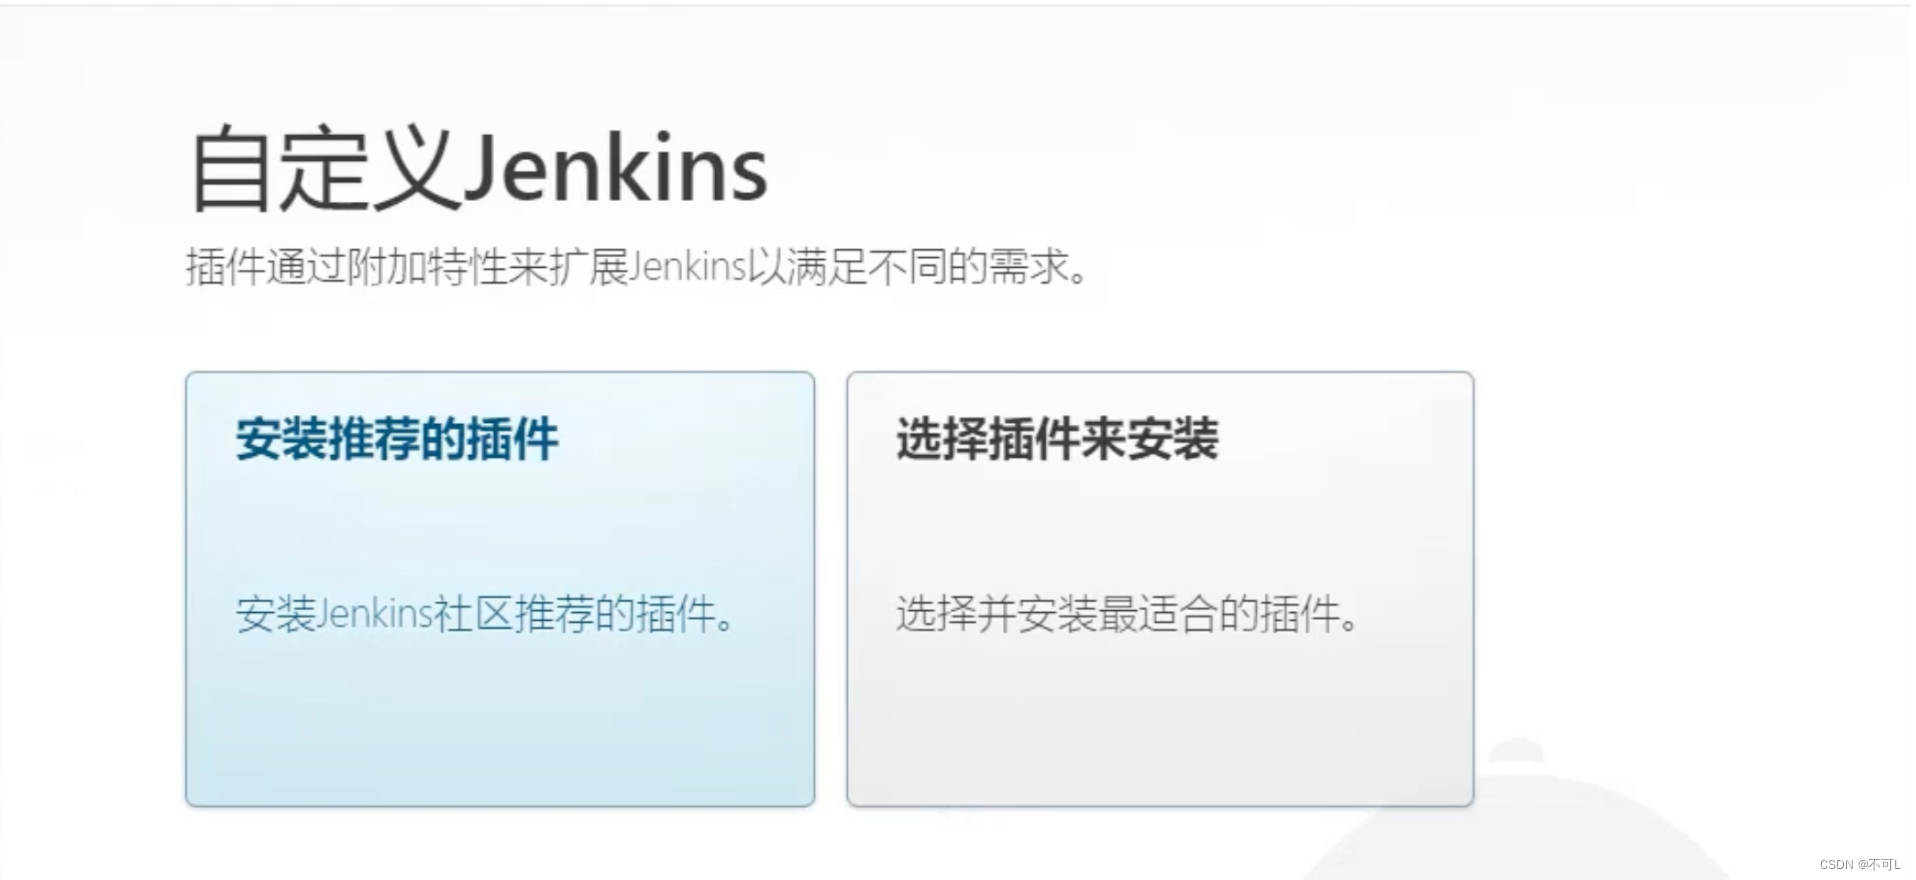
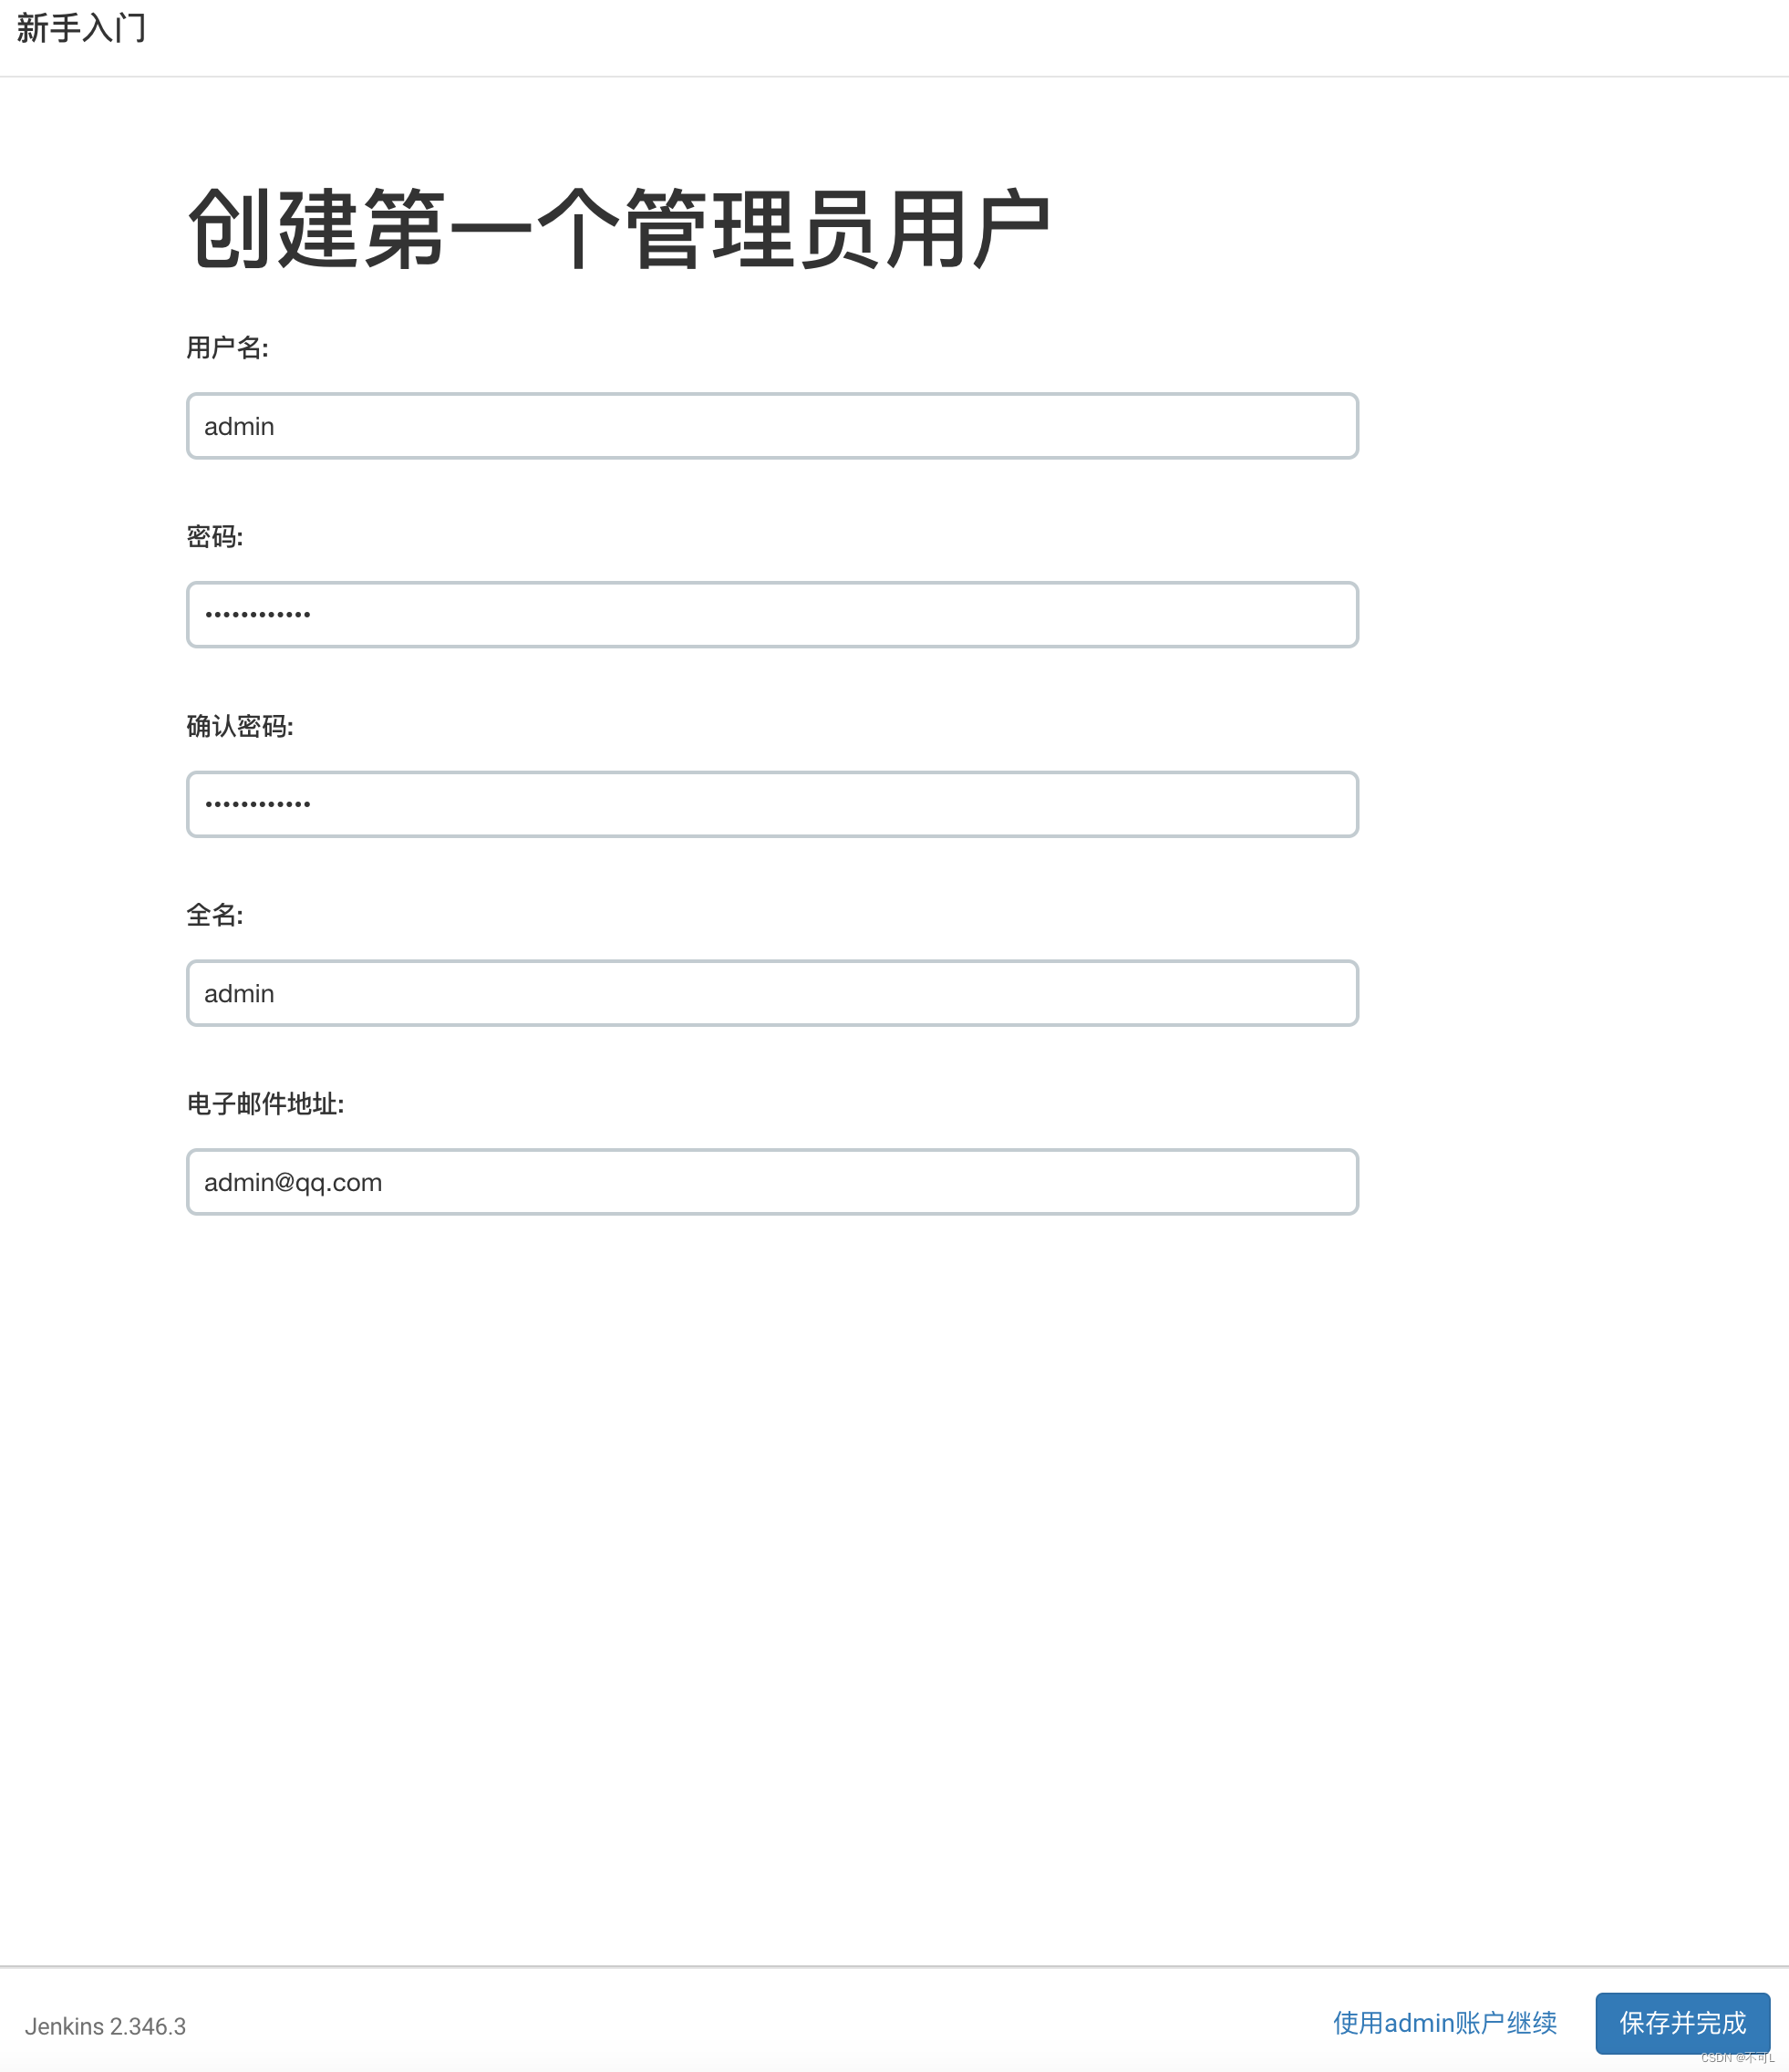
- 部分插件安装成功,直接继续,填写信息。保存并完成
- 不要重启,直接刷新页面,重启容器会挂掉

2、安装插件 gitlab docker

3、纠正未成功安装的插件
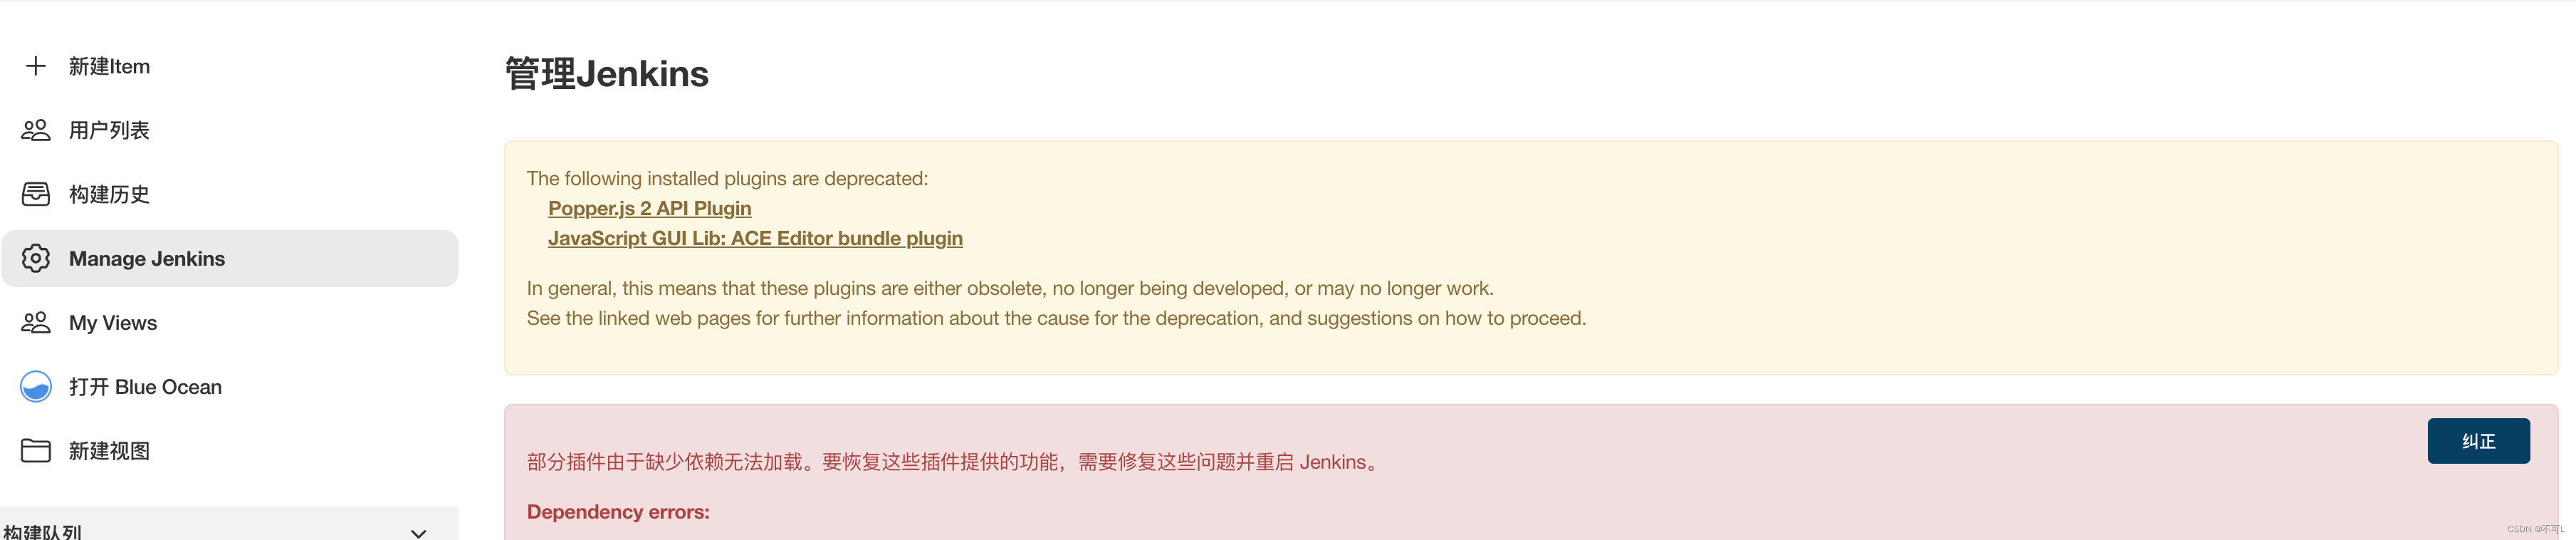
纠正完成后重启容器即可。
四、JenKins使用
1、使用案例: Hello-JenKins
新建流水线项目,添加脚本
//最外层的 pipeline
pipeline {
//agent环境agent {docker 'maven;3.3.3'}//步骤的集合stages {//分步骤stage('build'){steps{sh 'mvn --version'}}stage('Test'){steps{sh 'echo "test"'}}}
}
通过菜单栏的 Blue Ocean查看具体信息。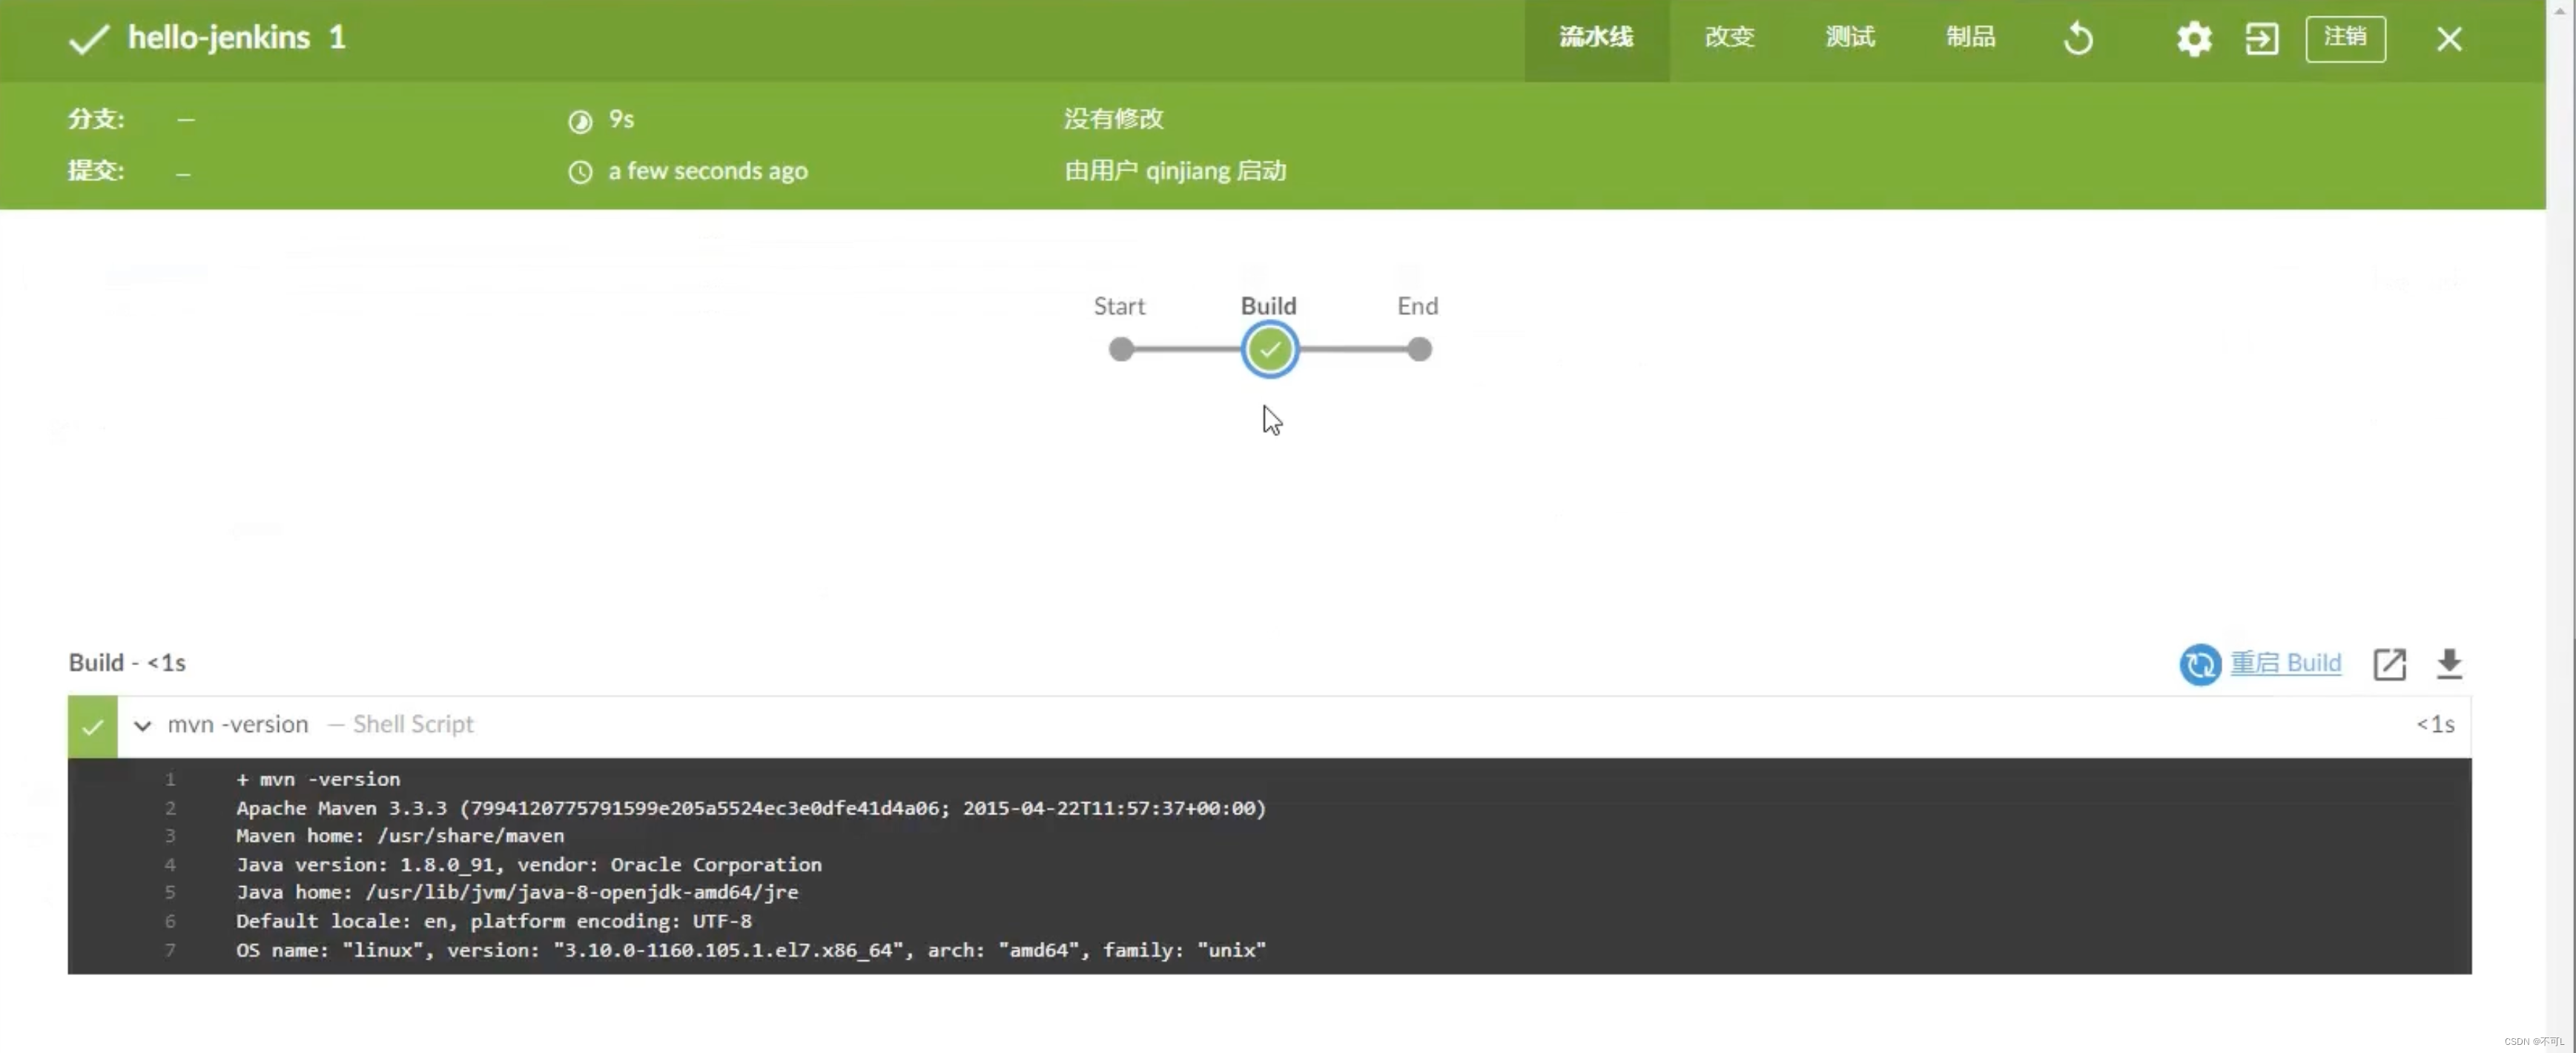
2、超时重试
开发与测试常用到的命令。retry、timeout
pipeline {agent anystages {stage('build'){steps{retry(3){sh './start.sh'}timeout(time:3,unit:'MINUTES'){//未来会有许多的测试脚本sh './health-check.sh'}}}}
}
3、钩子函数
生命周期函数,当pipeline执行到某一个步骤时,做一些特殊的事件。post
pipeline {agent anystages {stage('TEST'){steps{retry(3){sh ‘echo "fail";exit 1'}	}}post {always {echo 'always'}success{echo 'success'}failure{echo 'failure'}unstable{echo 'unstable'}changed{echo 'changed'}}}
}
4、定义执行环境
您可能已经注意到每个示例中的 agent指令。agent 指令告诉jenkins在哪里以及如何执行Pipeline或者Pipeline子集。正如您所预料的, 所有的Pipeline都需要 agent 指令,
在执行引擎中,指令会引起以下操作的执行:
-
所有在块block中的步骤steps会被]enkins保存在一个执行队列中。 一旦一个执行器 executor 是可以利用的,这些步骤将会开始执行。
-
一个工作空间 workspace 将会被分配,工作空间中会包含来自远程仓库的文件和一些用于Pipelin的工作文件
-
工作目录为 /var/jenkins_home/workspace
在Pipeline中可以很容易的运行 Docker 镜像和容器。 Pipeline可以定义命令或者应用运行需要的环境和工具,不需要在执行代理中手动去配置各种各样的系统工具和依赖。 这种方式可以让你使用 Docker容器工具包 中的任何工具
pipeline {agent anystages {//执行步骤dockerfiledocekrcomposeshell其他程序的相关命令。。。}
}
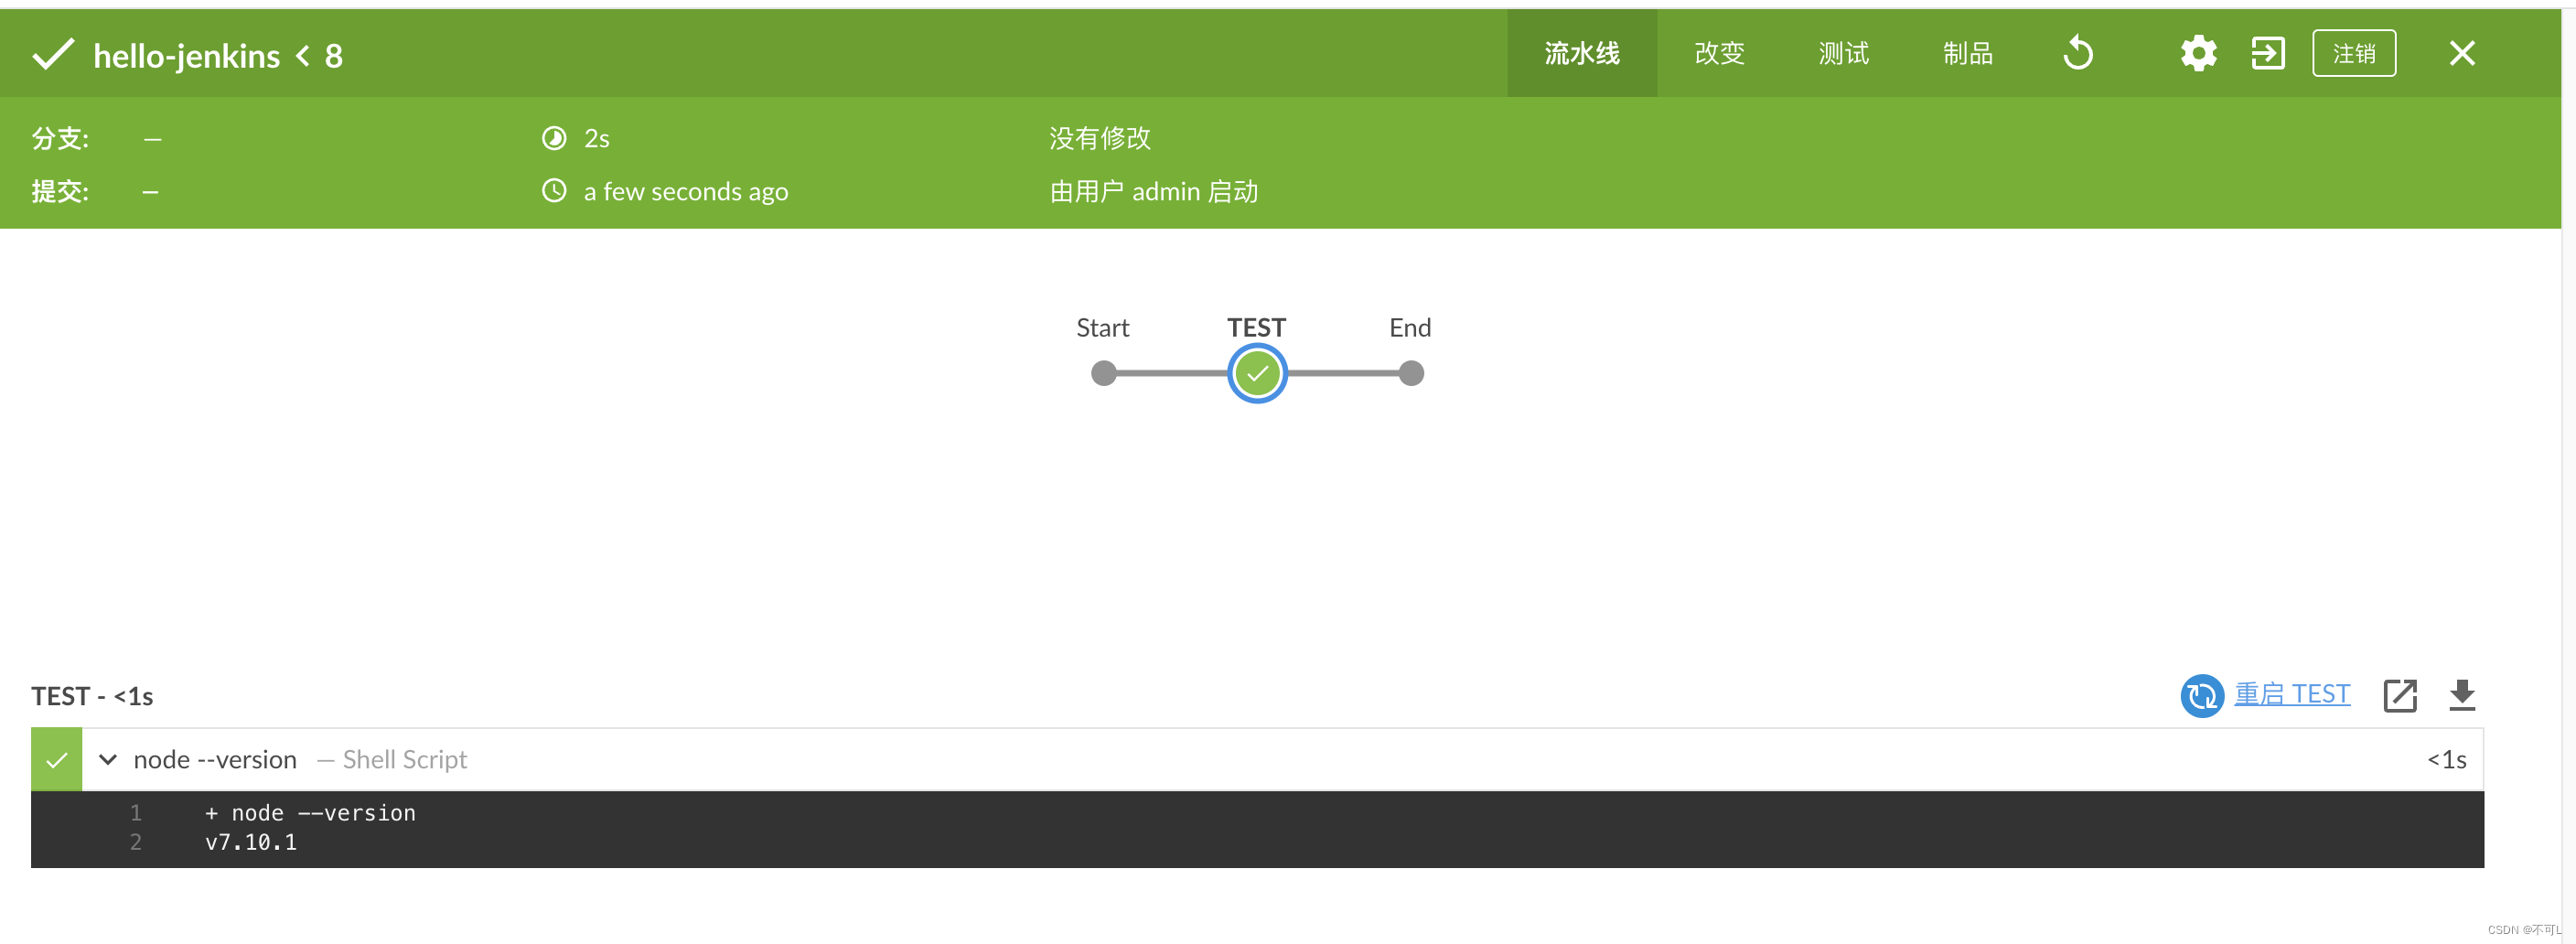
例子
pipeline {agent {docker {image 'node:7-alpine'}}stages {//执行步骤stage('TEST'){steps {sh 'node --version'}}}
}
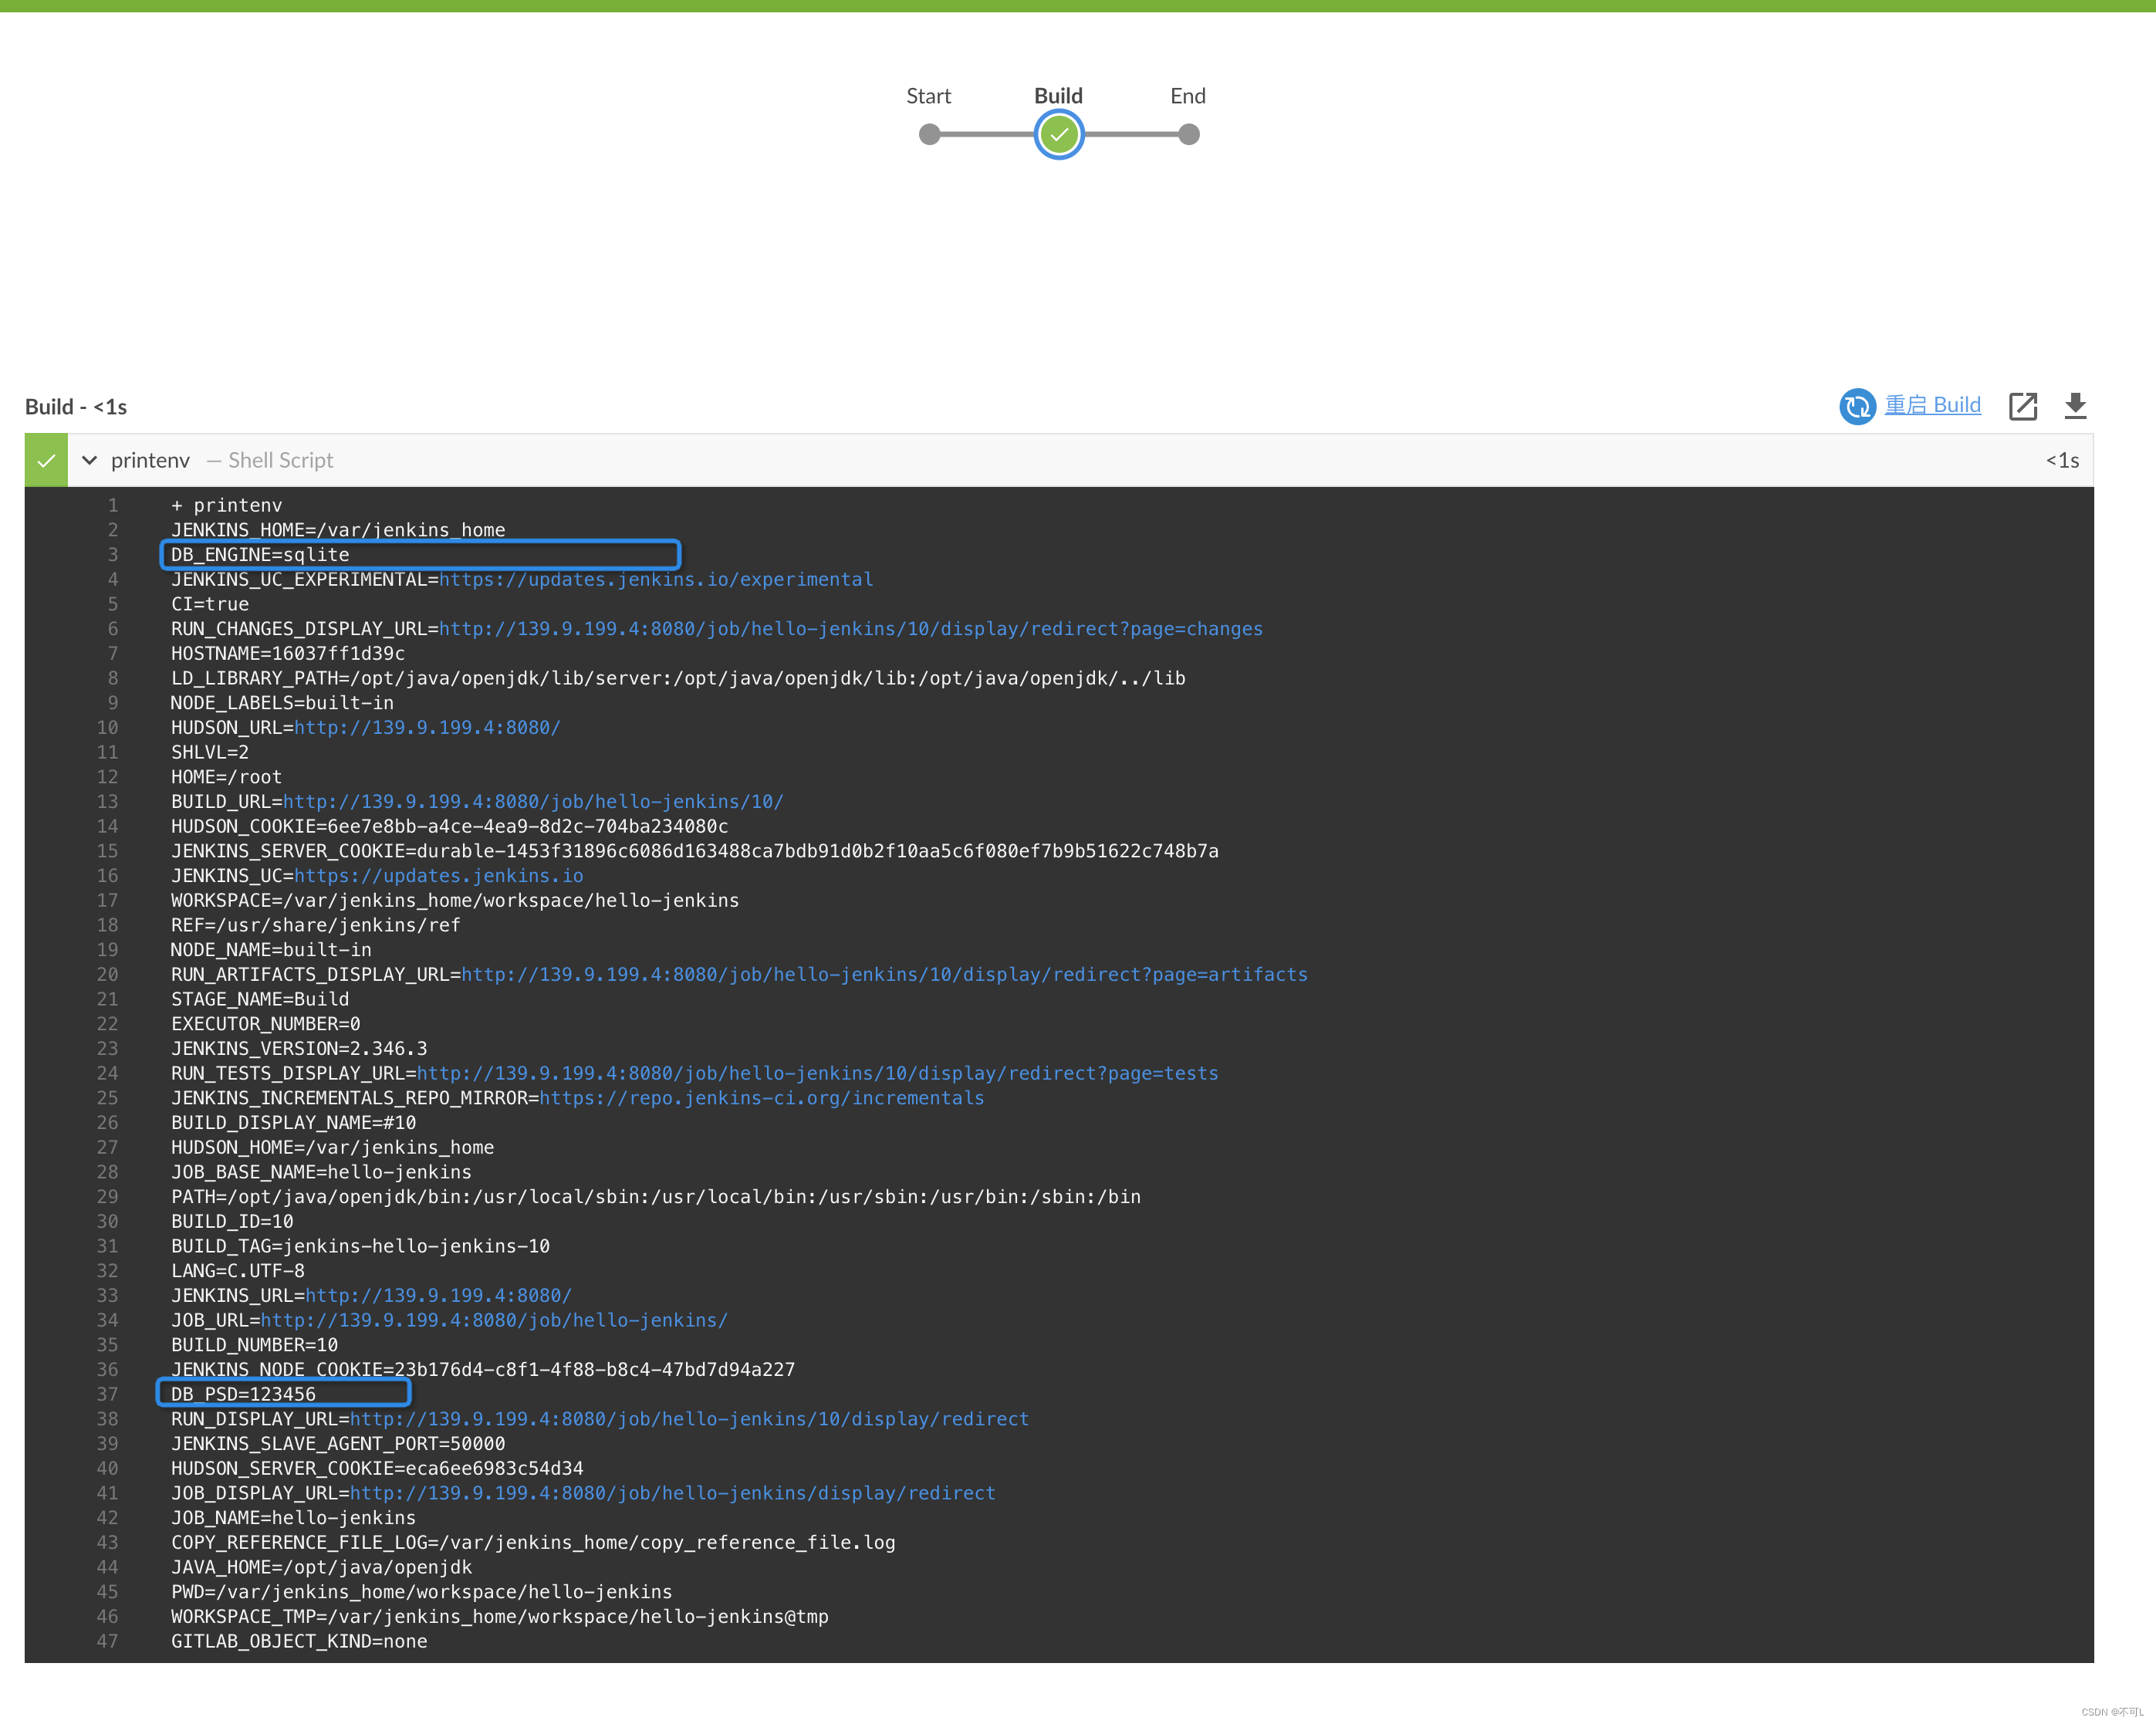
5、环境变量
配置全局的环境变量environment。这个配置在所有的step中都可以使用。
pipeline {agent anyenvironment {DB_PSD = '123456'DB_ENGINE = 'sqlite'}stages {//执行步骤stage('Build'){steps {sh 'printenv'}}}
}
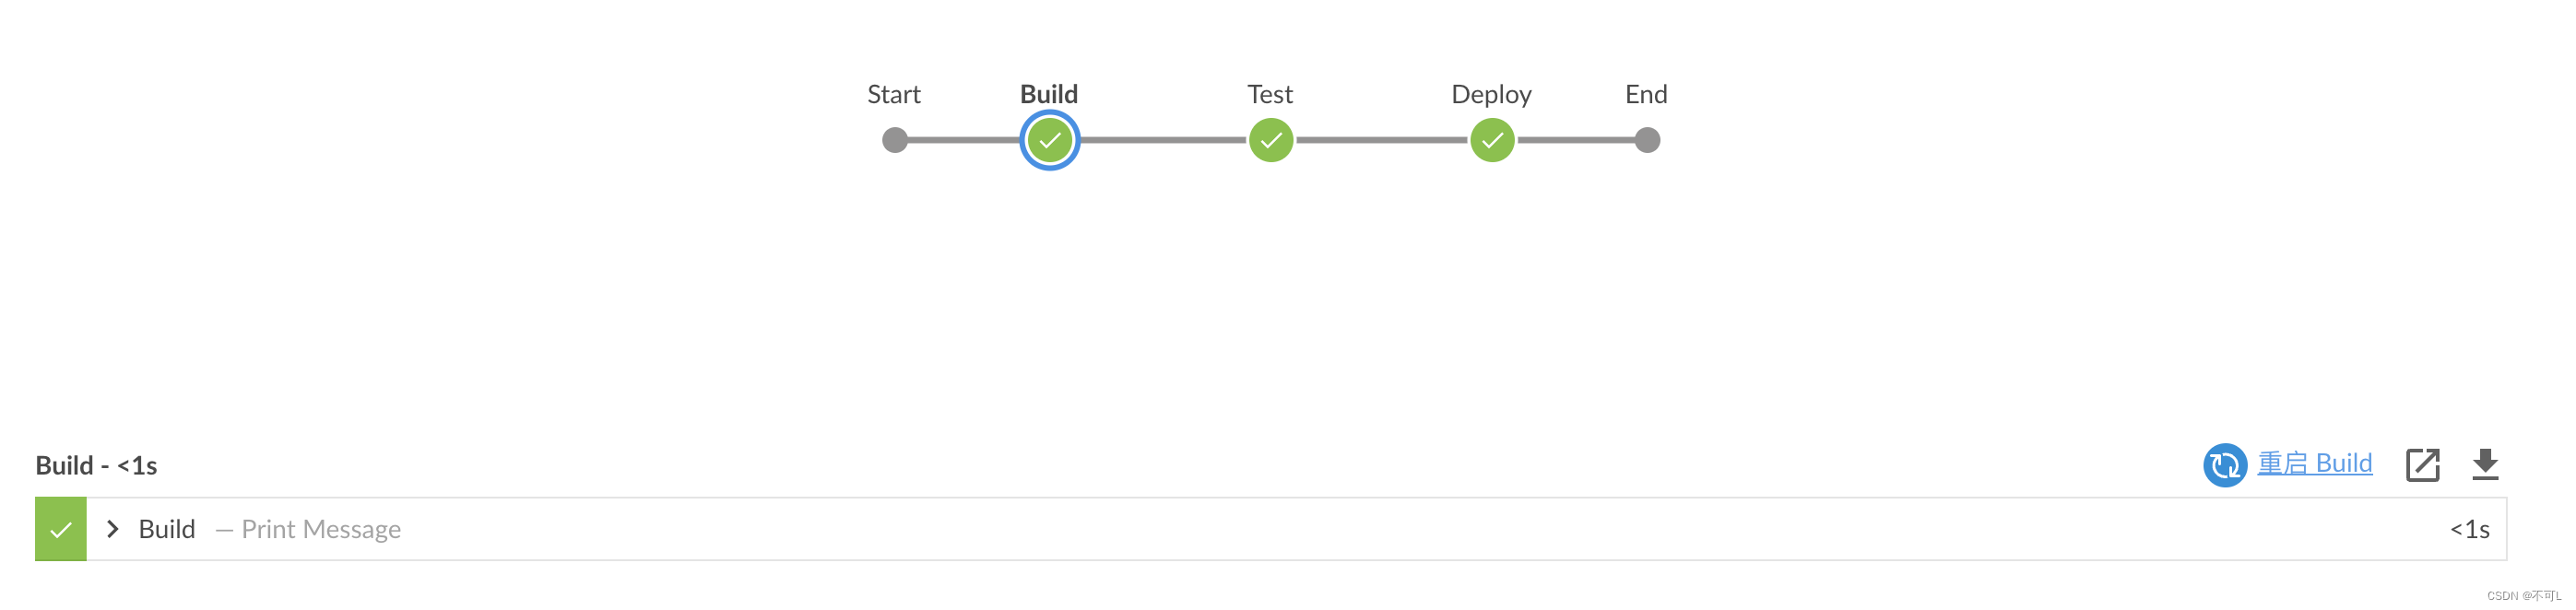
6、多步骤
pipeline {agent anyenvironment {DB_PSD = '123456'DB_ENGINE = 'sqlite'}stages {//项目构建stage('Build'){steps {//git、dockerfile等构建工作。。。echo 'Build'}}//项目测试stage('Test'){steps {//shell测试、web测试、压测。。。echo 'Test'}}//部署stage('Deploy'){steps {//访问、集群、分布式。。。echo 'Deploy'}}}
}
会产生多个步骤的进程任务,方便管理与排查
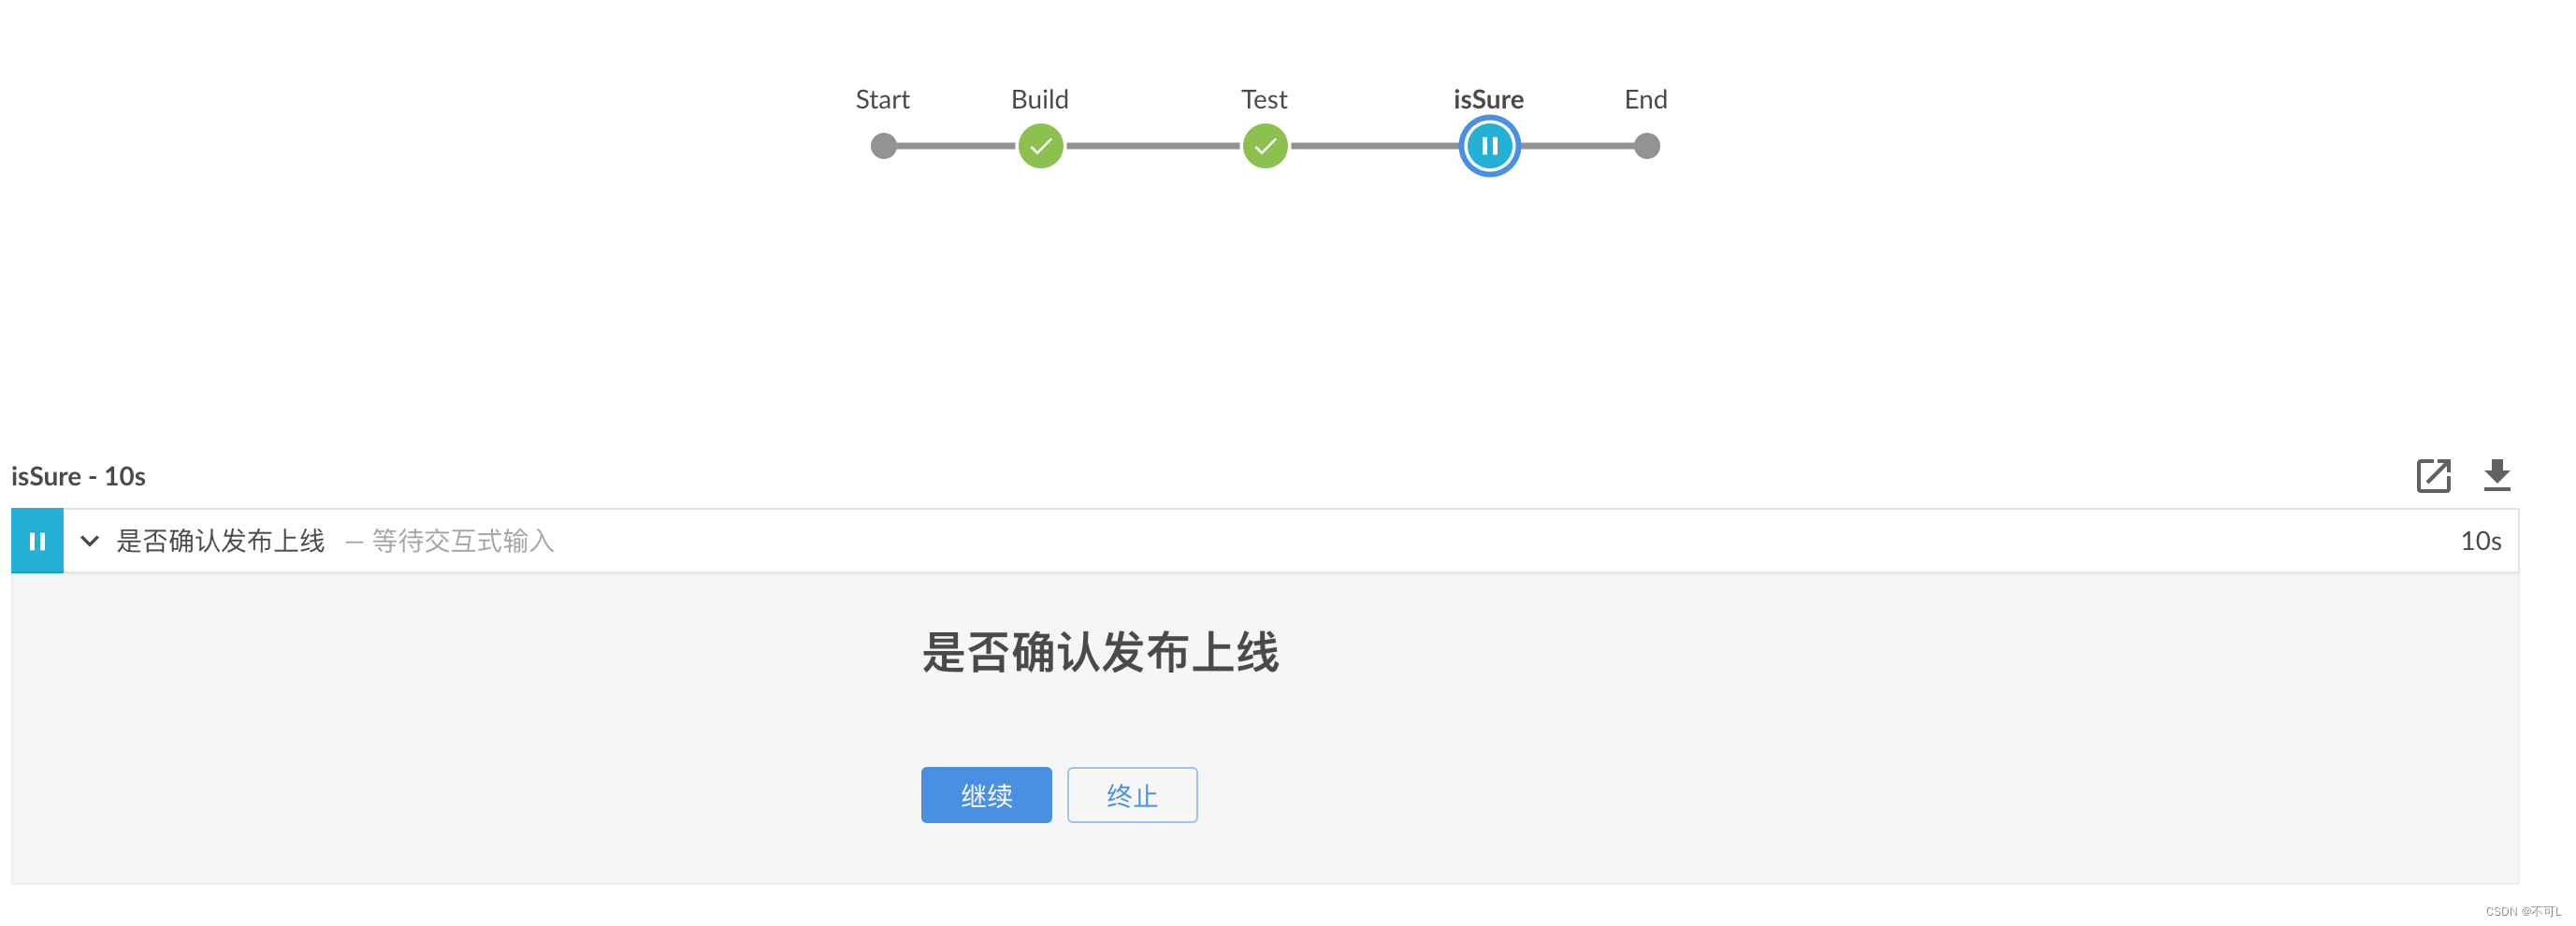
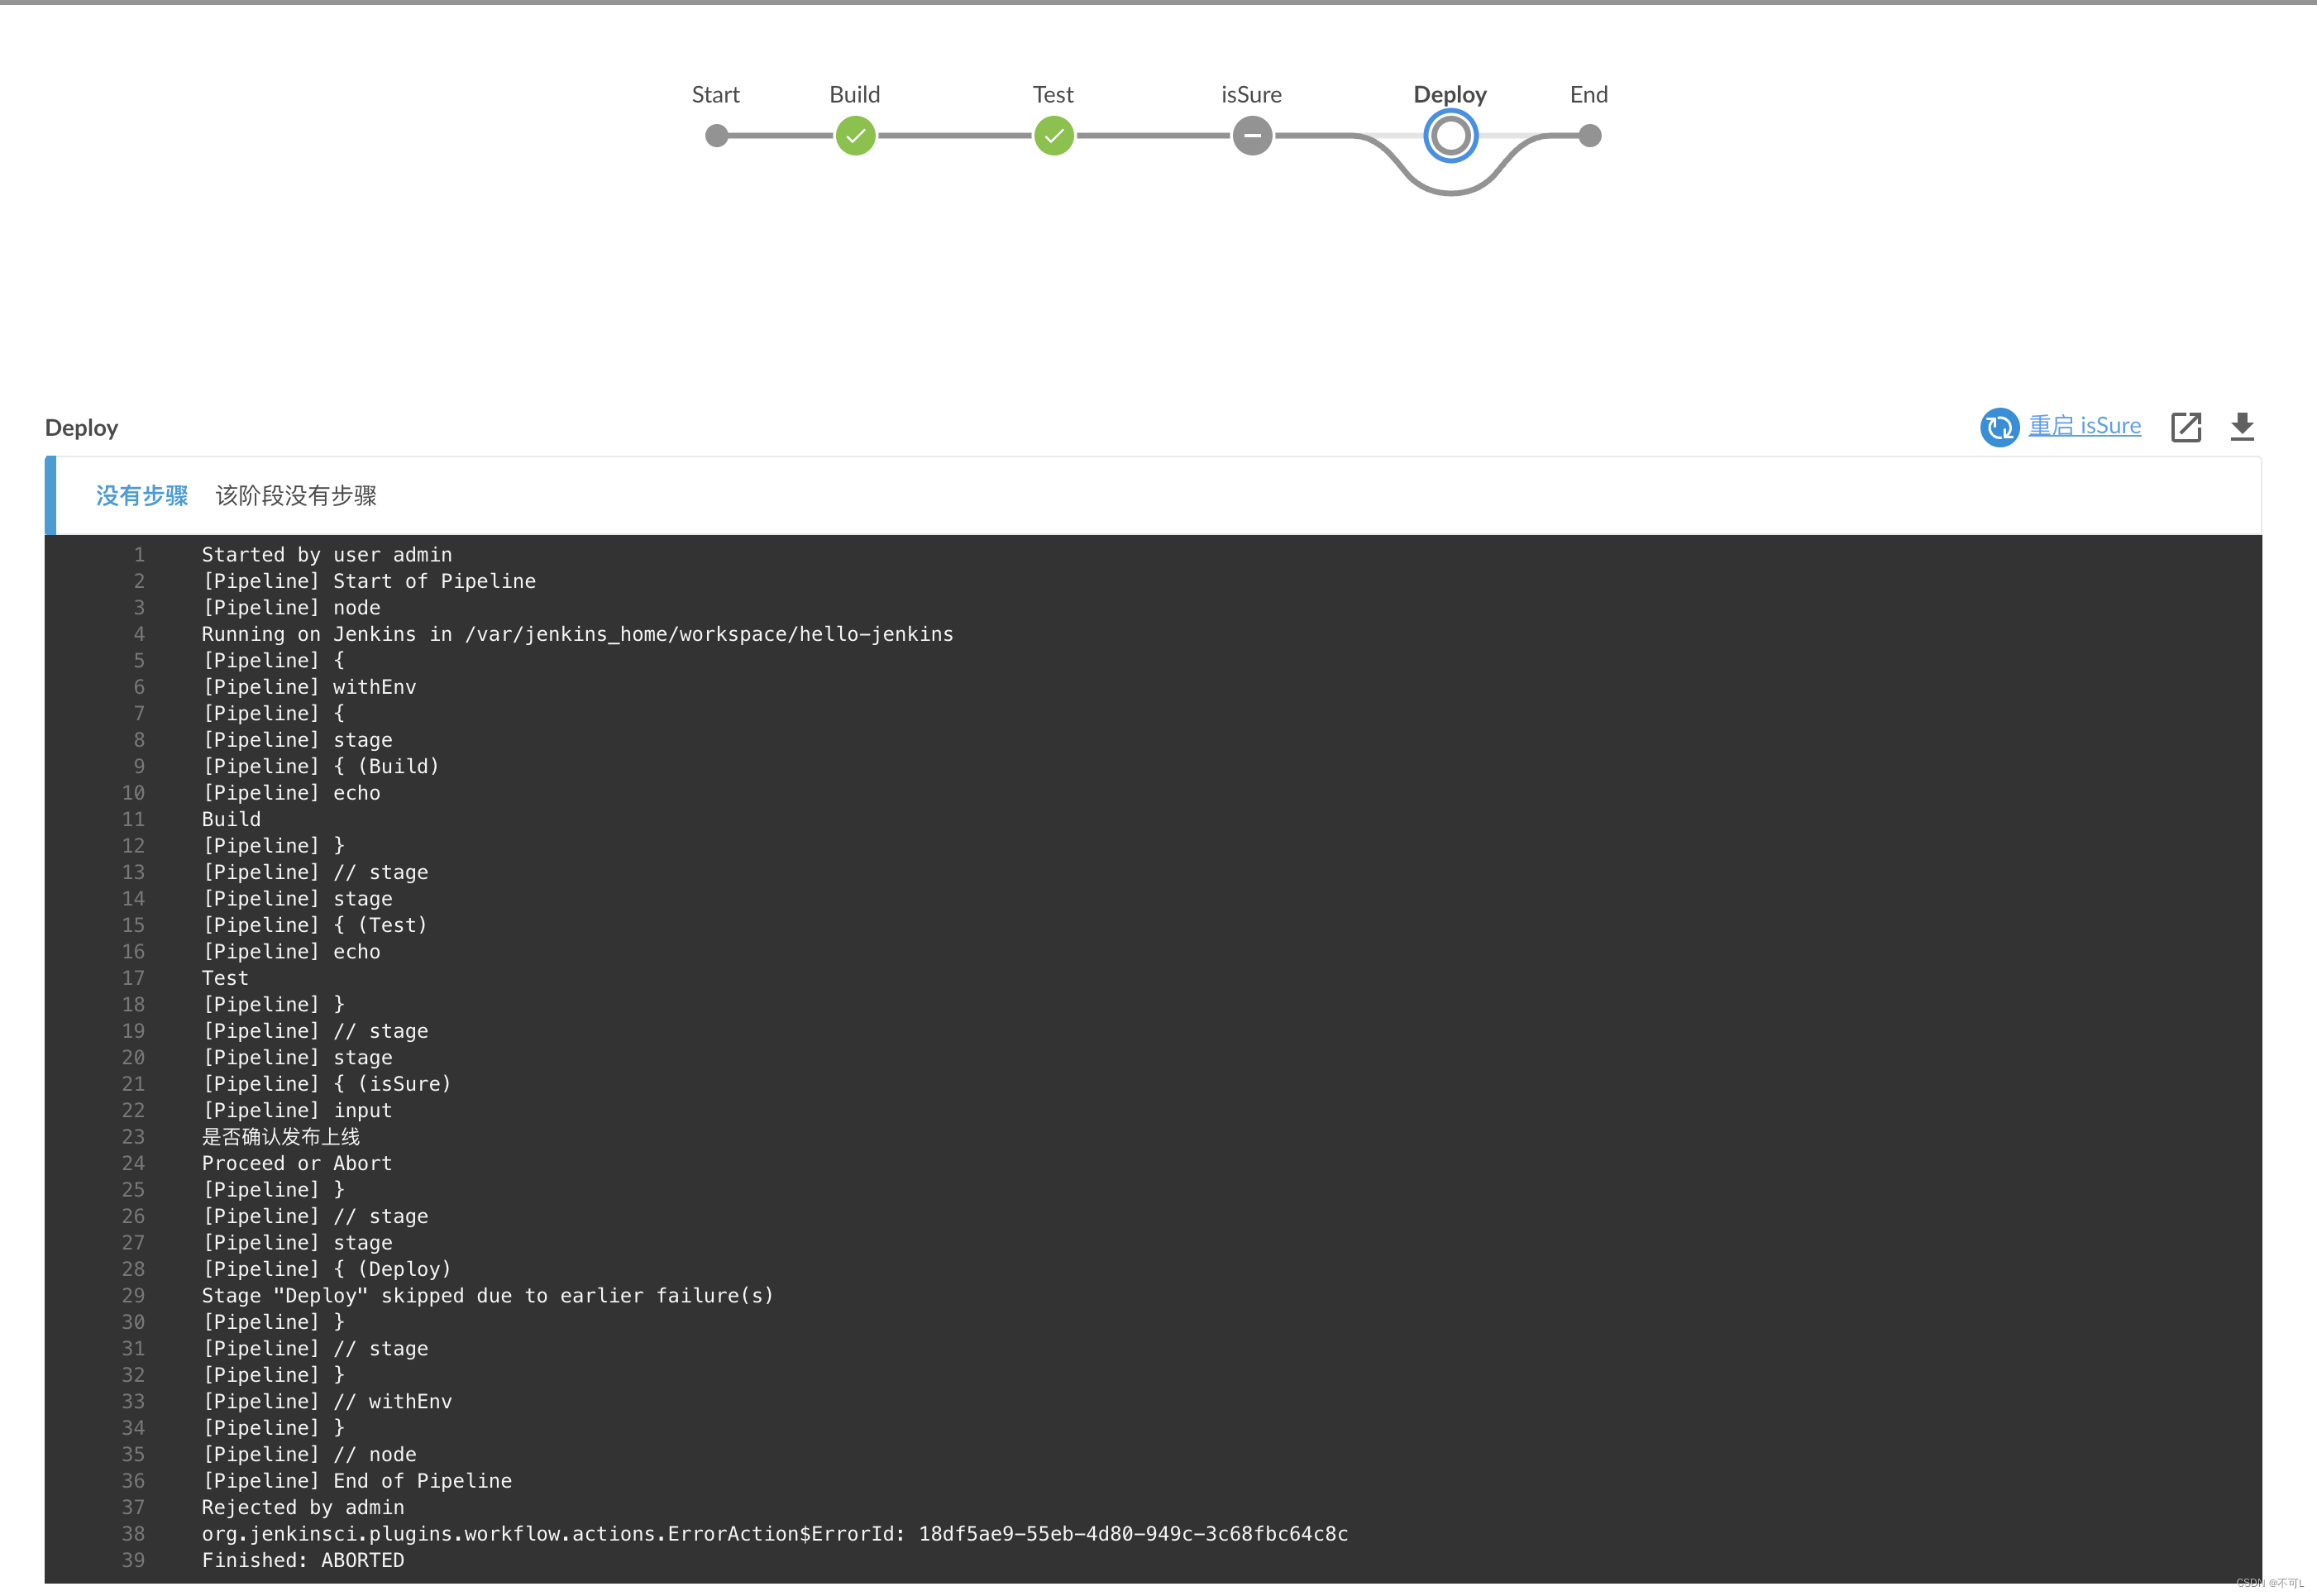
7、人工确认
人工确认后,完成上线发布的工作。input
pipeline {agent anyenvironment {DB_PSD = '123456'DB_ENGINE = 'sqlite'}stages {//项目构建stage('Build'){steps {//git、dockerfile等构建工作。。。echo 'Build'}}//项目测试stage('Test'){steps {//shell测试、web测试、压测。。。echo 'Test'}}//人工确认stage('isSure'){steps {input "是否确认发布上线"}}//部署stage('Deploy'){steps {//访问、集群、分布式。。。echo 'Deploy'}}}
}
五、WebHook触发器
通过以上的步骤。我们有了自己的gitlab,也学会了jenkins的CICD。现在,我们想做的是,一旦我的代码提交,jenkins就自动触发服务更新。
首先关闭防火墙,使容器之间互通! system stop firewalld
1、构建触发器,自动触发构建!有一个webhook触发器!
逻辑:提交代码后,jenkins能够感知到代码提交了,流水线工程(项目打包,构建镜像,运行容器,测试接口,人工确认,部署上线)就自动执行
2、创建一个jenkins流水线。配置gitlab的触发器,生成Secret token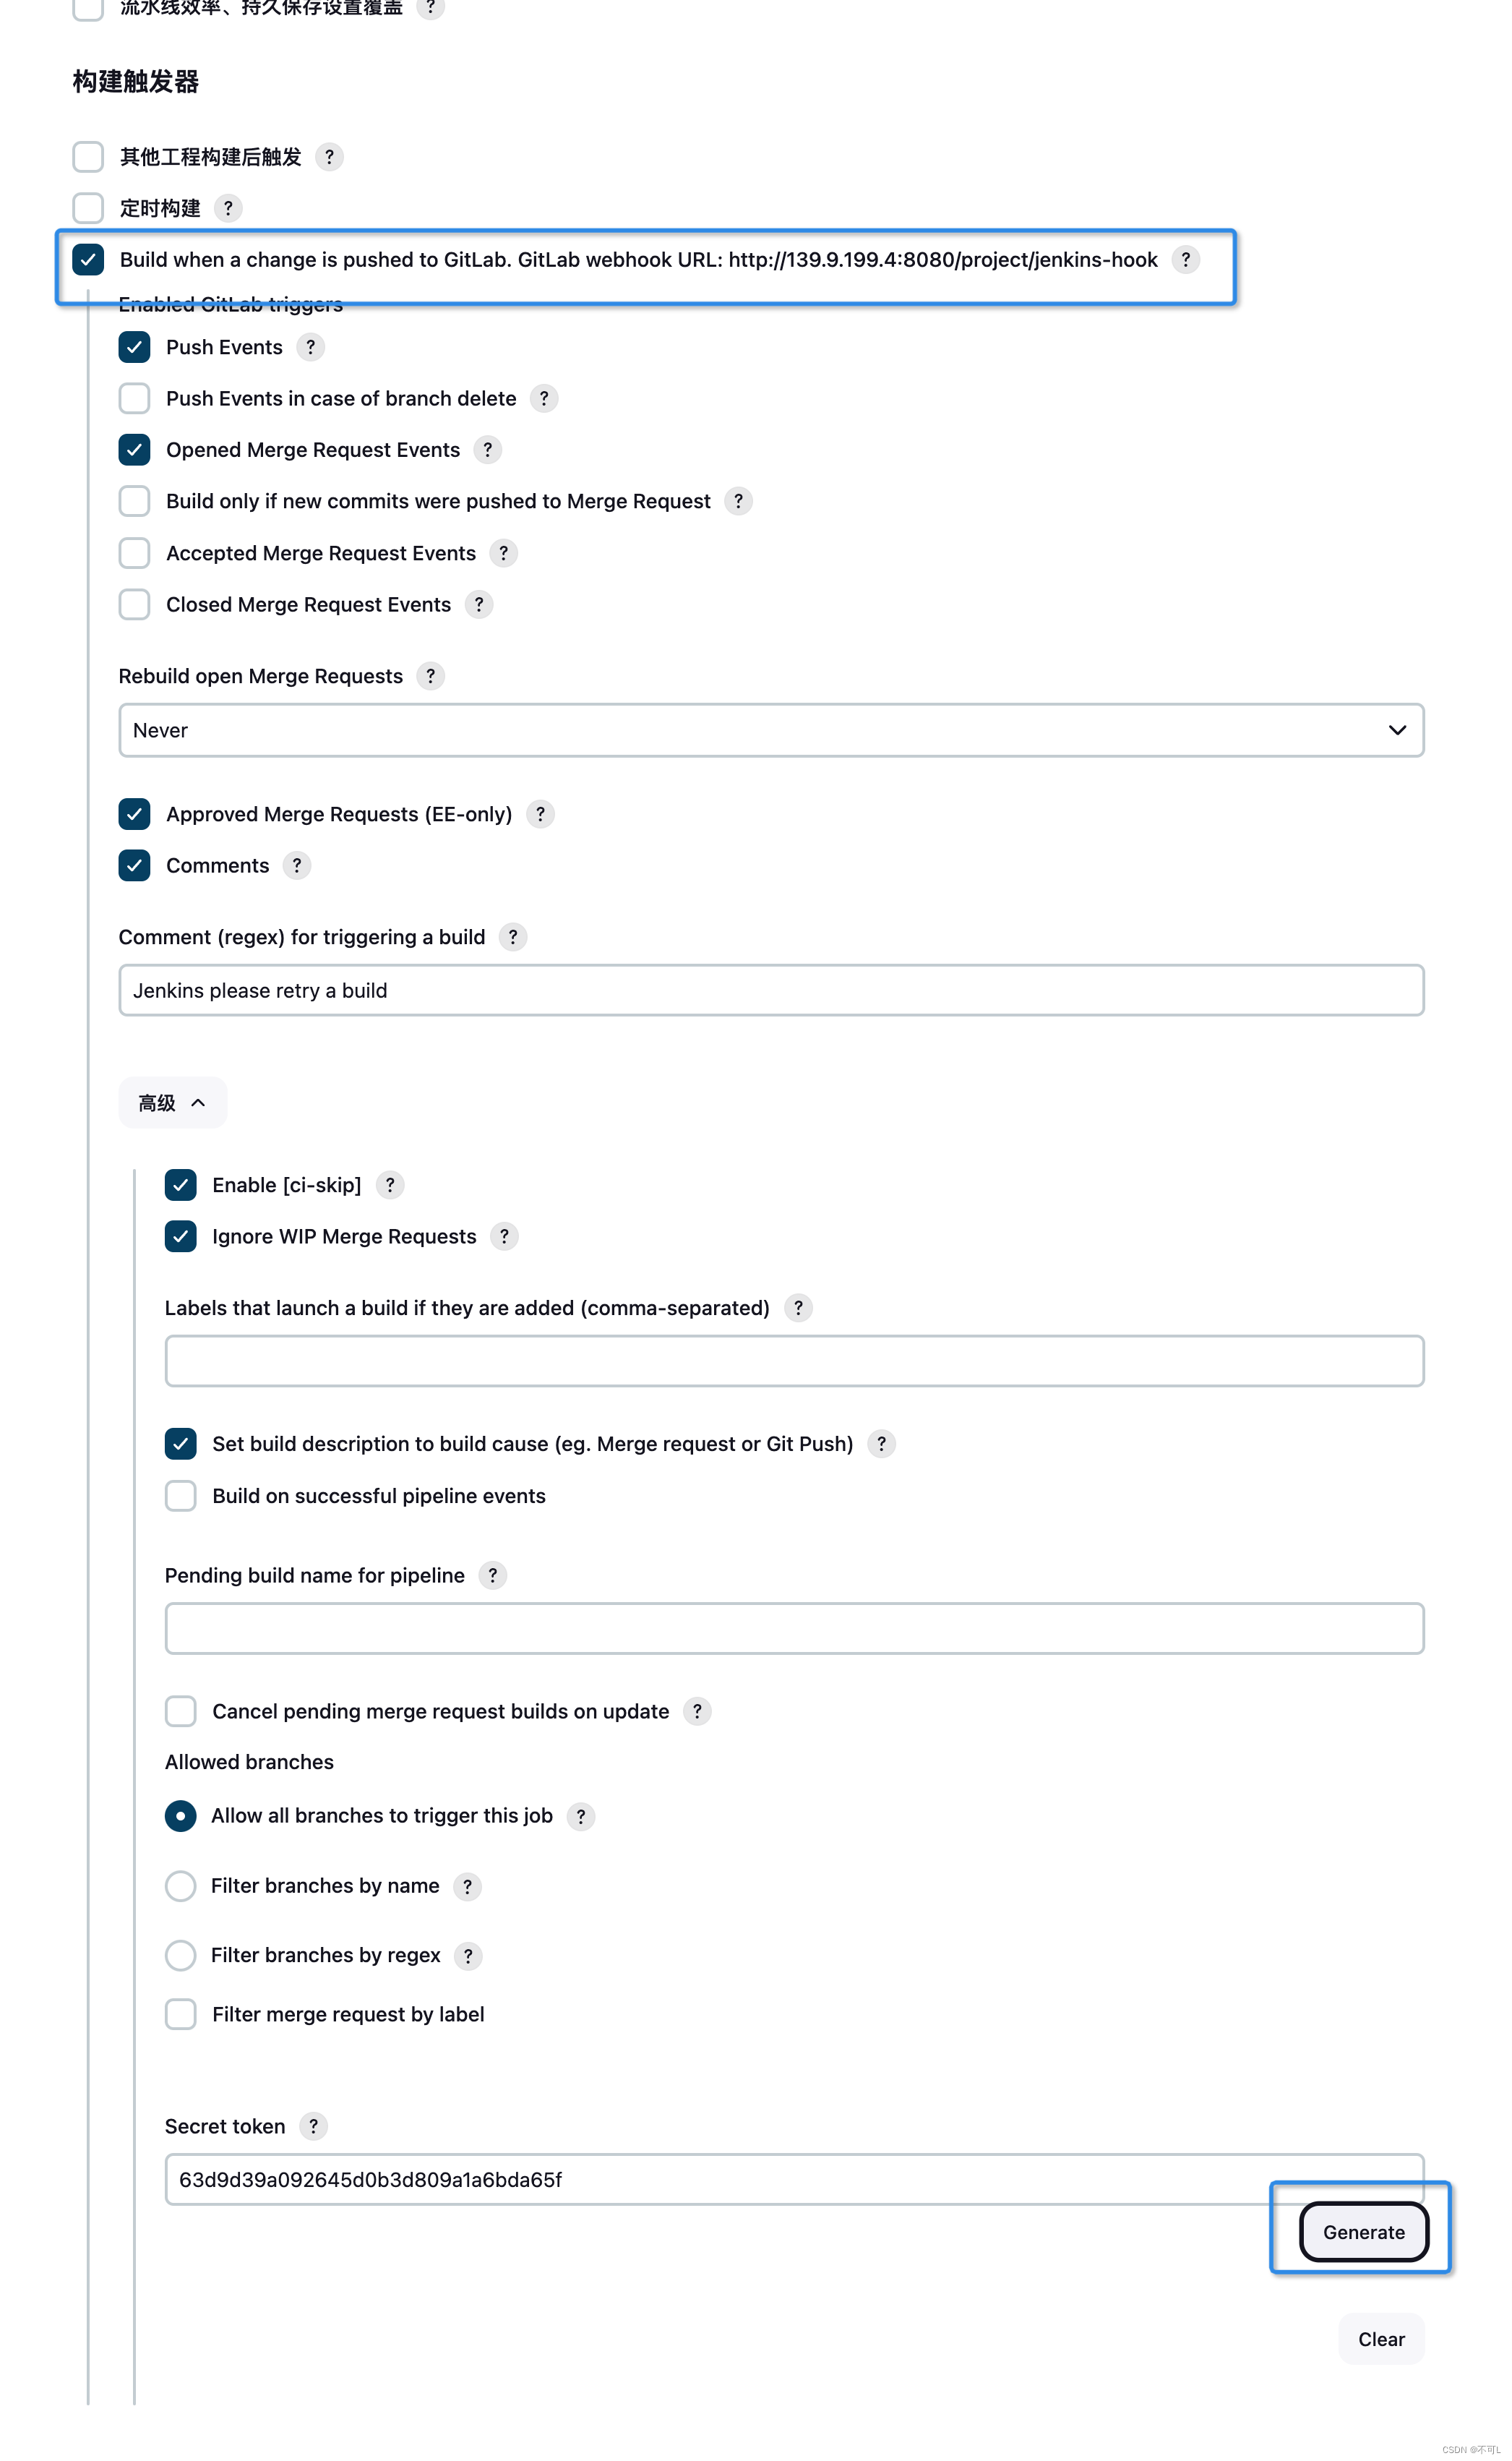
在gitlab的项目中设置项目的webhook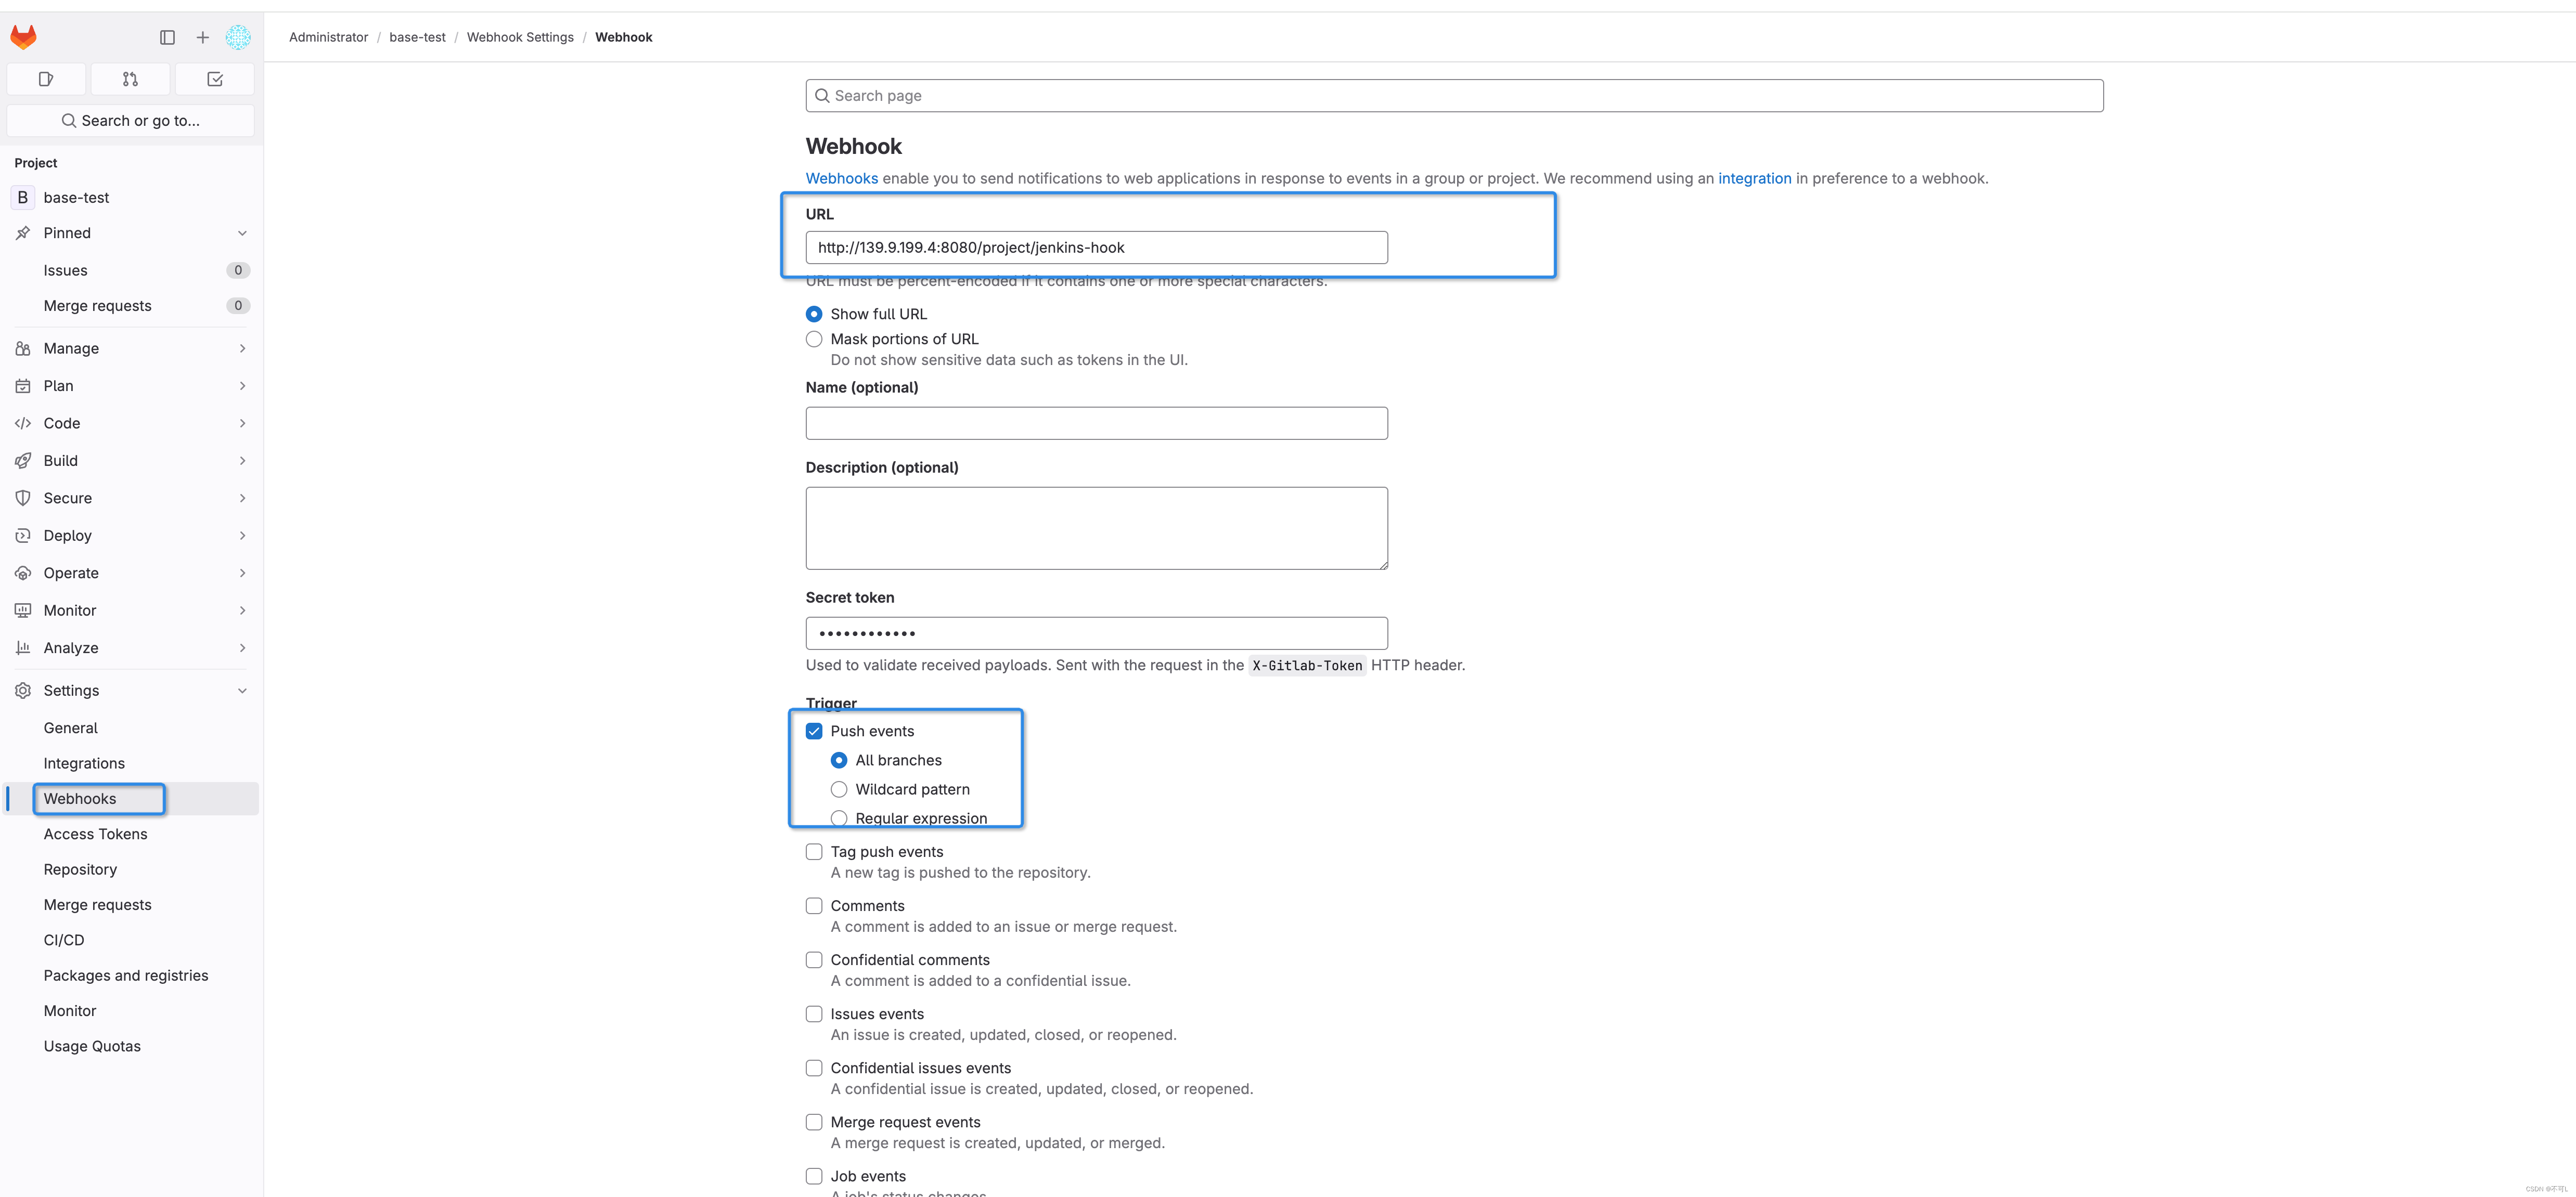
成功后,可以在项目中看到多出一个钩子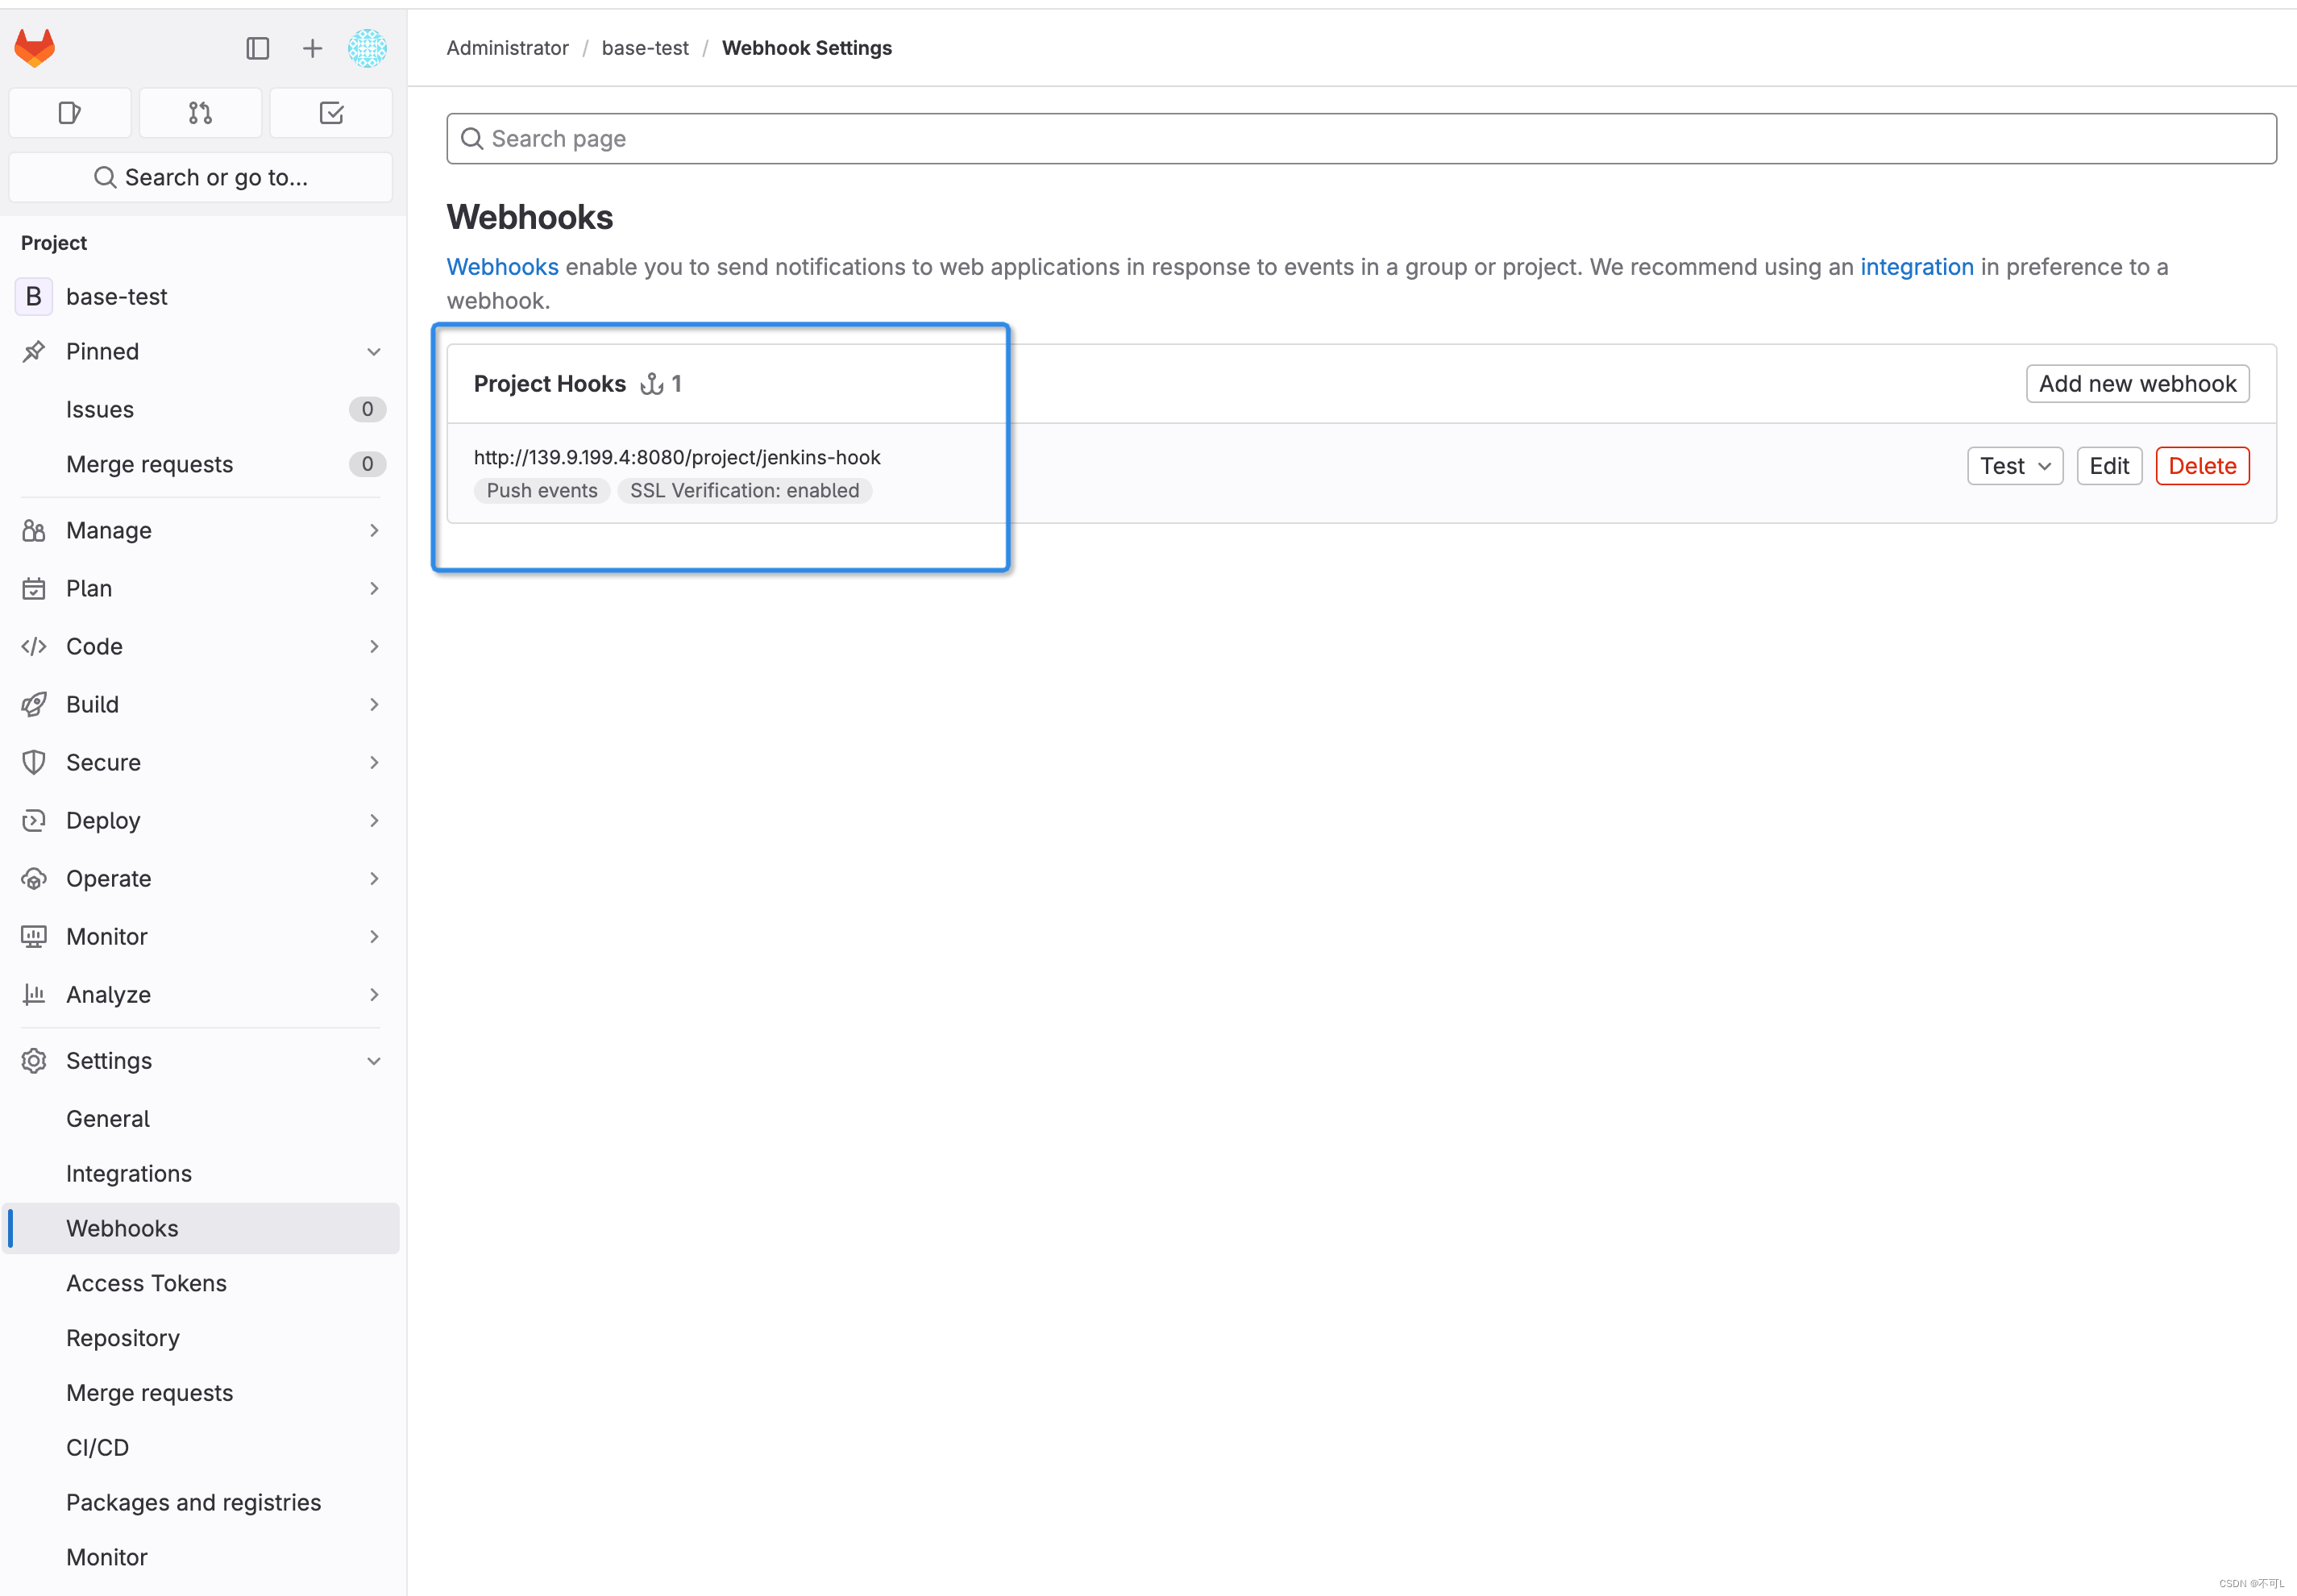
测试
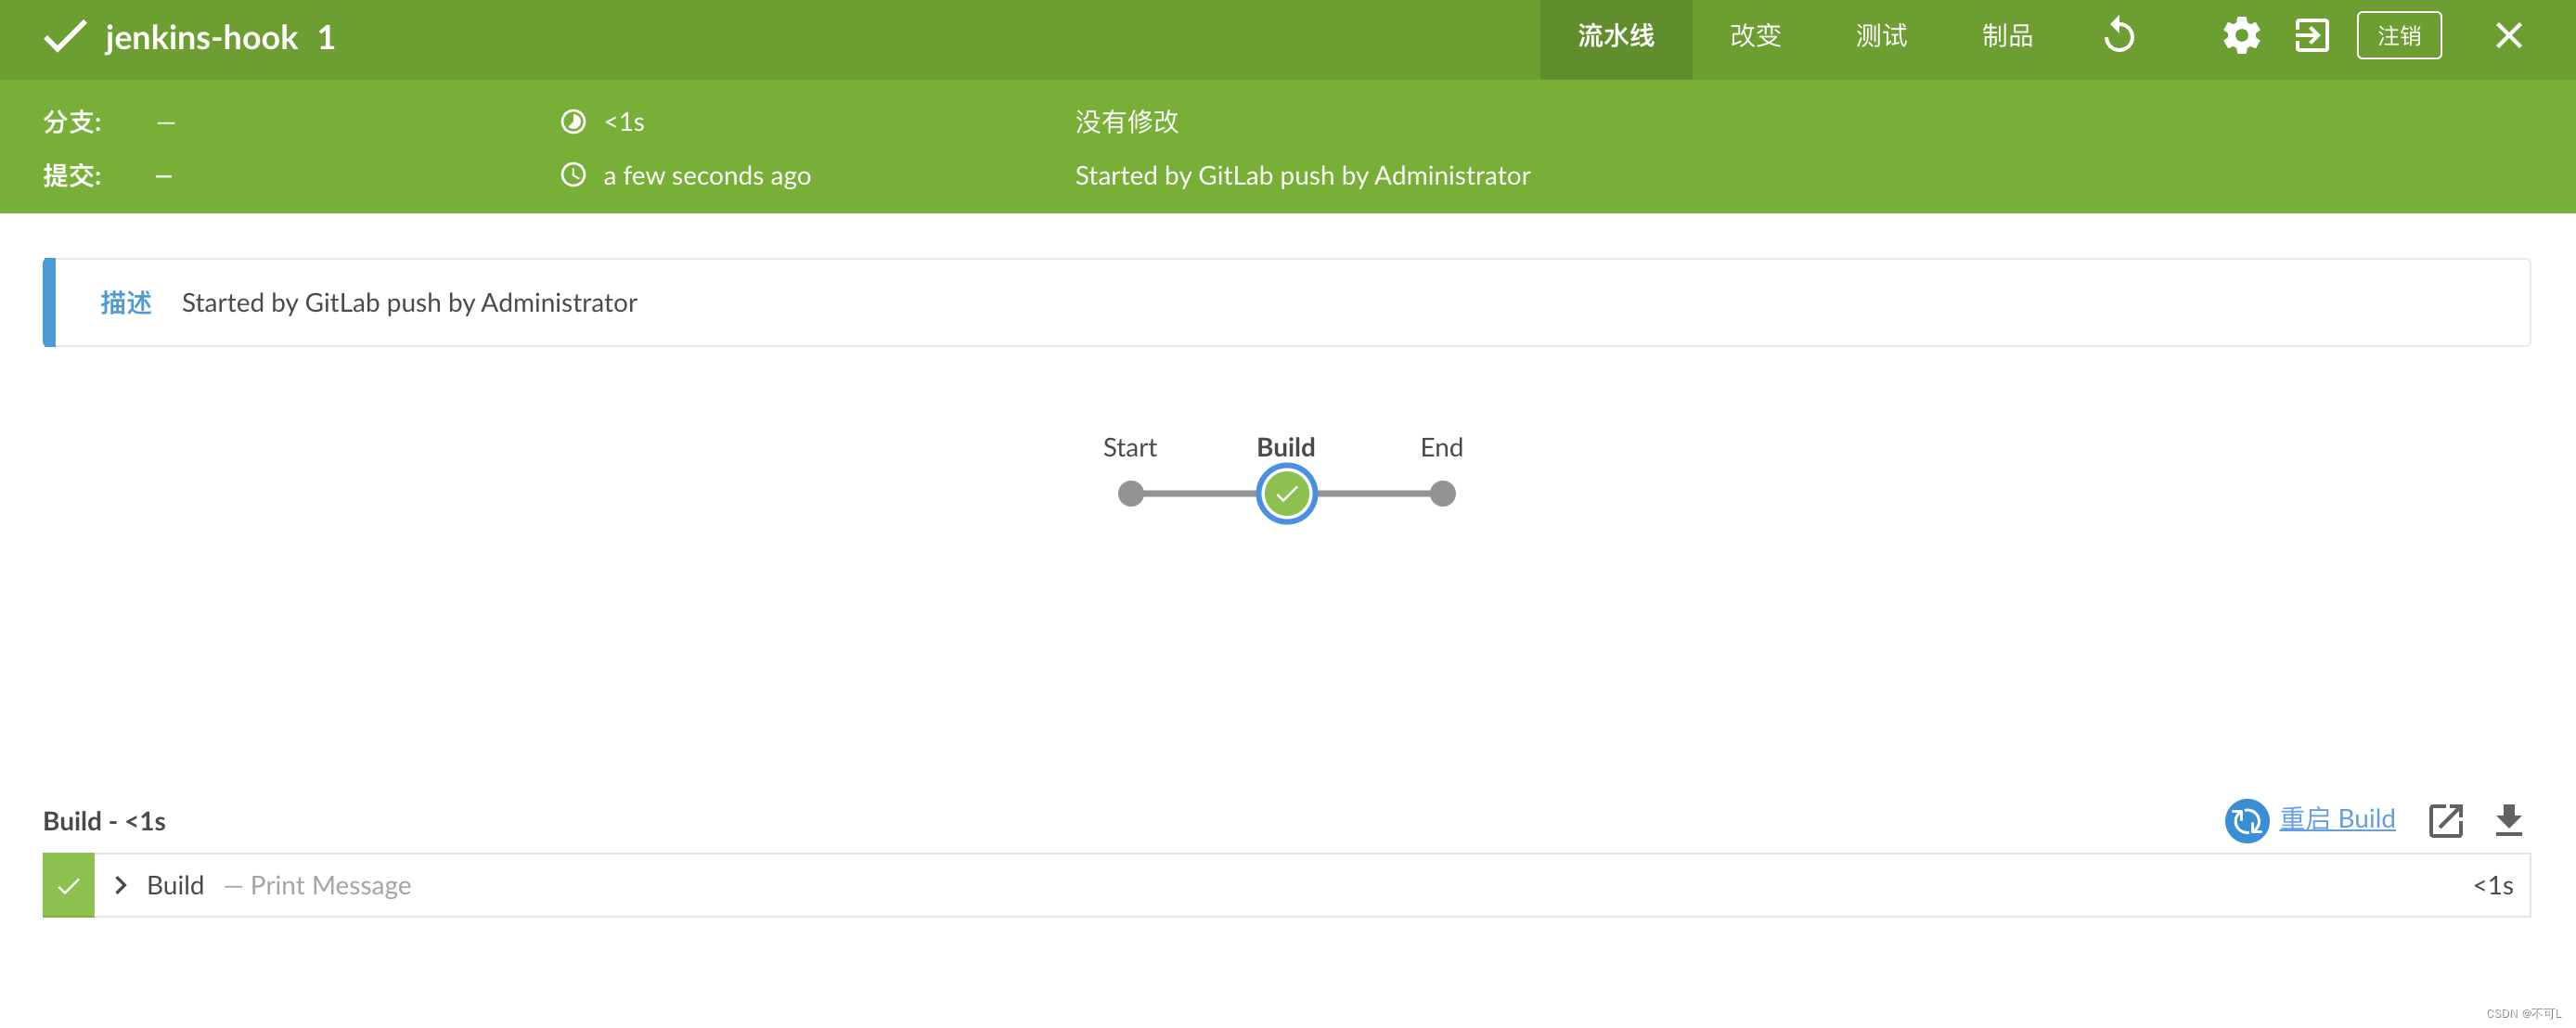
通过gitlab钩子中的测试push操作,会发现jenkins自动触发了构建。并且描述为Started by GitLab push by Administrator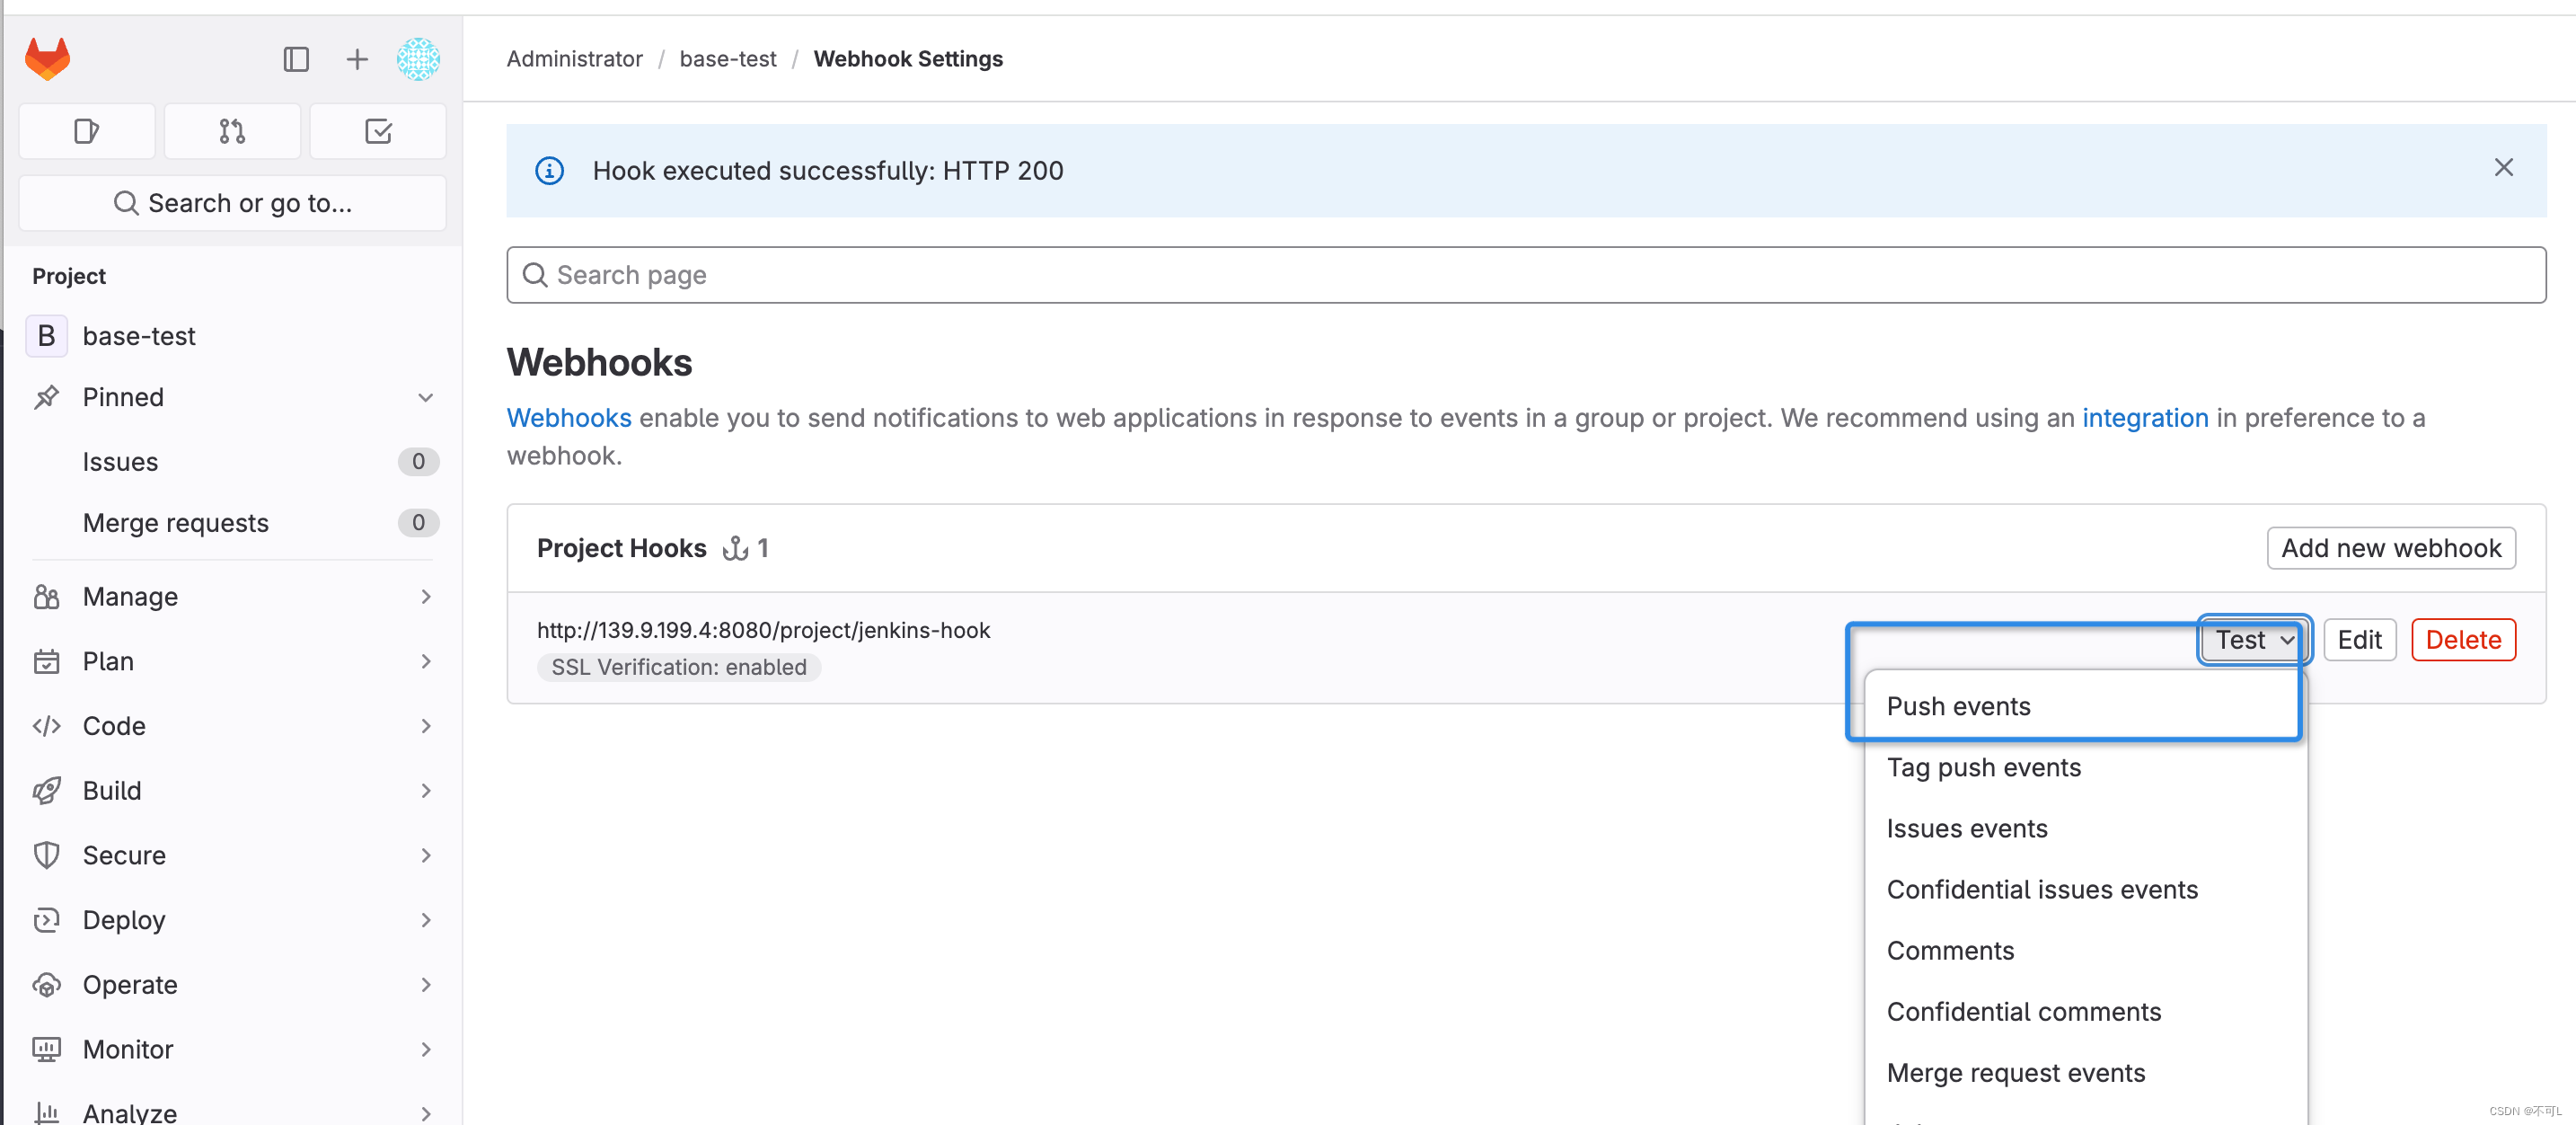
六、官方流水线项目
官方文档 :https://www.jenkins.io/zh/doc/tutorials/build-a-java-app-with-maven/
1、clone 仓库到本地,然后推倒我们自己的gitlab中
git clone https://github.com/jenkins-docs/simple-java-maven-app.git
2、重复上一小节webhook的内容,实现一个流水线工程。
3、添加脚本代码时,不需要再自己编写,直接使用仓库中的jenkins脚本,指定jenkinsfile文件的路径。
4、添加jenkins脚本的git地址时,会出现权限问题,需要在jenkins全局配置中添加gialab的token凭证。
#jenkins脚本文件的内容
pipeline {agent {docker {image 'maven:3.9.0'args '-v /root/.m2:/root/.m2'}}stages {stage('Build') {steps {sh 'mvn -B -DskipTests clean package'}}stage('Test') {steps {sh 'mvn test'}post {always {junit 'target/surefire-reports/*.xml'}}}stage('Deliver') {steps {sh './jenkins/scripts/deliver.sh'}}}
}