陕西有没有做网站好的公司网页设计淘宝首页html代码
没安装kua的先安装lua
没有resty.http模块的,许配置
nginx+lua配置,一个域名配置https,docker集群使用,一个域名配置https管理整个集群
lua做转发(方向代理)
1、ad_load.lua文件
ngx.header.content_type="application/json;charset=utf8"
local cjson = require("cjson")
local https = require 'resty.http'
local json = cjson:new()
--服务器一,域名拼接request_uri获得请求的路由和路由上的参数
-- local server_one_url = 'http://127.0.0.1:9059/index01';
-- local server_one_url = 'http://127.0.0.1:9059'..ngx.var.request_uri;
local server_one_url = ngx.var.url_ip..':'..ngx.var.url_port..ngx.var.request_uri;
local server_one_code = 'ONE_CODE';
-- ngx.say(server_one_url)
-- ngx.exit(ngx.OK)--http get 请求方法
local function http_get(url)local http = https:new()local res, err = http:request_uri(url, {method = 'GET',headers = {['Content-Type'] = 'application/json';}})if res.status == 200 thenngx.say(res.body)else-- ngx.say(res.status)ngx.say('服务器错误!')end
end-- http post 请求方法
local function http_post(url, data)local http = https:new()local res, err = http:request_uri(url, {method = 'POST',body = data,headers = {['Content-Type'] = 'application/json';}})if res.status == 200 thenngx.say(res.body)elsengx.say('服务器错误!')end
end-- ngx.say(server_one_url)
-- ngx.say(ngx.var.request_method)
-- ngx.exit(ngx.OK)
if ngx.var.request_method == "GET" then--解析参数并做转发http_get(server_one_url)
elseif ngx.var.request_method == "POST" then--获取请求参数ngx.req.read_body()local data = ngx.req.get_body_data()--解析参数并做转发http_post(server_one_url, data)
end
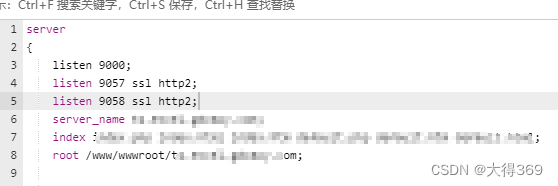
2、nginx配置,配置两个ssh端口
完整nginx代码
server
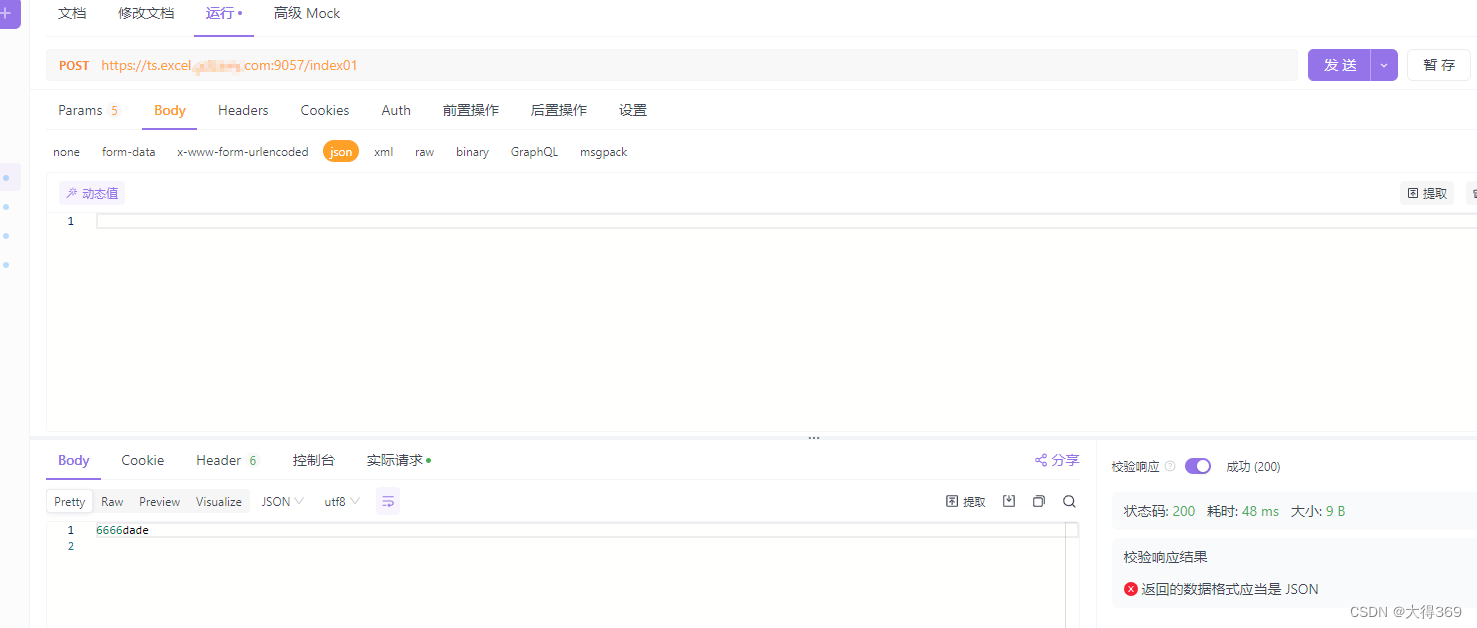
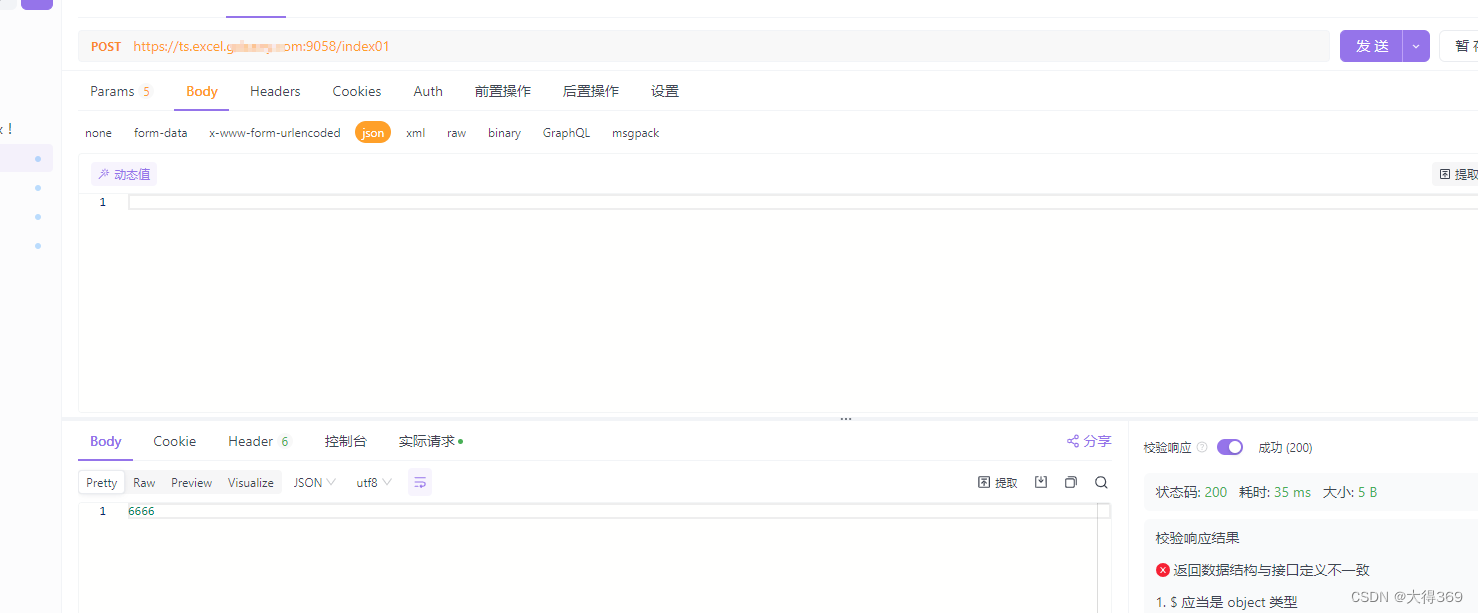
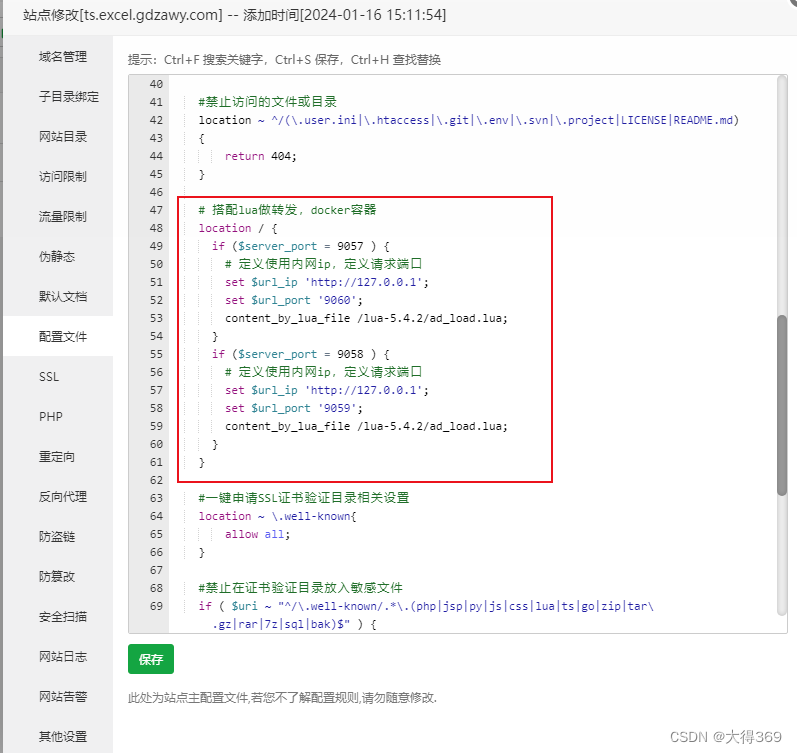
{listen 9000;listen 9057 ssl http2;listen 9058 ssl http2;server_name ts.excel.****.com;index index.php index.html index.htm default.php default.htm default.html;root /www/wwwroot/ts.excel.****.com;#CERT-APPLY-CHECK--START# 用于SSL证书申请时的文件验证相关配置 -- 请勿删除include /www/server/panel/vhost/nginx/well-known/ts.excel.***.com.conf;#CERT-APPLY-CHECK--END#SSL-START SSL相关配置,请勿删除或修改下一行带注释的404规则#error_page 404/404.html;ssl_certificate /www/server/panel/vhost/cert/ts.excel.***.com/fullchain.pem;ssl_certificate_key /www/server/panel/vhost/cert/ts.excel.***.com/privkey.pem;ssl_protocols TLSv1.1 TLSv1.2 TLSv1.3;ssl_ciphers EECDH+CHACHA20:EECDH+CHACHA20-draft:EECDH+AES128:RSA+AES128:EECDH+AES256:RSA+AES256:EECDH+3DES:RSA+3DES:!MD5;ssl_prefer_server_ciphers on;ssl_session_cache shared:SSL:10m;ssl_session_timeout 10m;add_header Strict-Transport-Security "max-age=31536000";error_page 497 https://$host$request_uri;#SSL-END#ERROR-PAGE-START 错误页配置,可以注释、删除或修改#error_page 404 /404.html;#error_page 502 /502.html;#ERROR-PAGE-END#PHP-INFO-START PHP引用配置,可以注释或修改include enable-php-74.conf;#PHP-INFO-END#REWRITE-START URL重写规则引用,修改后将导致面板设置的伪静态规则失效include /www/server/panel/vhost/rewrite/ts.excel.****.com.conf;#REWRITE-END#禁止访问的文件或目录location ~ ^/(\.user.ini|\.htaccess|\.git|\.env|\.svn|\.project|LICENSE|README.md){return 404;}# 搭配lua做转发,docker容器location / {if ($server_port = 9057 ) {# 定义使用内网ip,定义请求端口set $url_ip 'http://127.0.0.1';set $url_port '9060';content_by_lua_file /lua-5.4.2/ad_load.lua;}if ($server_port = 9058 ) {# 定义使用内网ip,定义请求端口set $url_ip 'http://127.0.0.1';set $url_port '9059';content_by_lua_file /lua-5.4.2/ad_load.lua;}}#一键申请SSL证书验证目录相关设置location ~ \.well-known{allow all;}#禁止在证书验证目录放入敏感文件if ( $uri ~ "^/\.well-known/.*\.(php|jsp|py|js|css|lua|ts|go|zip|tar\.gz|rar|7z|sql|bak)$" ) {return 403;}location ~ .*\.(gif|jpg|jpeg|png|bmp|swf)${expires 30d;error_log /dev/null;access_log /dev/null;}location ~ .*\.(js|css)?${expires 12h;error_log /dev/null;access_log /dev/null;}access_log /www/wwwlogs/ts.excel.****.com.log;error_log /www/wwwlogs/ts.excel.****.com.error.log;
}
请求结果