手机网站架构邢台做网站信息
题目描述:
给你一个 二叉树 的根结点 root,该二叉树由恰好 3 个结点组成:根结点、左子结点和右子结点。
如果根结点值等于两个子结点值之和,返回 true ,否则返回 false 。
初始代码:
/*** Definition for a binary tree node.* public class TreeNode {*     int val;*     TreeNode left;*     TreeNode right;*     TreeNode() {}*     TreeNode(int val) { this.val = val; }*     TreeNode(int val, TreeNode left, TreeNode right) {*         this.val = val;*         this.left = left;*         this.right = right;*     }* }*/
class Solution {public boolean checkTree(TreeNode root) {}
}
示例1:
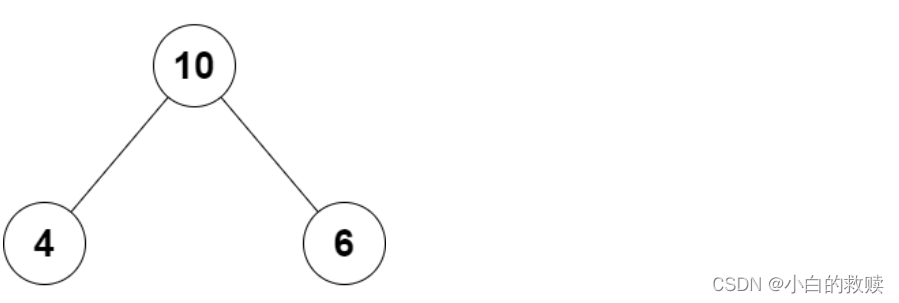
输入:root = [10,4,6]
输出:true
解释:根结点、左子结点和右子结点的值分别是 10 、4 和 6 。由于 10 等于 4 + 6 ,因此返回 true 。
示例2:
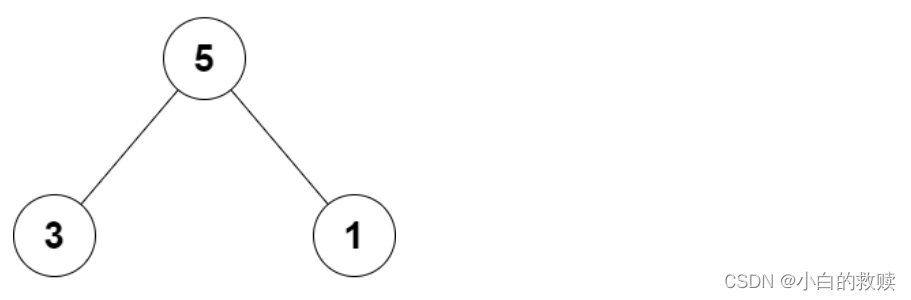
输入:root = [5,3,1]
输出:false
解释:根结点、左子结点和右子结点的值分别是 5 、3 和 1 。由于 5 不等于 3 + 1 ,因此返回 false 。
参考答案:
/*** Definition for a binary tree node.* public class TreeNode {*     int val;*     TreeNode left;*     TreeNode right;*     TreeNode() {}*     TreeNode(int val) { this.val = val; }*     TreeNode(int val, TreeNode left, TreeNode right) {*         this.val = val;*         this.left = left;*         this.right = right;*     }* }*/
class Solution {public boolean checkTree(TreeNode root) {if(root == null || root.left == null && root.right == null) {return false;} else if(root.left != null && root.right != null) {if (root.val == root.left.val + root.right.val) {return true;}} else if(root.left == null) {if(root.val == root.right.val) {return true;}} else if(root.right == null) {if(root.val == root.left.val) {return true;}}return false;}
}
/*** Definition for a binary tree node.* public class TreeNode {* int val;* TreeNode left;* TreeNode right;* TreeNode() {}* TreeNode(int val) { this.val = val; }* TreeNode(int val, TreeNode left, TreeNode right) {* this.val = val;* this.left = left;* this.right = right;* }* }*/
// 在不考虑树仅有三个节点的情况 递归处理
class Solution {public boolean checkTree(TreeNode root) {if(root == null) return false;int sum = 0;if(root.left != null) sum = sum + countTree(root.left);if(root.right != null) sum = sum + countTree(root.right);return root.val == sum;}public int countTree(TreeNode root) {if(root == null) return 0;return root.val;}
}