德州口碑好的网站制作公司手机上如何制作自己的网站
从URL传值给后端
http://127.0.0.1:8080/blog_content.html?id=8
点击浏览文章详情,跳转至详情页面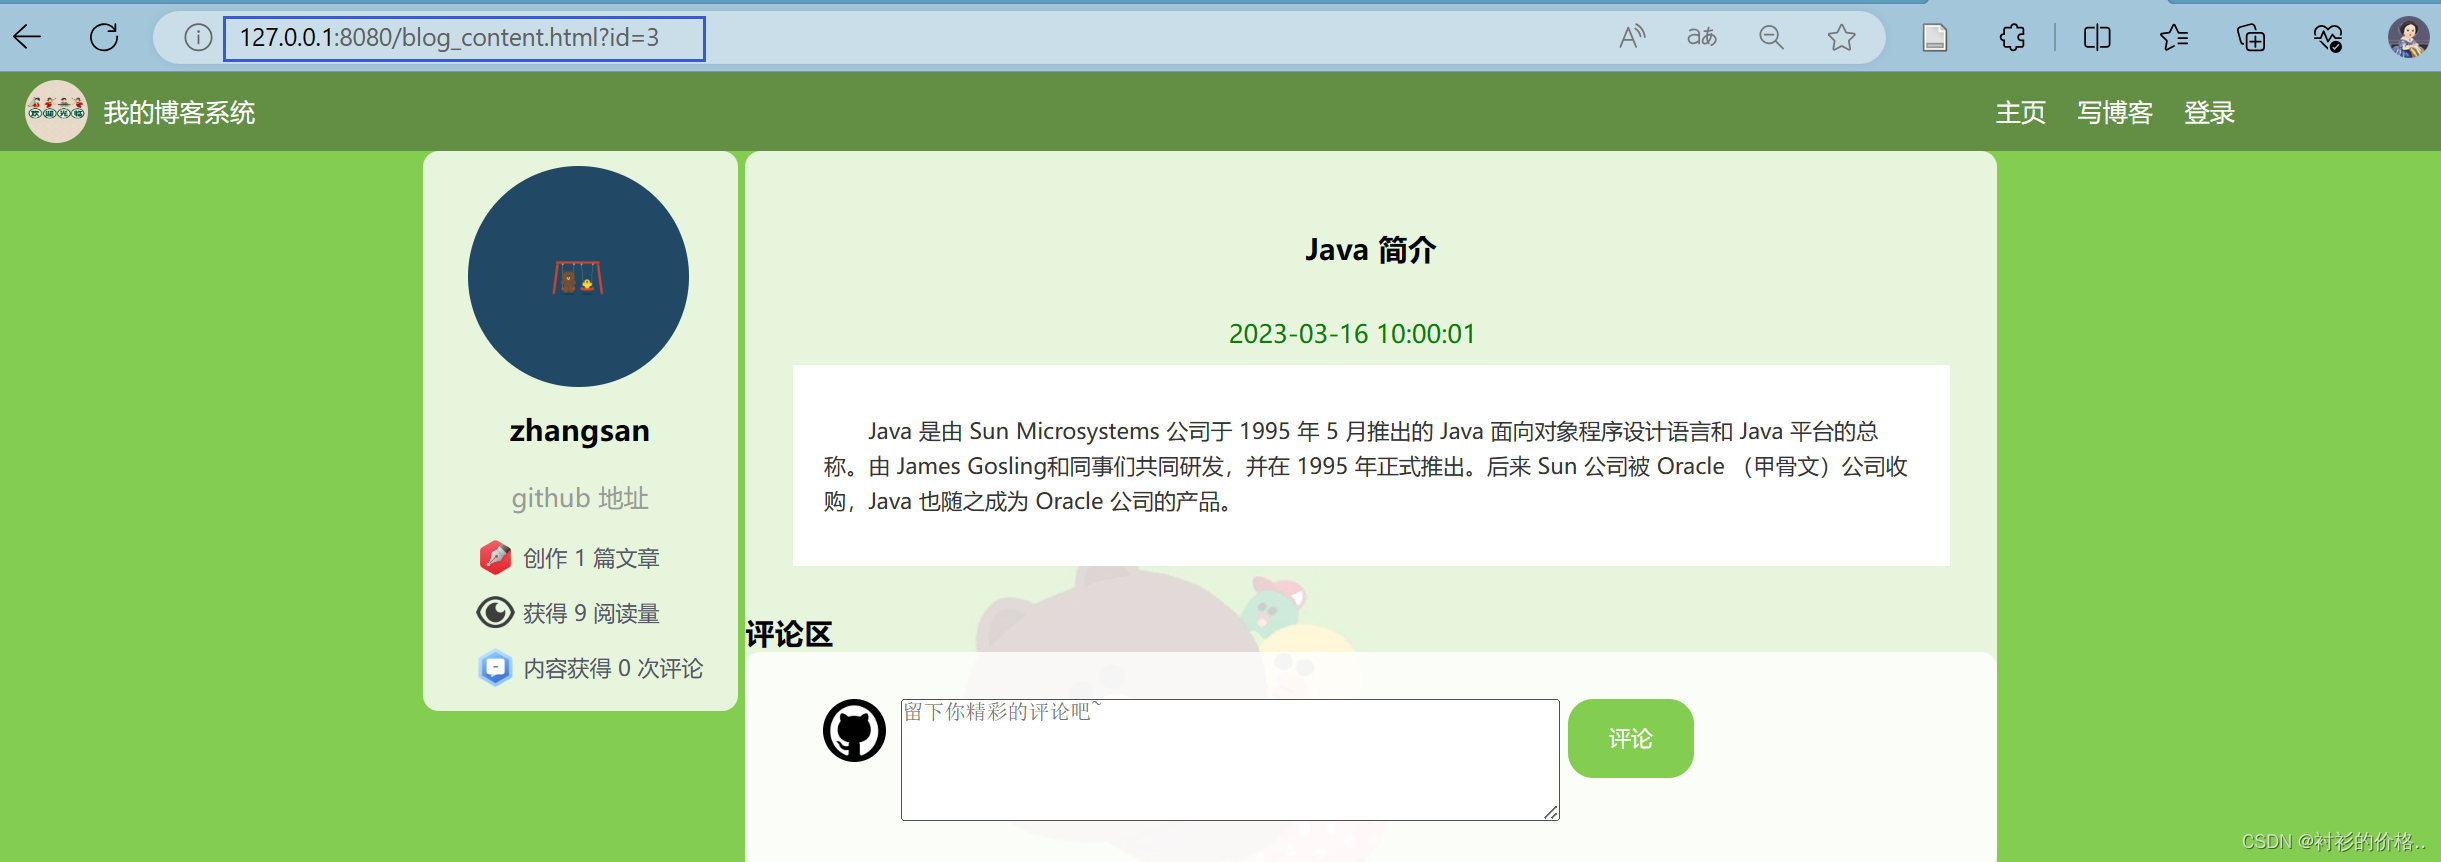
从 url 中拿出文章 id,传给后端
- 首先拿到url
- 然后判断是否有值,从问号后面取值
params.split('&')以 & 作为分割- 然后遍历字符数组
paramArr[i].split("="),又用 =等号 分割键和值 - 判断 key 和传过来的 key 是否一样,一样就返回该 key 对应的 value 值
function getURLParam(key){var params = location.search;if(params.indexOf("?") >=0){//返回问号在字符串中第一次出现的位置,大于等于0说明问号存在params = params.substring(params.indexOf("?")+1);//截取问号后面的参数var paramArr = params.split('&');//使用&作为分割符for(var i=0; i<paramArr.length;i++){var namevalues = paramArr[i].split("=");if(namevalues[0]==key){return namevalues[1];}}}else{return "";}} function getArtDetail(){//从 url 中获取到文章的idvar aid = getURLParam("id");if(aid != null && aid >0){//访问后端,更新访问量jQuery.ajax({url:"/art/setrcount",type:"POST",data:{"aid":aid},success:function(result) { }});//访问后端查询文章详情jQuery.ajax({url:"/art/detail",type:"POST",data:{"aid":aid},success:function(result){if(result.code ==200 && result.data != null){var art = result.data;jQuery("#title").text(art.title);jQuery("#data").text(art.createtime);jQuery("#rcount").text(art.rcount);editormd = editormd.markdownToHTML("editorDiv",{markdown:art.content});myInfo(art.uid);}}});}} getArtDetail();//调用这个方法因为这个方法经常使用,因此将他封装成一个工具方法,使用的时候调用即可

